UPDATE 04/01/2021: I found a great workshop resource, created by AWS, which shows the same I wanted to show in these tutorials, so I won’t continue this series. Have a look at the Amazon Connect Bootcamp.
Amazon Connect is a cloud based contact center solution. It’s one of those services you might not use on a daily basis, but still is very fun to play with. In this series we will build a self-service pizza ordering service using Amazon Connect. A small disclaimer, I’m currently still building the solution, so it might takes some time between posts.
Unicorn Pizza
Let’s start by setting the scene. You have just started your new pizza business, called Unicorn Pizza, and want to offer your customers the possibility to order pizza by phone. In this first part of the series we start with the basic configuration of Amazon Connect.
Initial Setup
In this first blog we will go through the initial setup of Amazon Connect. The process is pretty straightforward and will serve as the base setup for the upcoming posts.
-
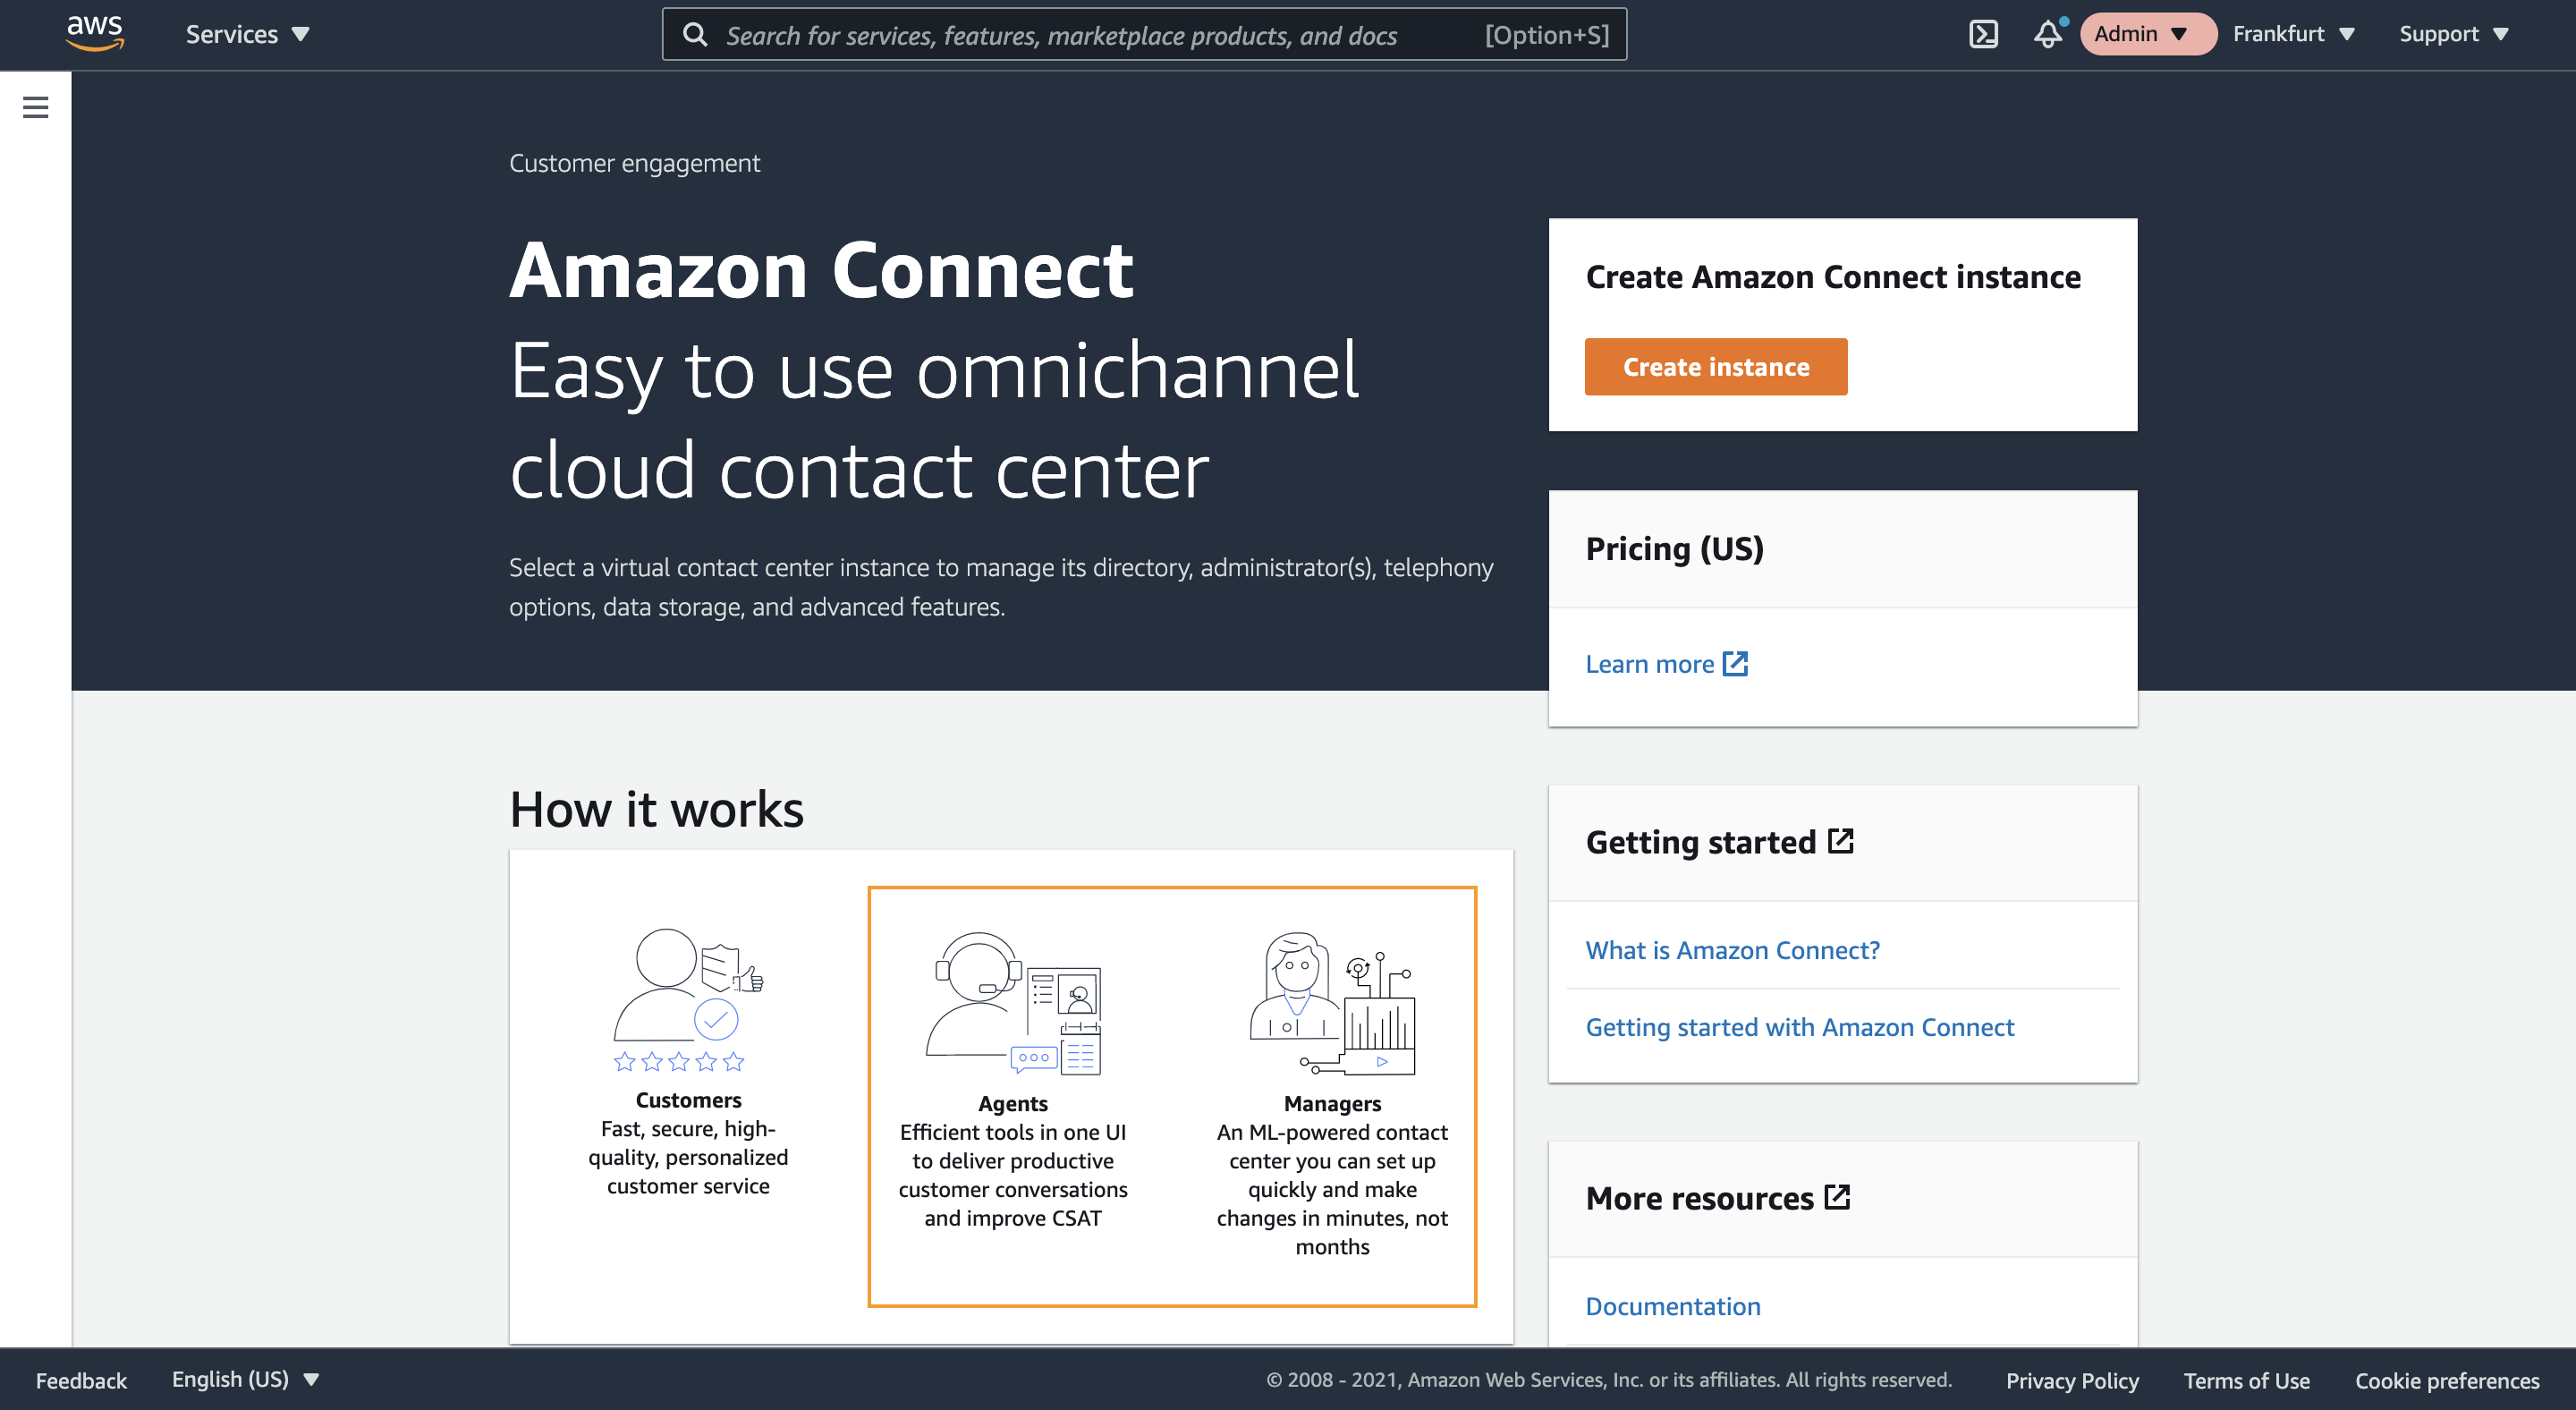
Log in to your AWS account and navigate to the Amazon Connect console. In the Amazon Connect console click Create instance.
Note: Amazon Connect is not available in all regions. If you selected a region where Amazon connect is not available you will to select one of the available regions. In this blog we will use the Frankfurt (eu-central-1) region.
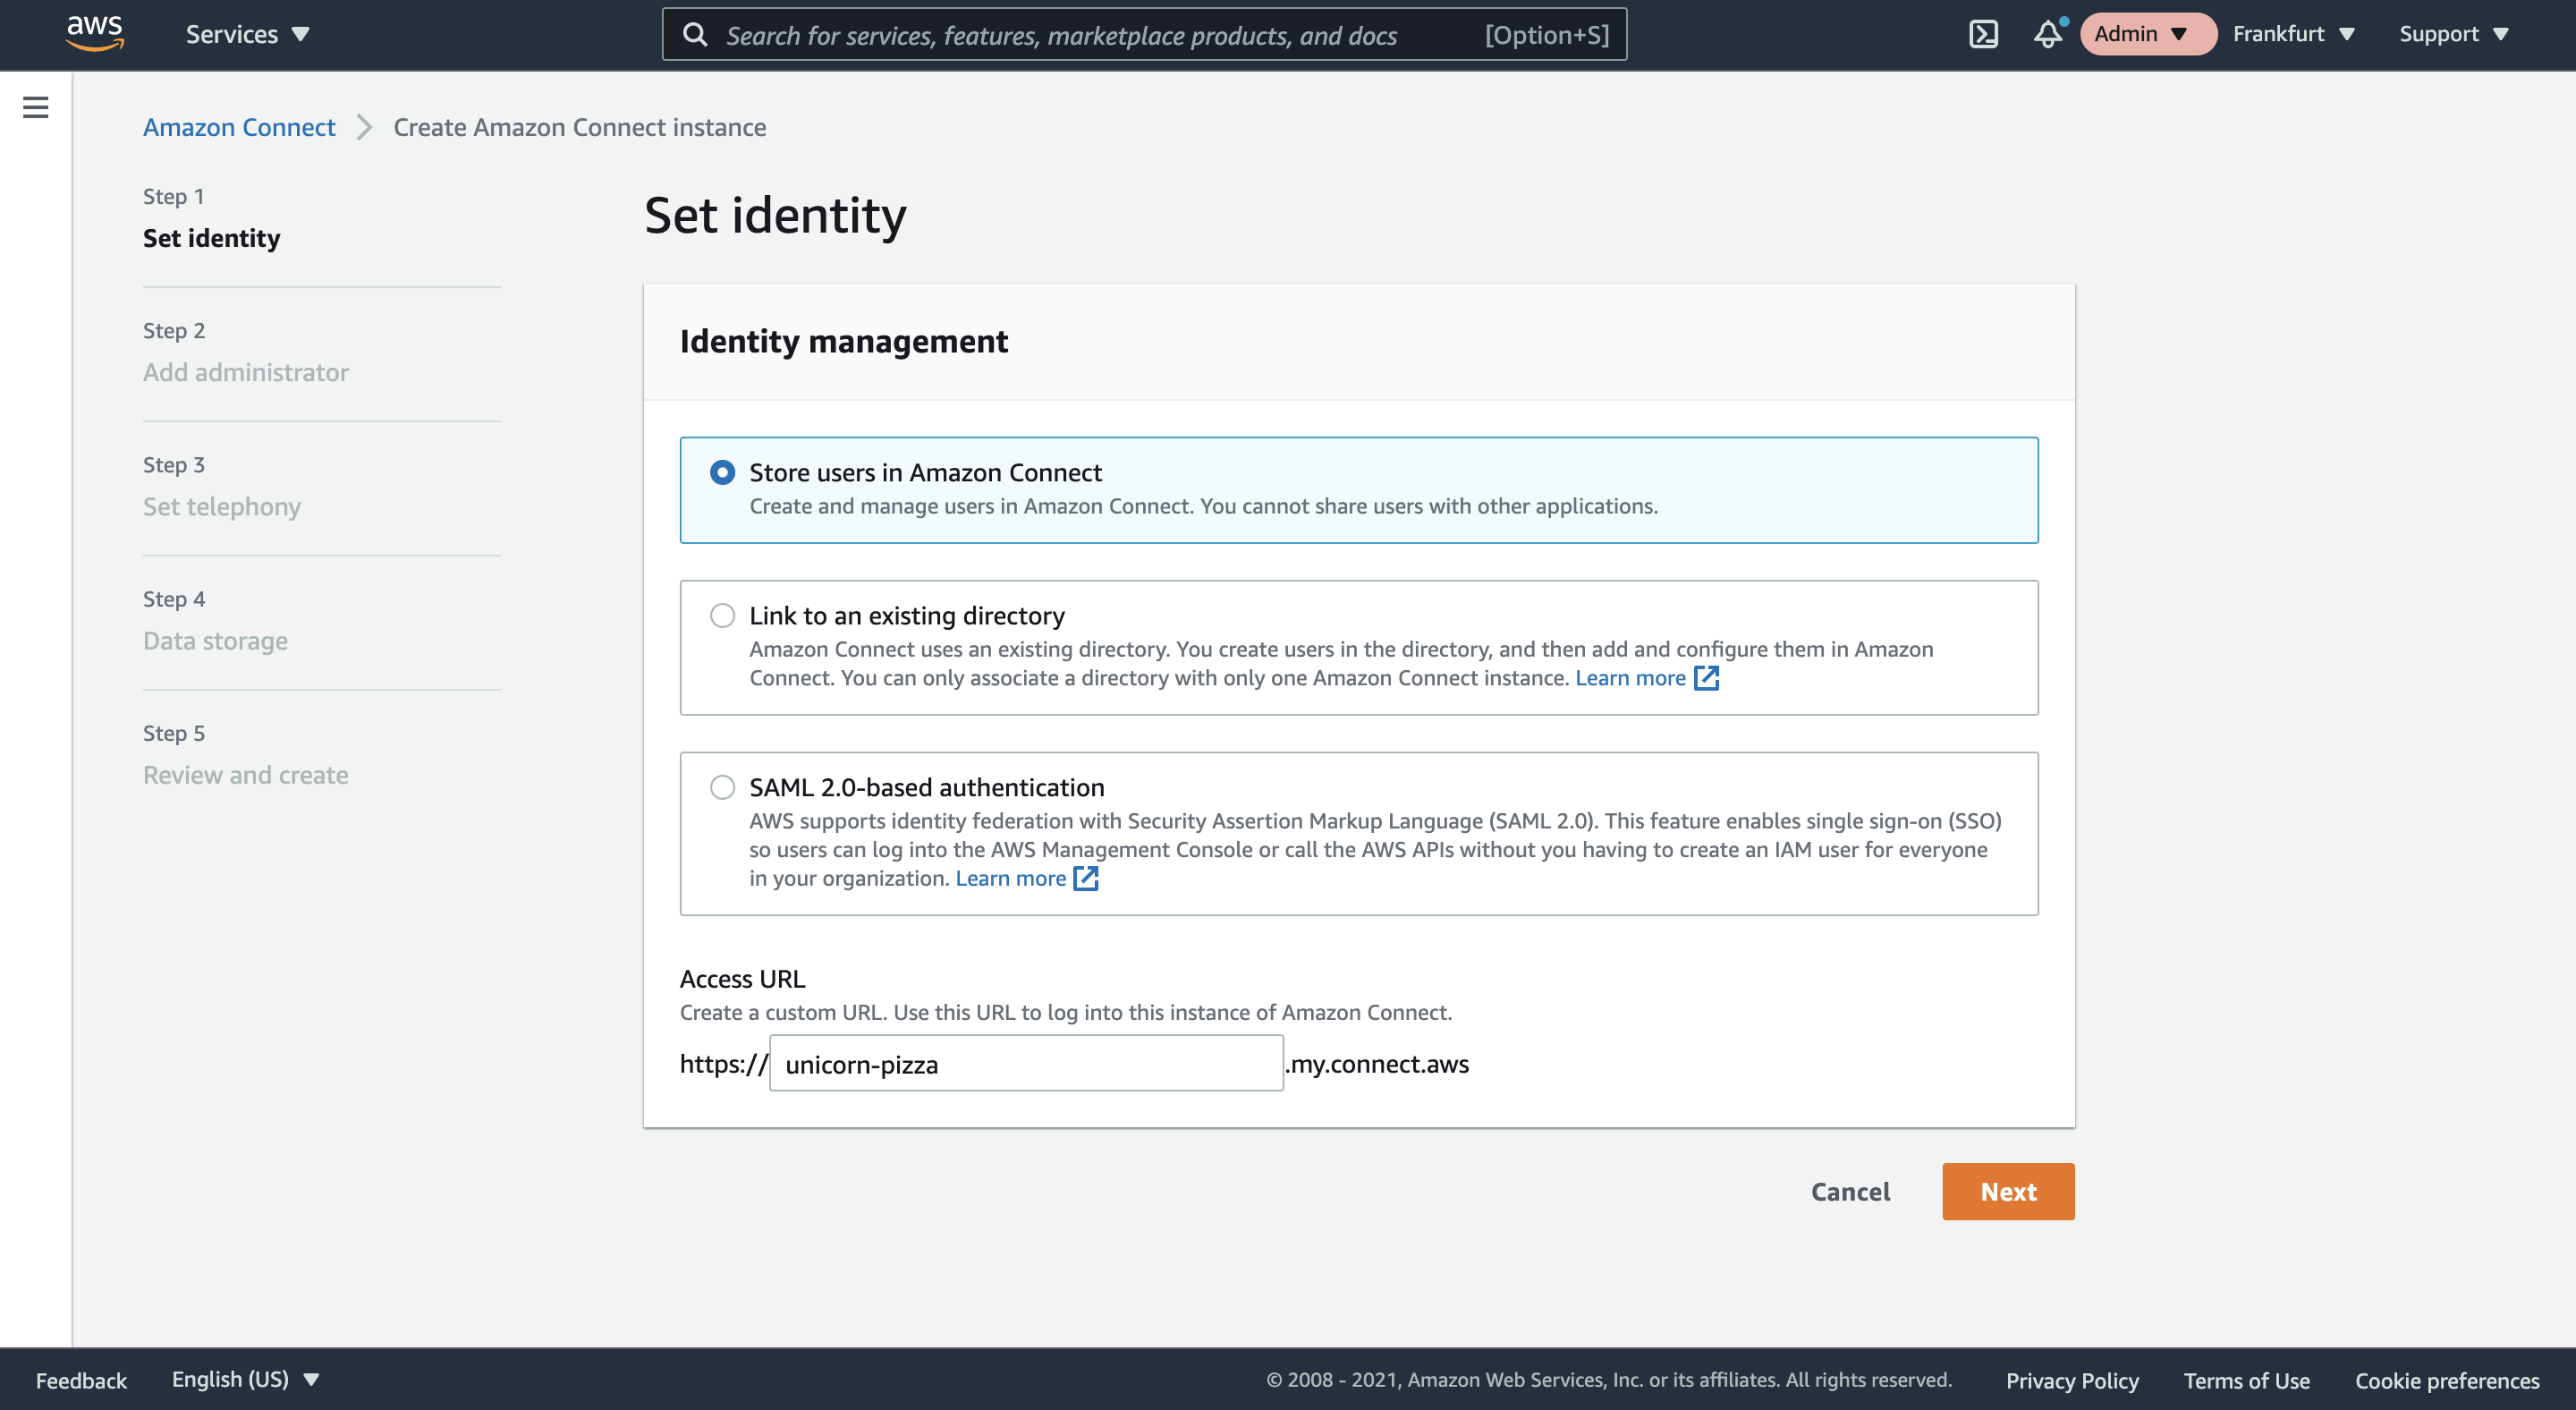
- As a first step you can select how you want to authenticate to your contact center. This applies to the agents and administrators of your contact center, so not the callers. For simplicity we select the Store our users in Amazon Connect option, but you can also connect an external directory or connect Amazon Connect to an existing Identity Provider that supports SAML 2.0-based authentication. For more information refer to the Amazon Connect documentation. You will also need to provide the url where you want to access your contact center. This url is only used for administrative purposes. For our Pizza place I will use unicorn-pizza.
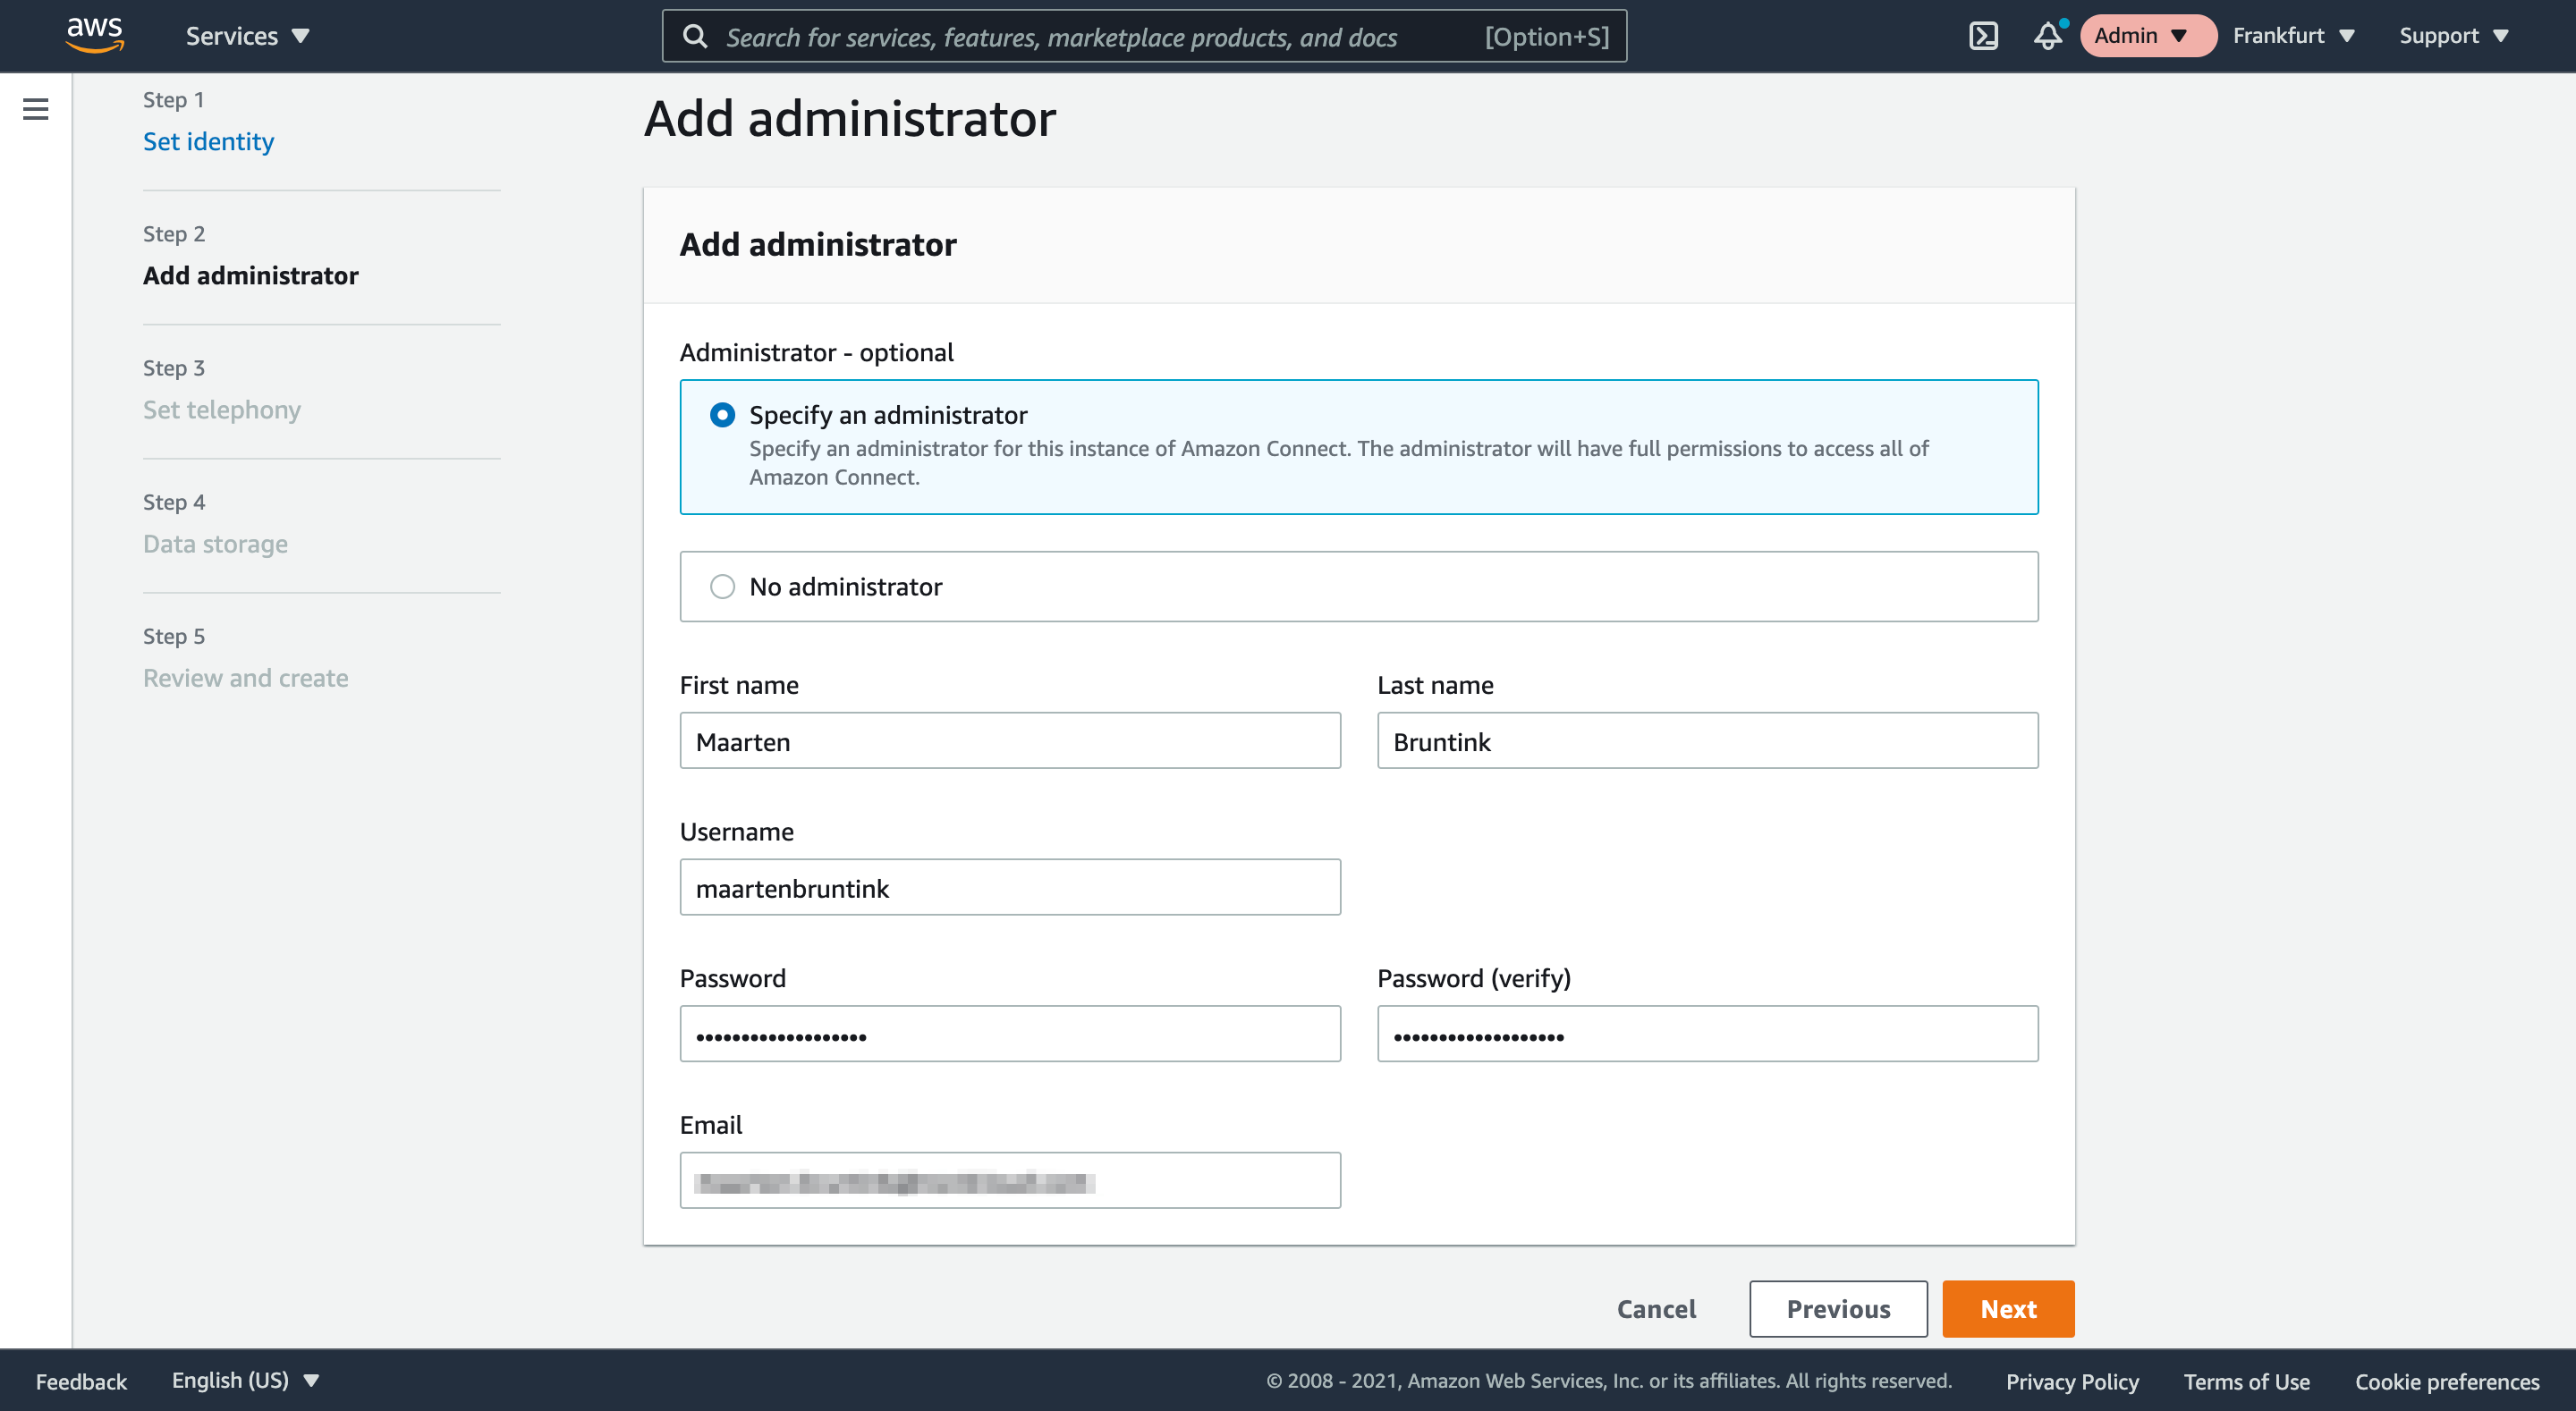
- In the next step you can create the Administrator credentials for your Amazon Connect instance.
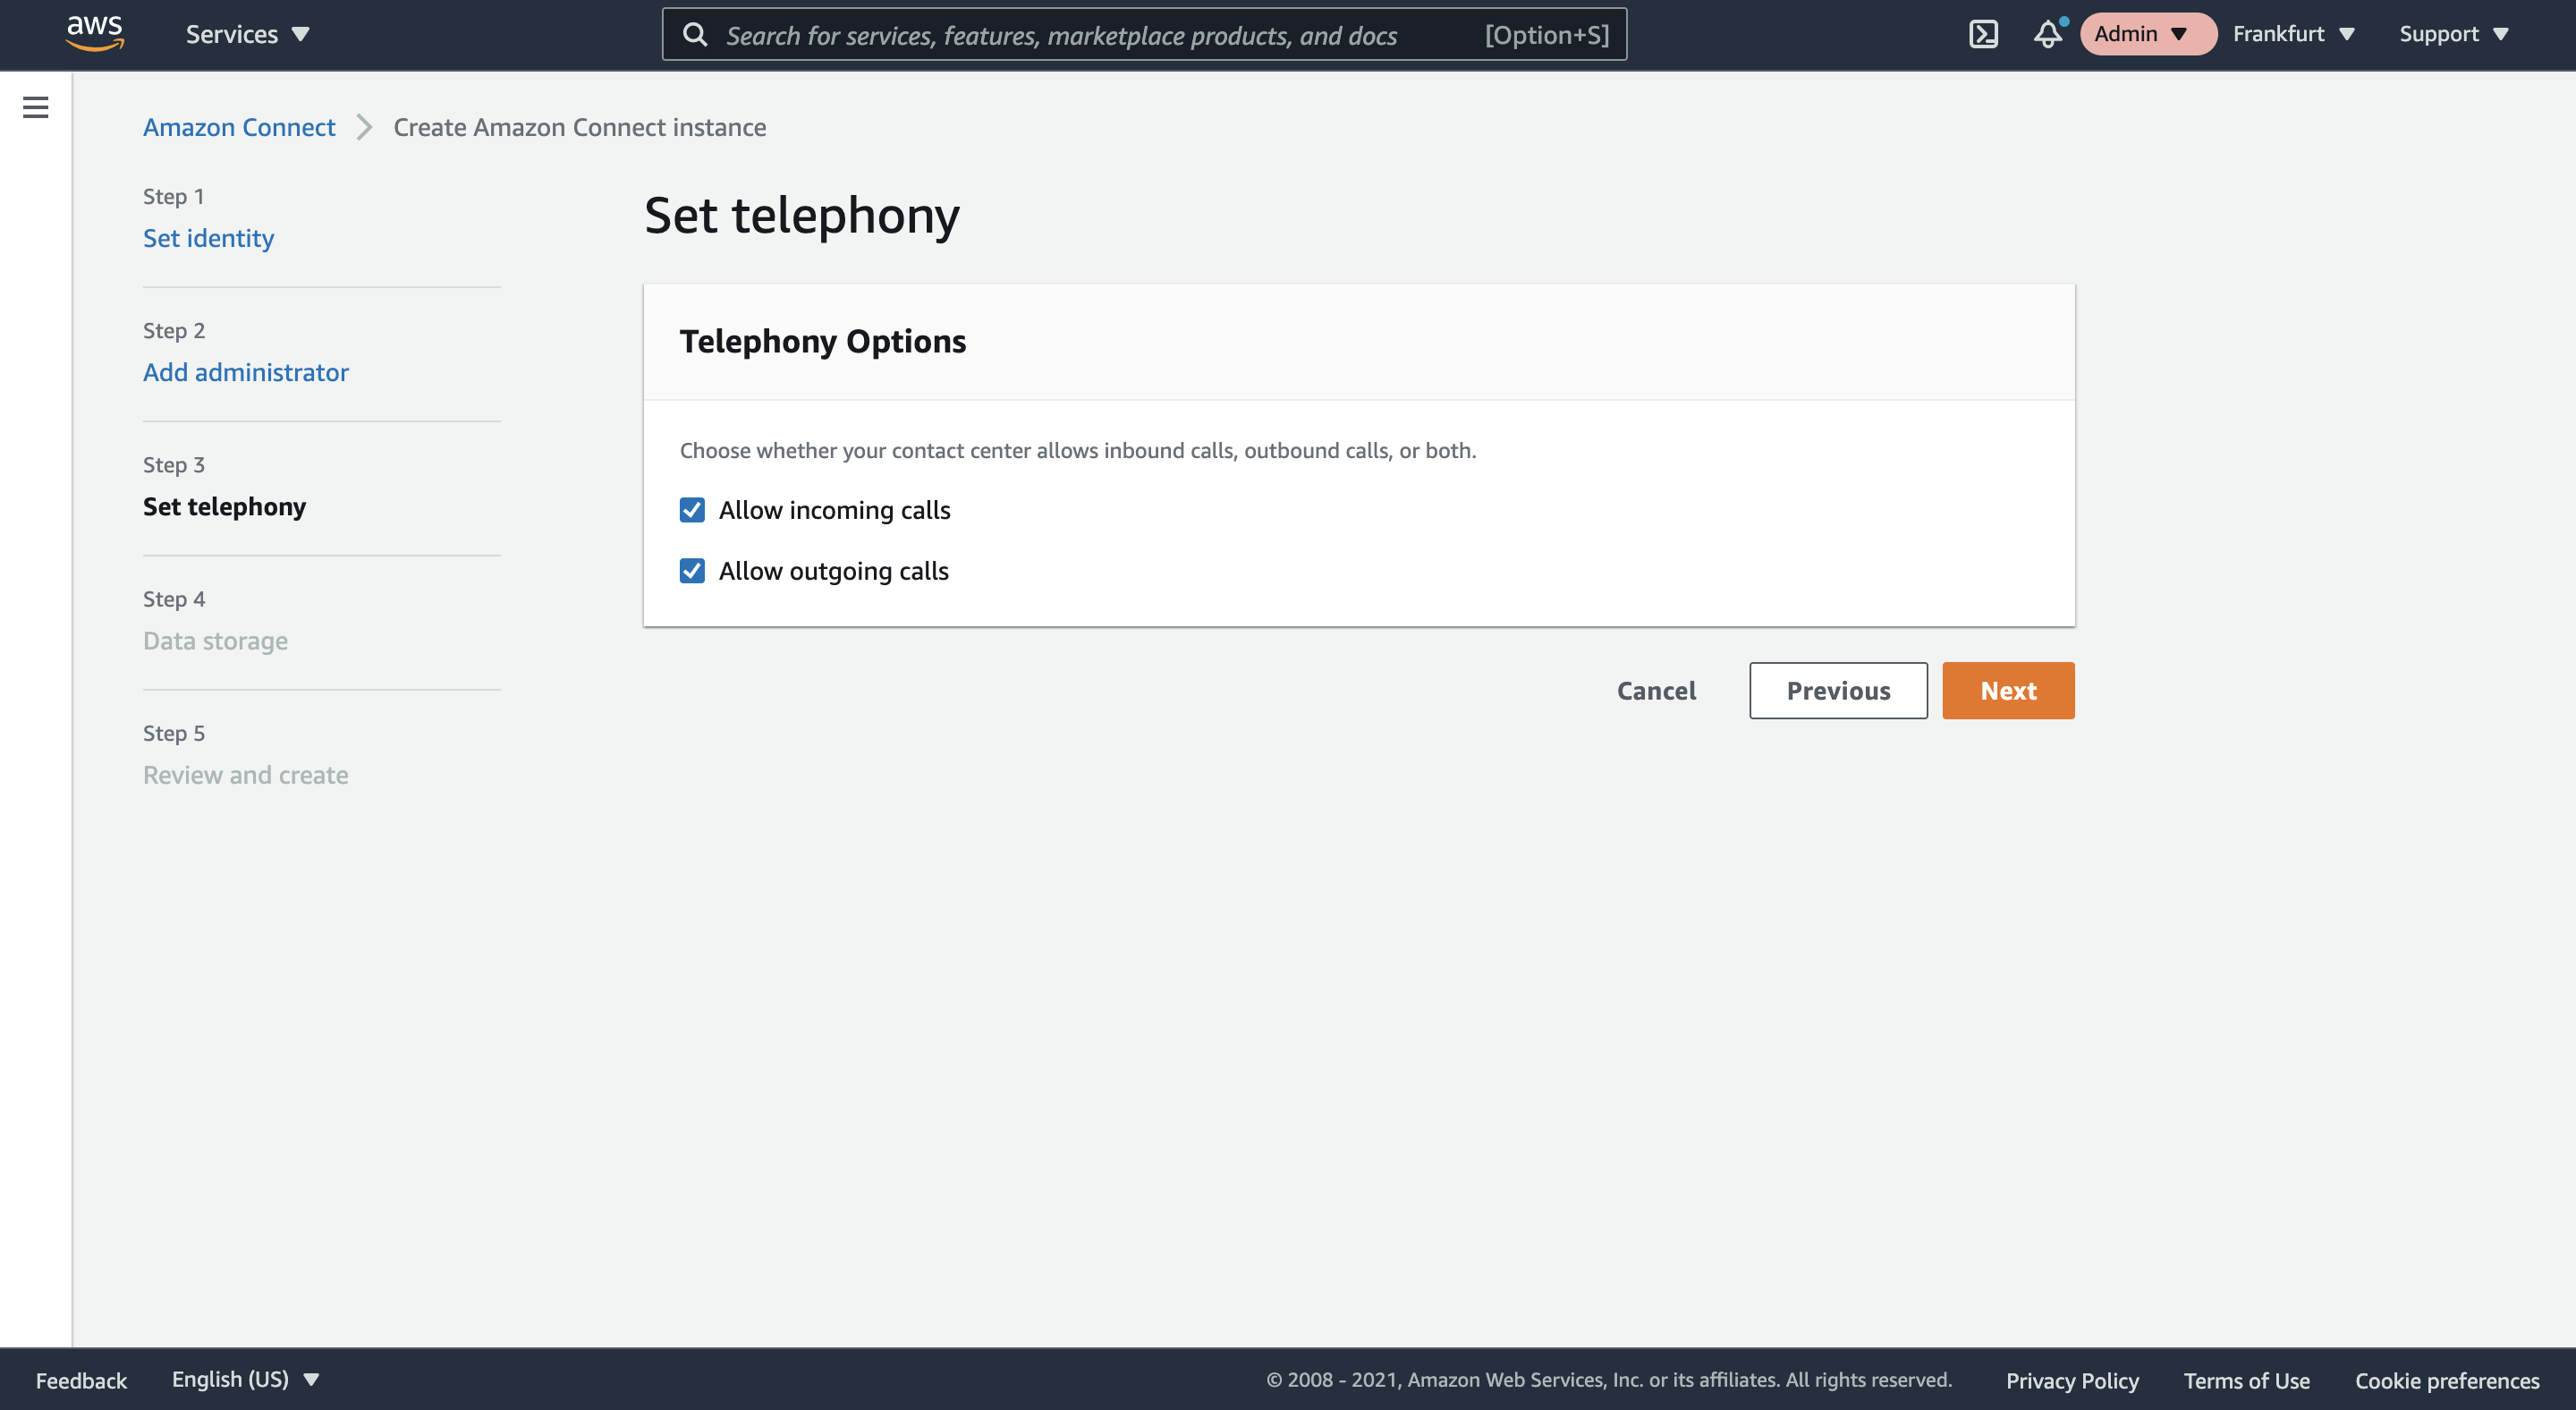
- In step 3 we select wether we want to allow incoming calls, outgoing calls or both. For now we will select both, but we can change this afterwards if needed.
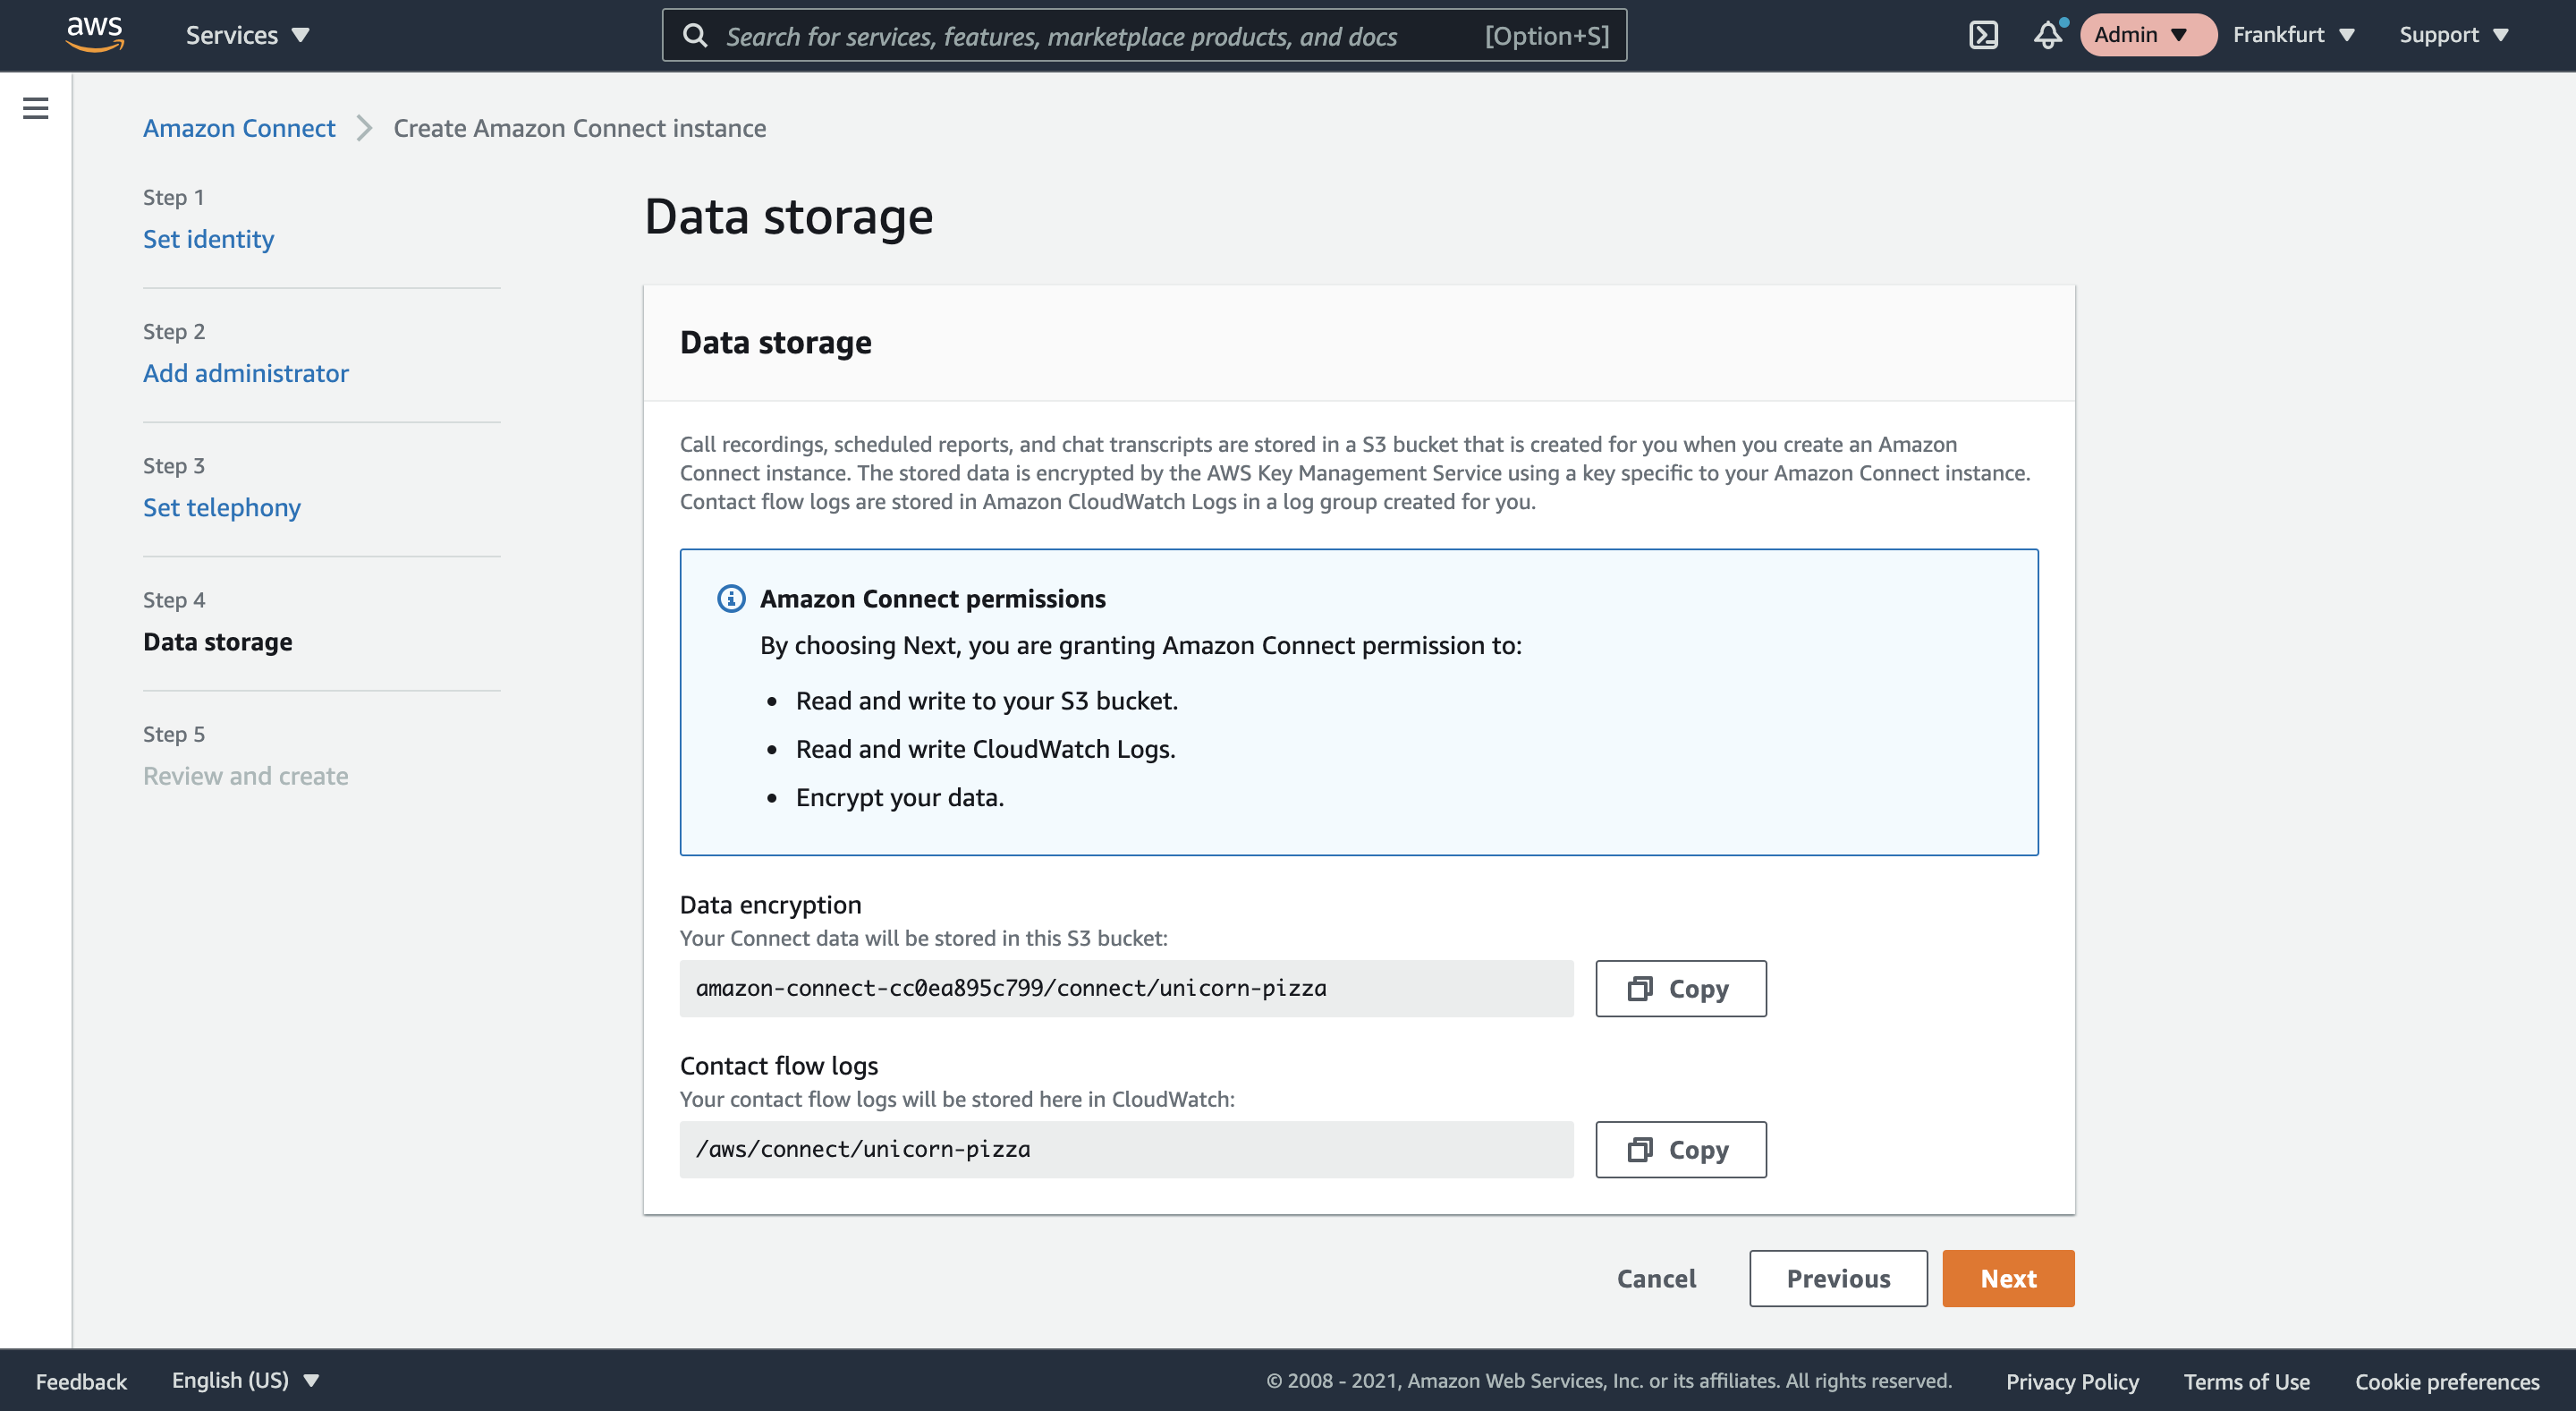
- In step 4 of wizard you will see where Amazon Connect will store reports, chat transcripts and call recordings. By default the stored data will be encrypted using a Amazon Managed KMS key called amazon/connect. Once the instance is created this can be changed to a Customer Managed key, if required.
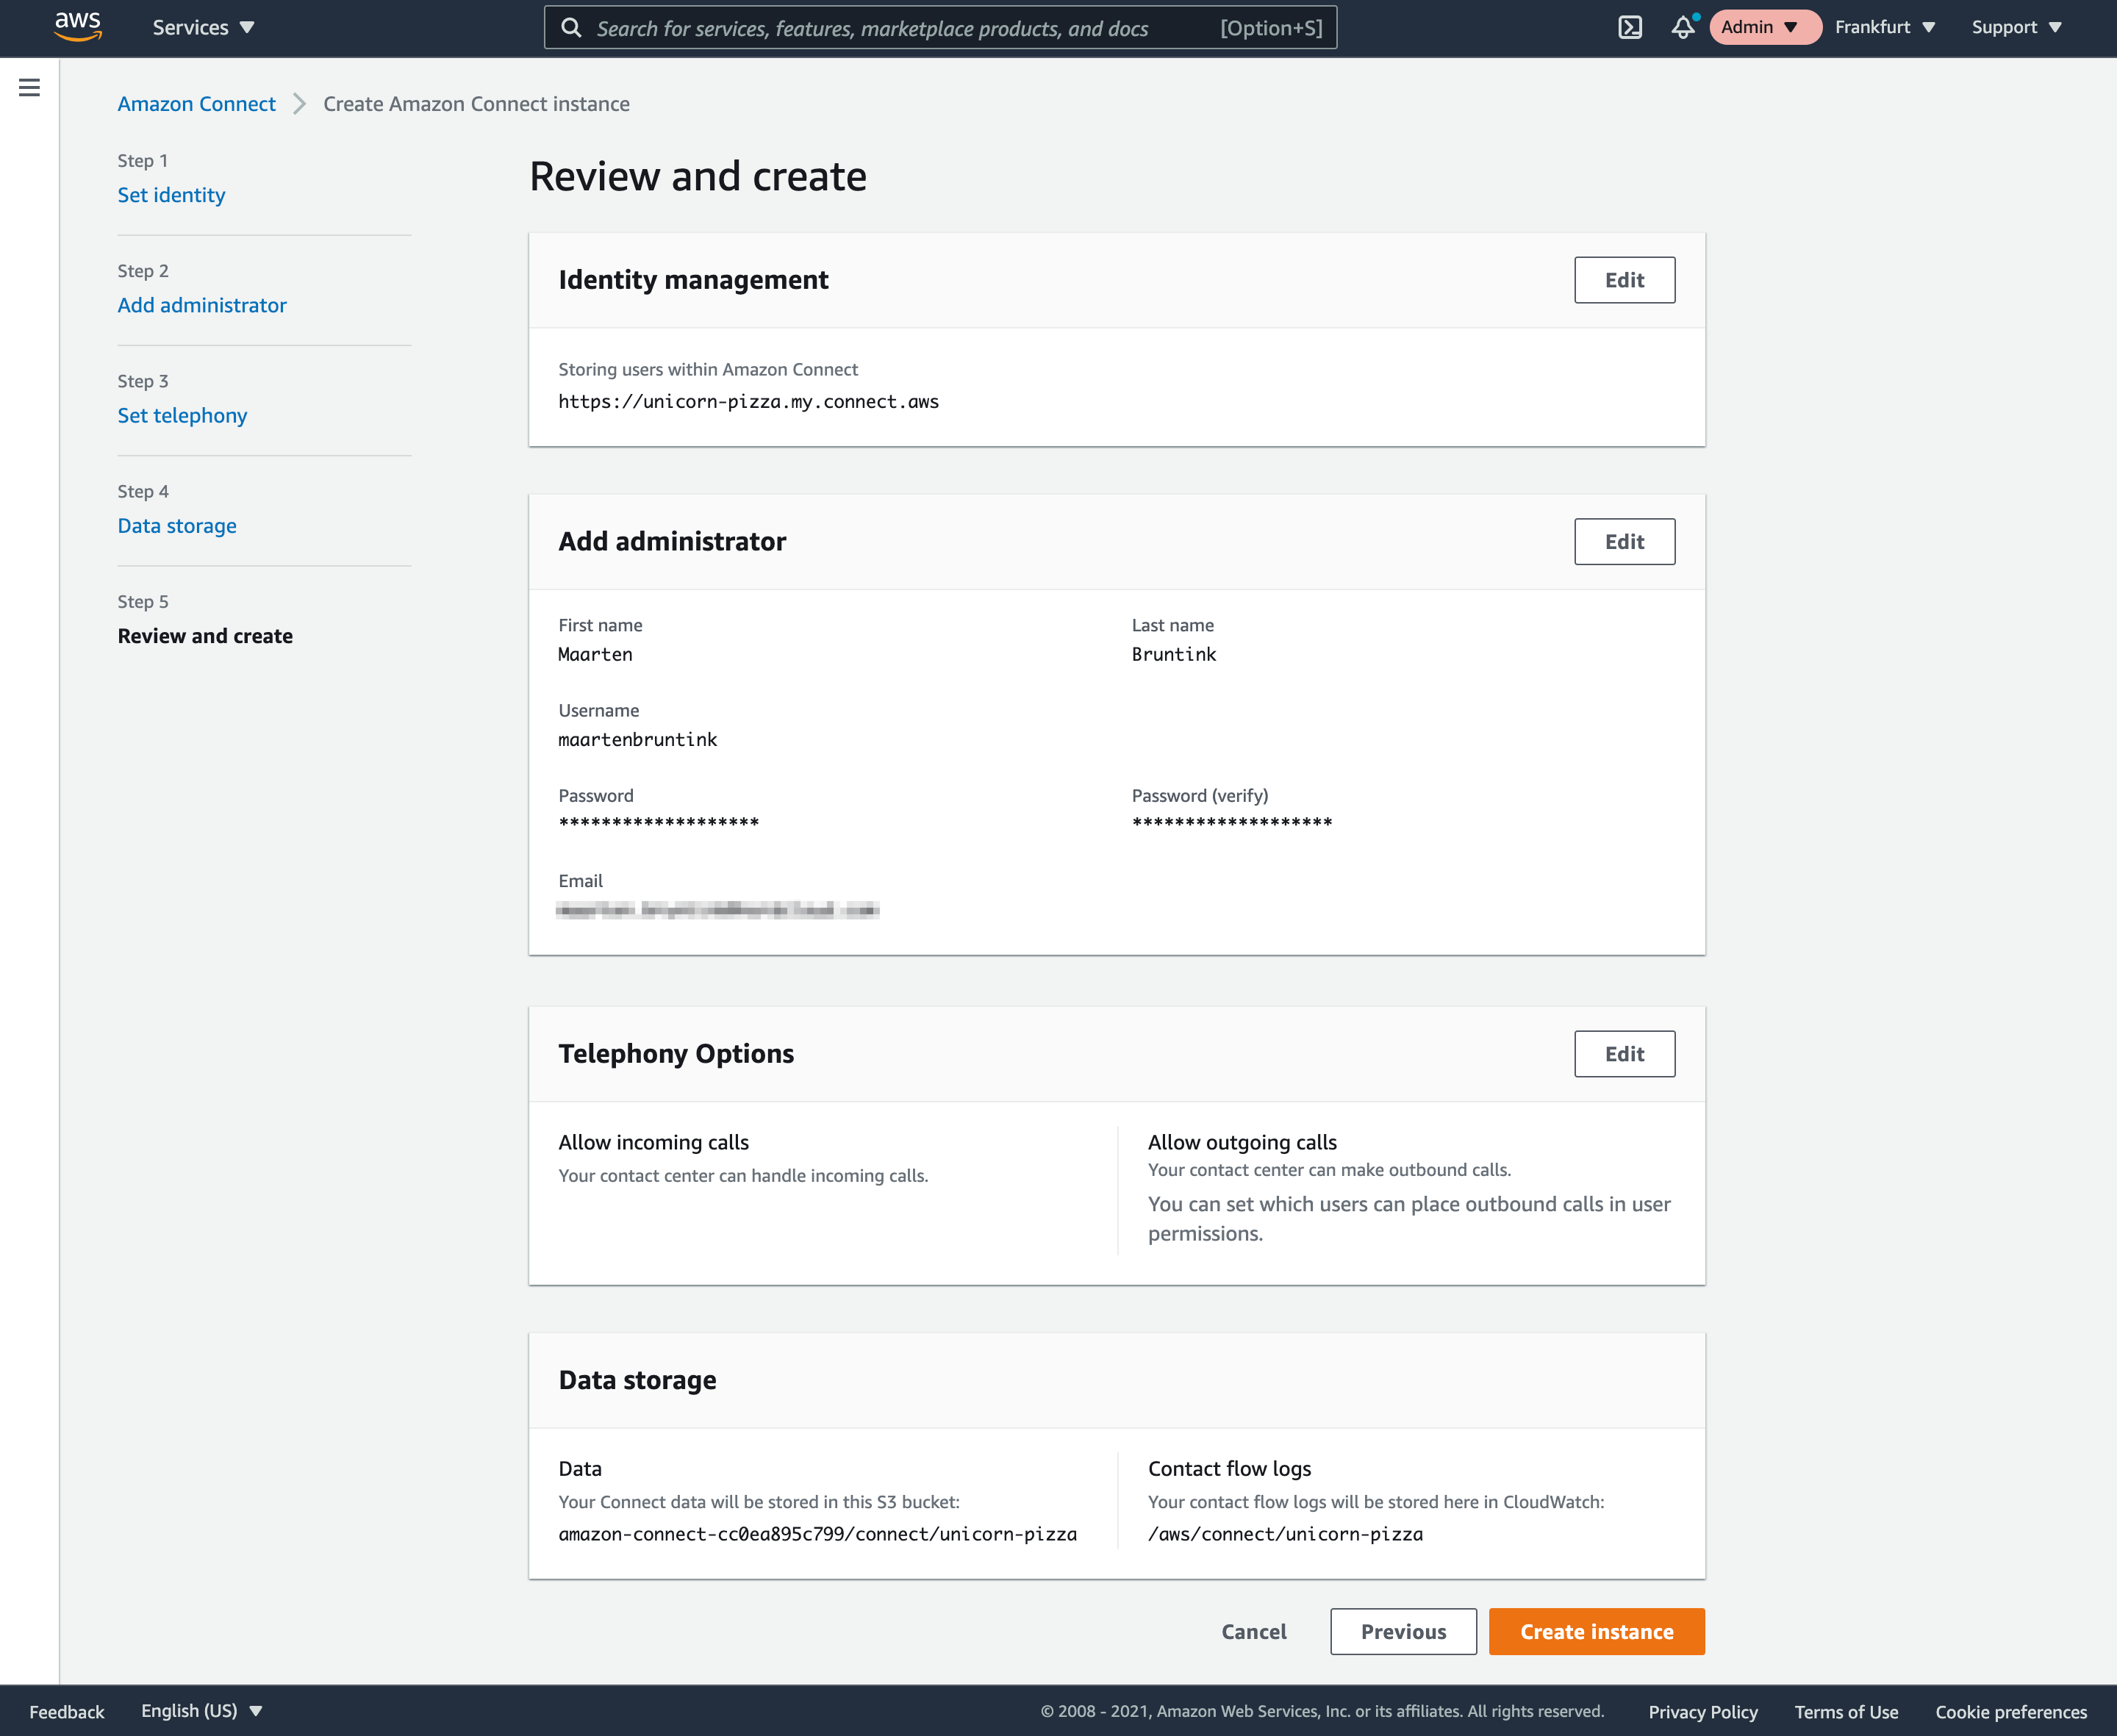
- On the last step the wizard will provide an overview of the selected settings. Review your choices and click Create instance to create the Amazon Connect instance.
- The Amazon Connect instance will now be created.

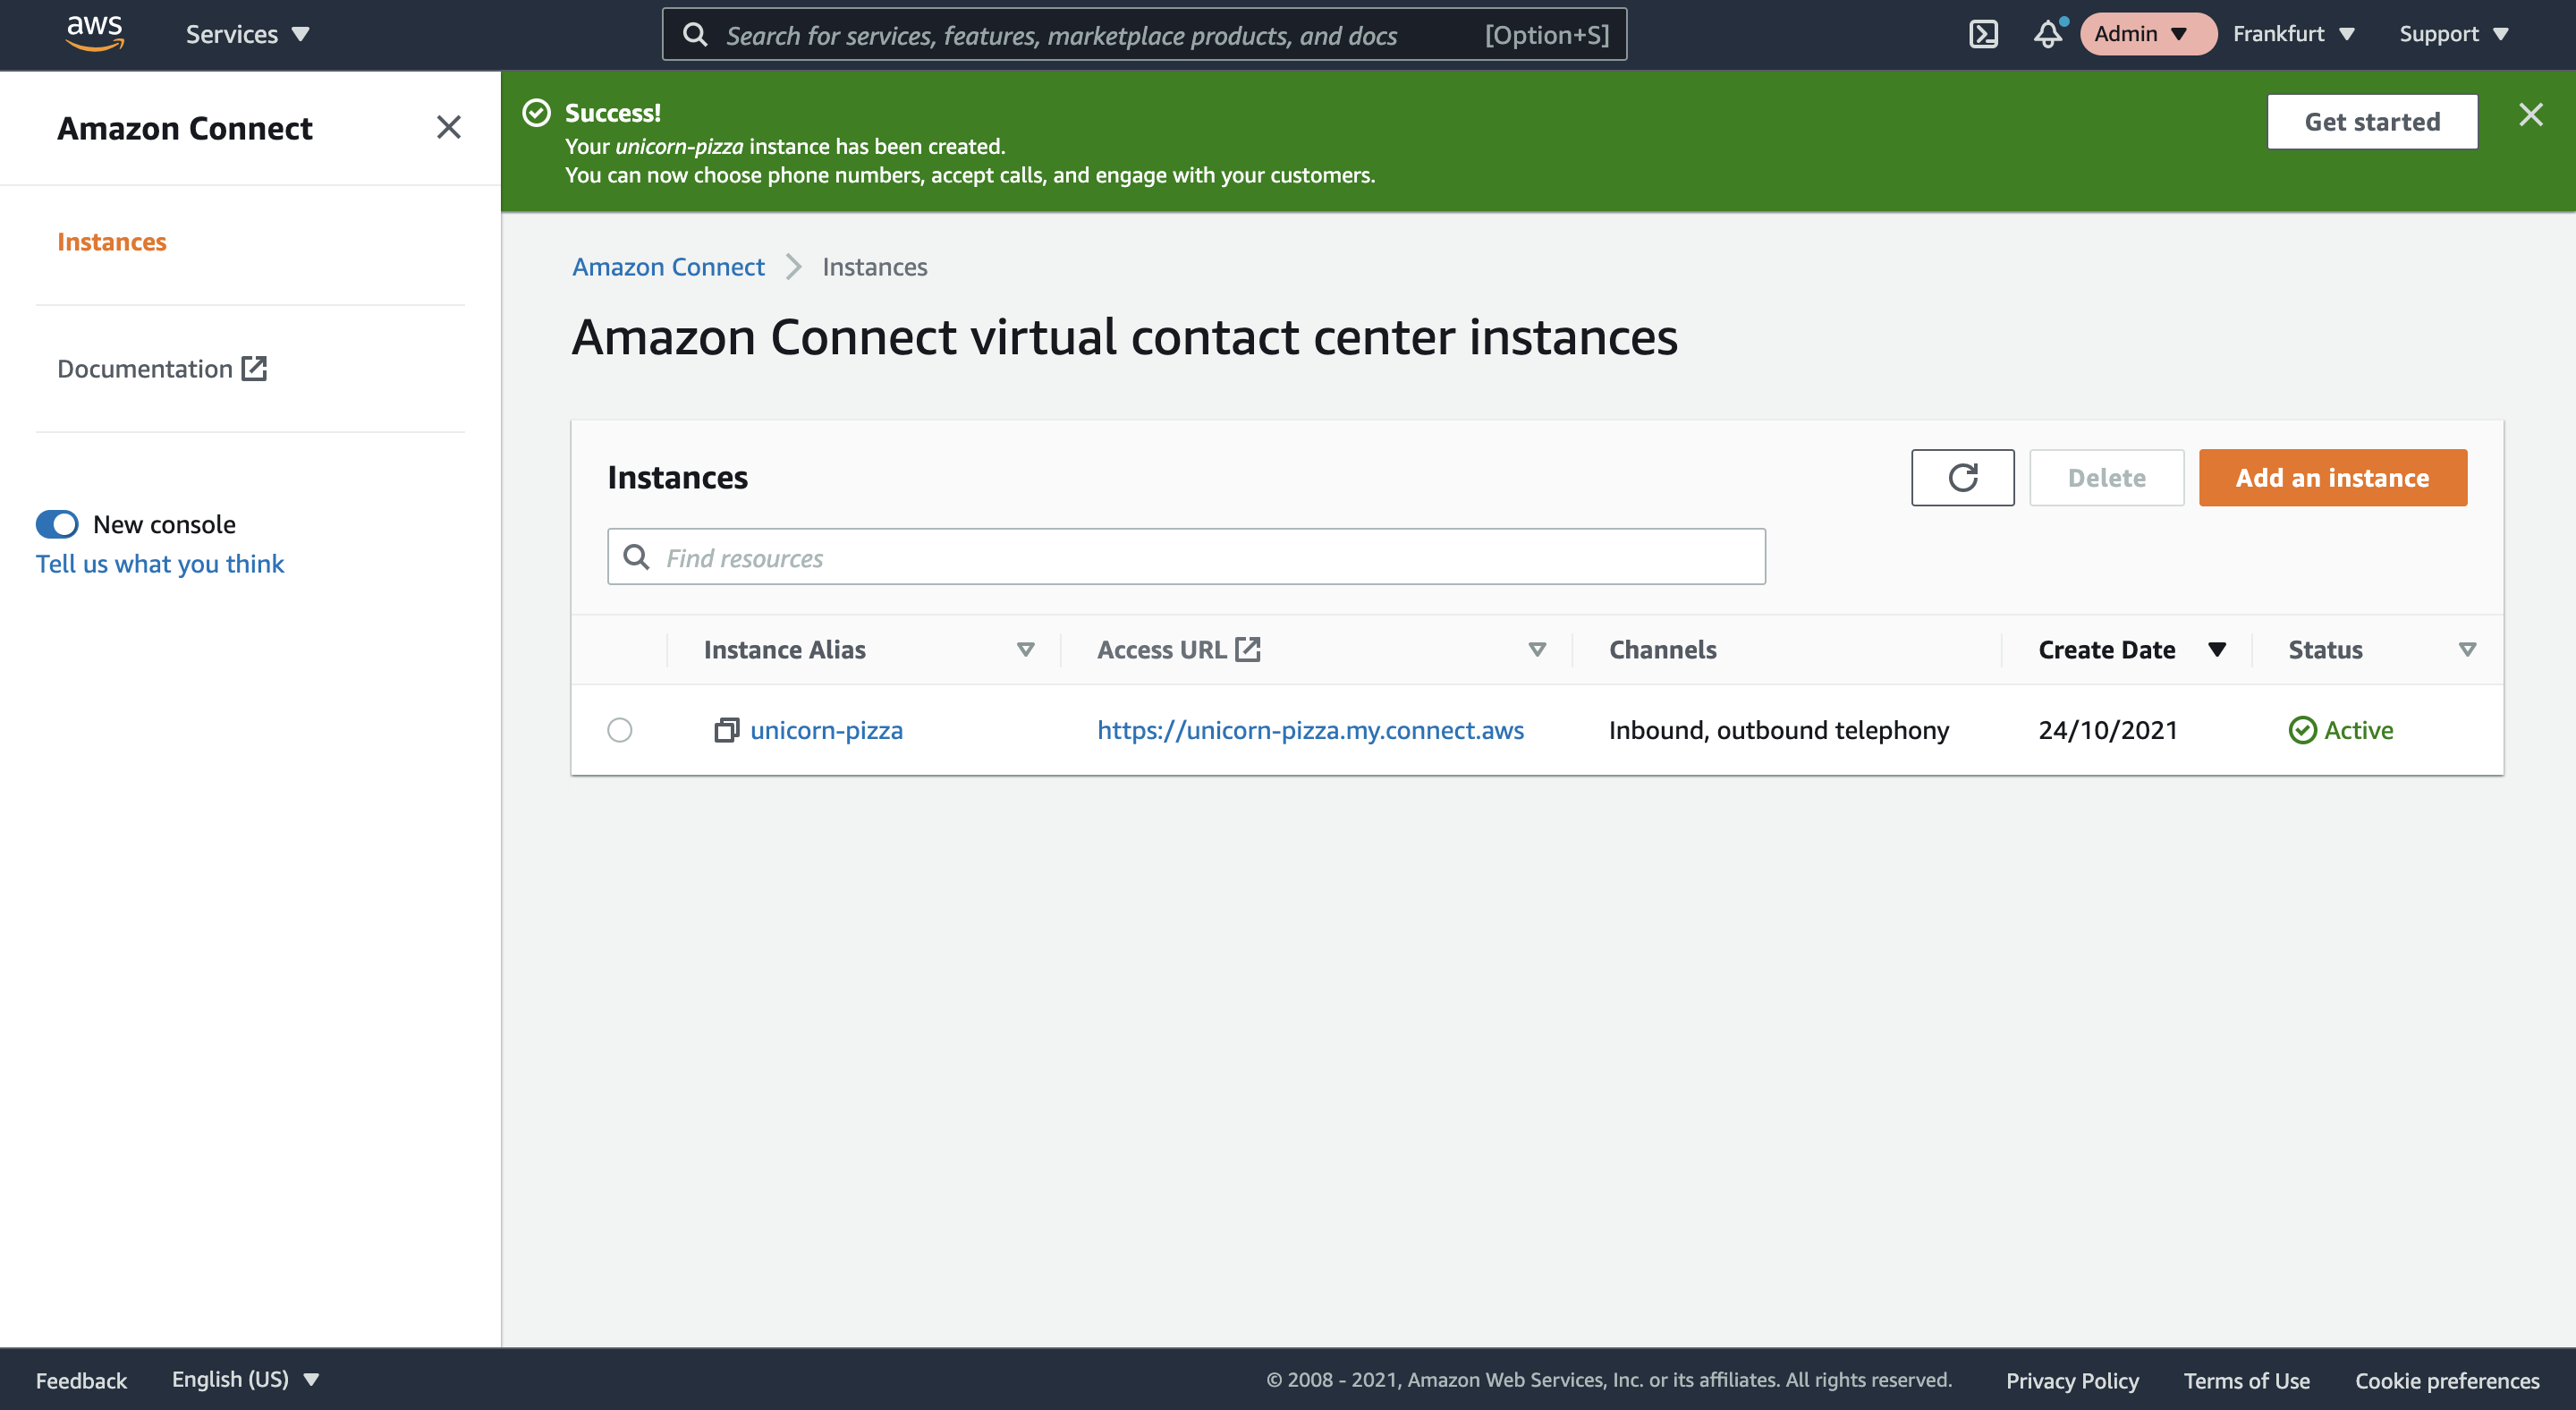
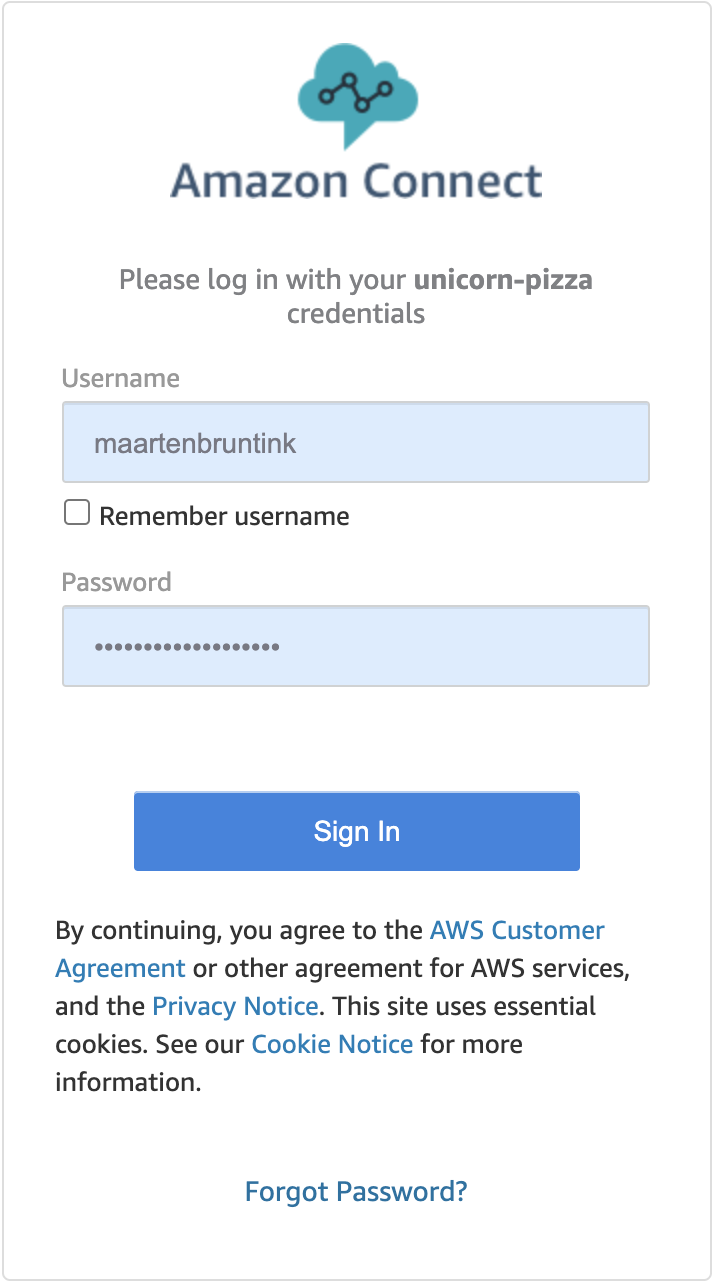
- You can now login to your Amazon Connect instance by browsing to the url you specified before or by clicking the link in the instances overview. (**https://your-instance-name.my.connect.aws)
Associating a phone number
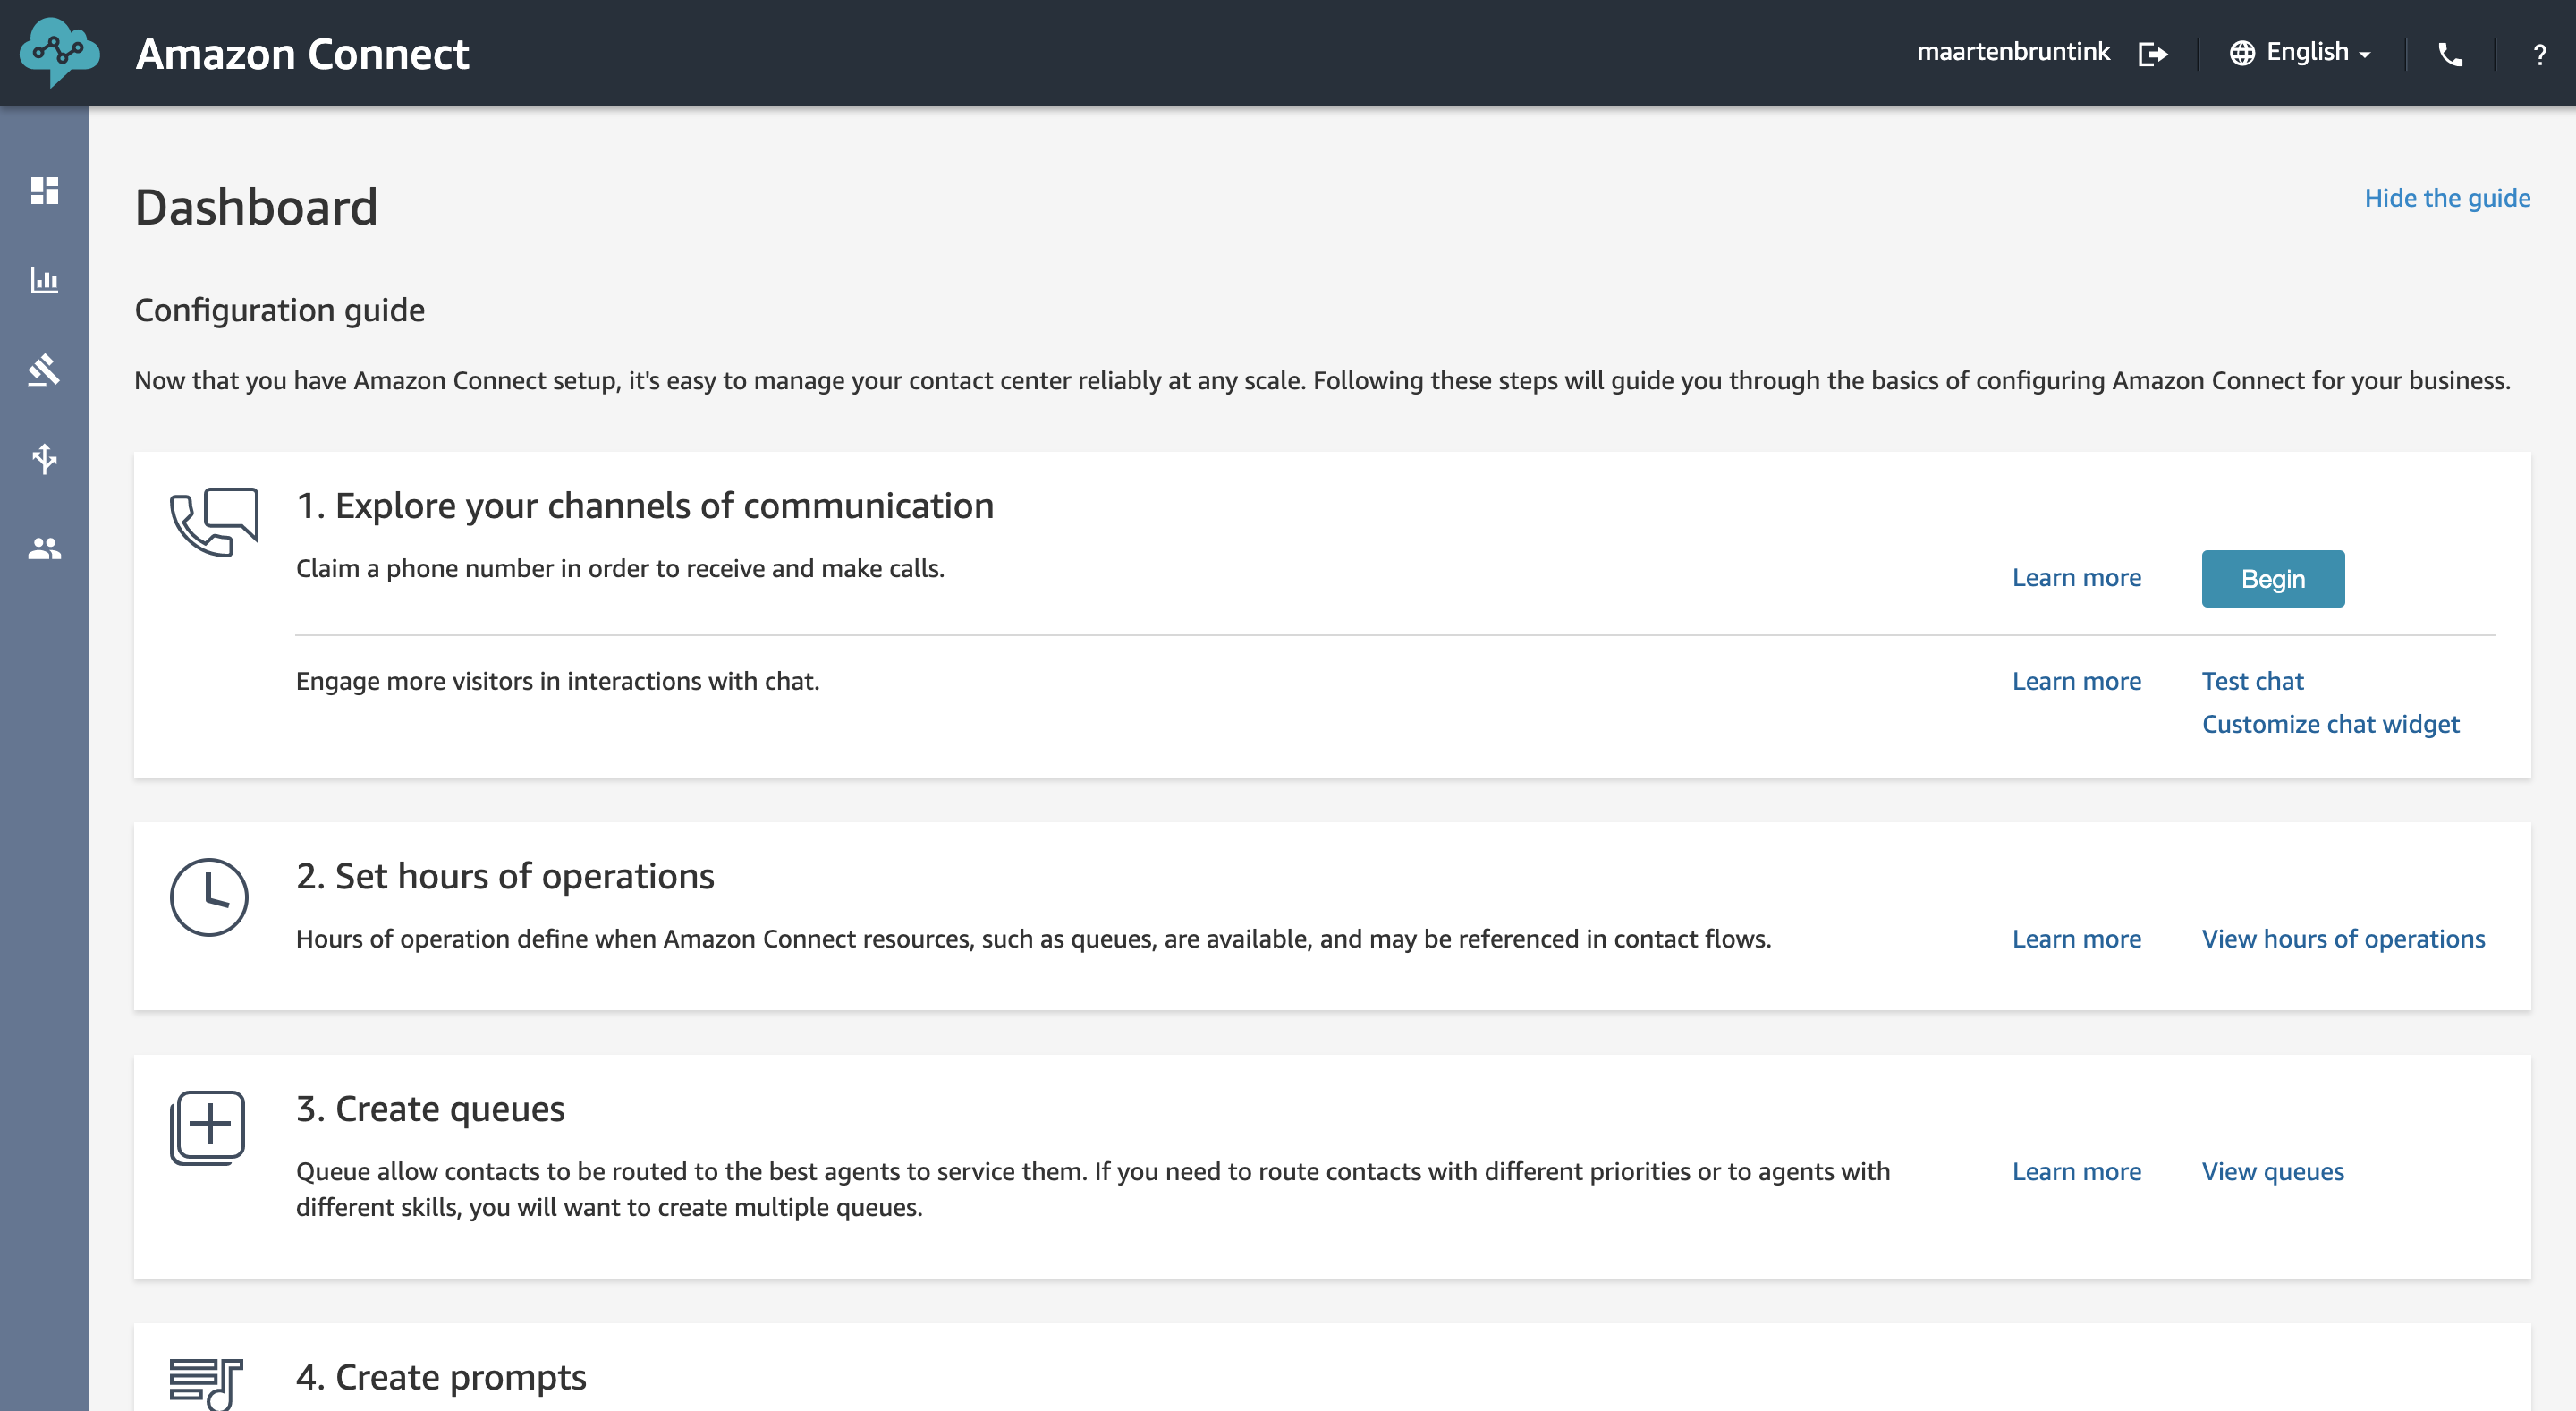
- Once logged in the first thing to do is to claim a phone number, so click Begin.
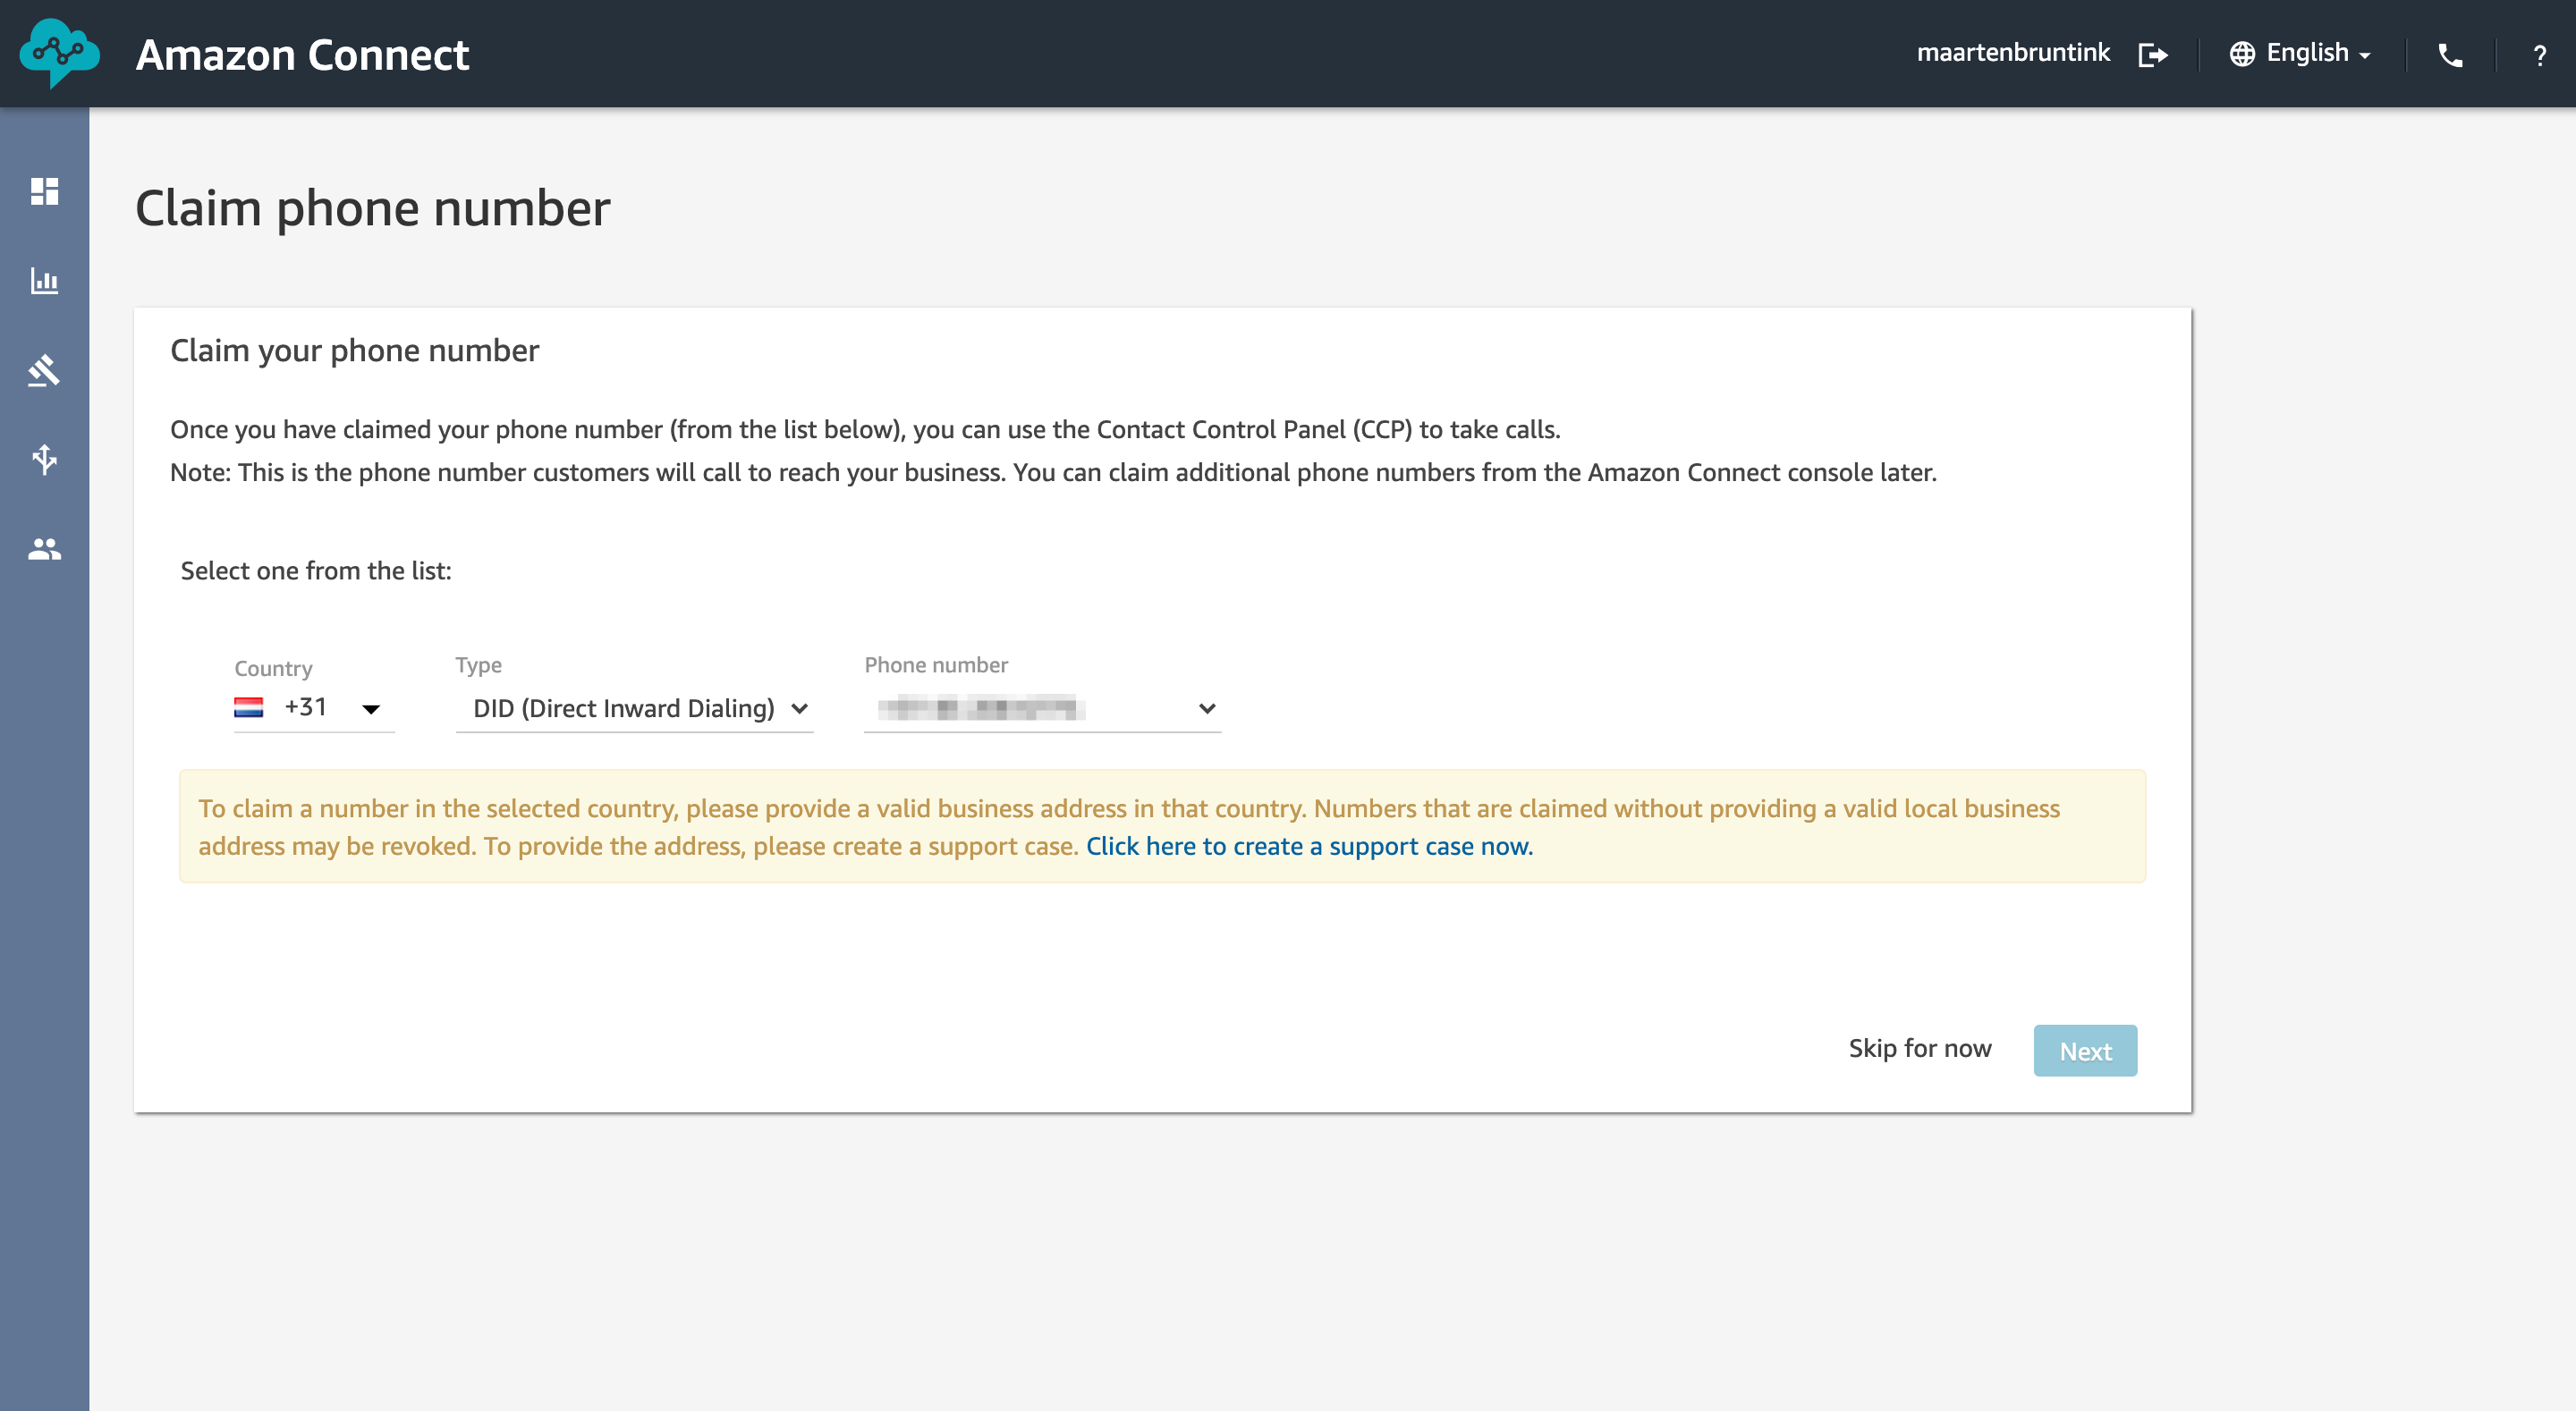
- On the next page you can select a phone number to associate with your Amazon Connect instance. After selecting a phone number click Next to continue.
Note 1: For some countries the page mentions to create a support case if no valid business address is known. Once you click the Create support case now link you will be able to continue to the next step.
Note 2: Associating a phone number outside of the region in which the Amazon Connect instance is located will incur a small daily fee. Have a look at the Amazon Connect pricing page for more details.
- It’s now time to test out your newly created contact center. Try to call the selected number with your mobile phone.
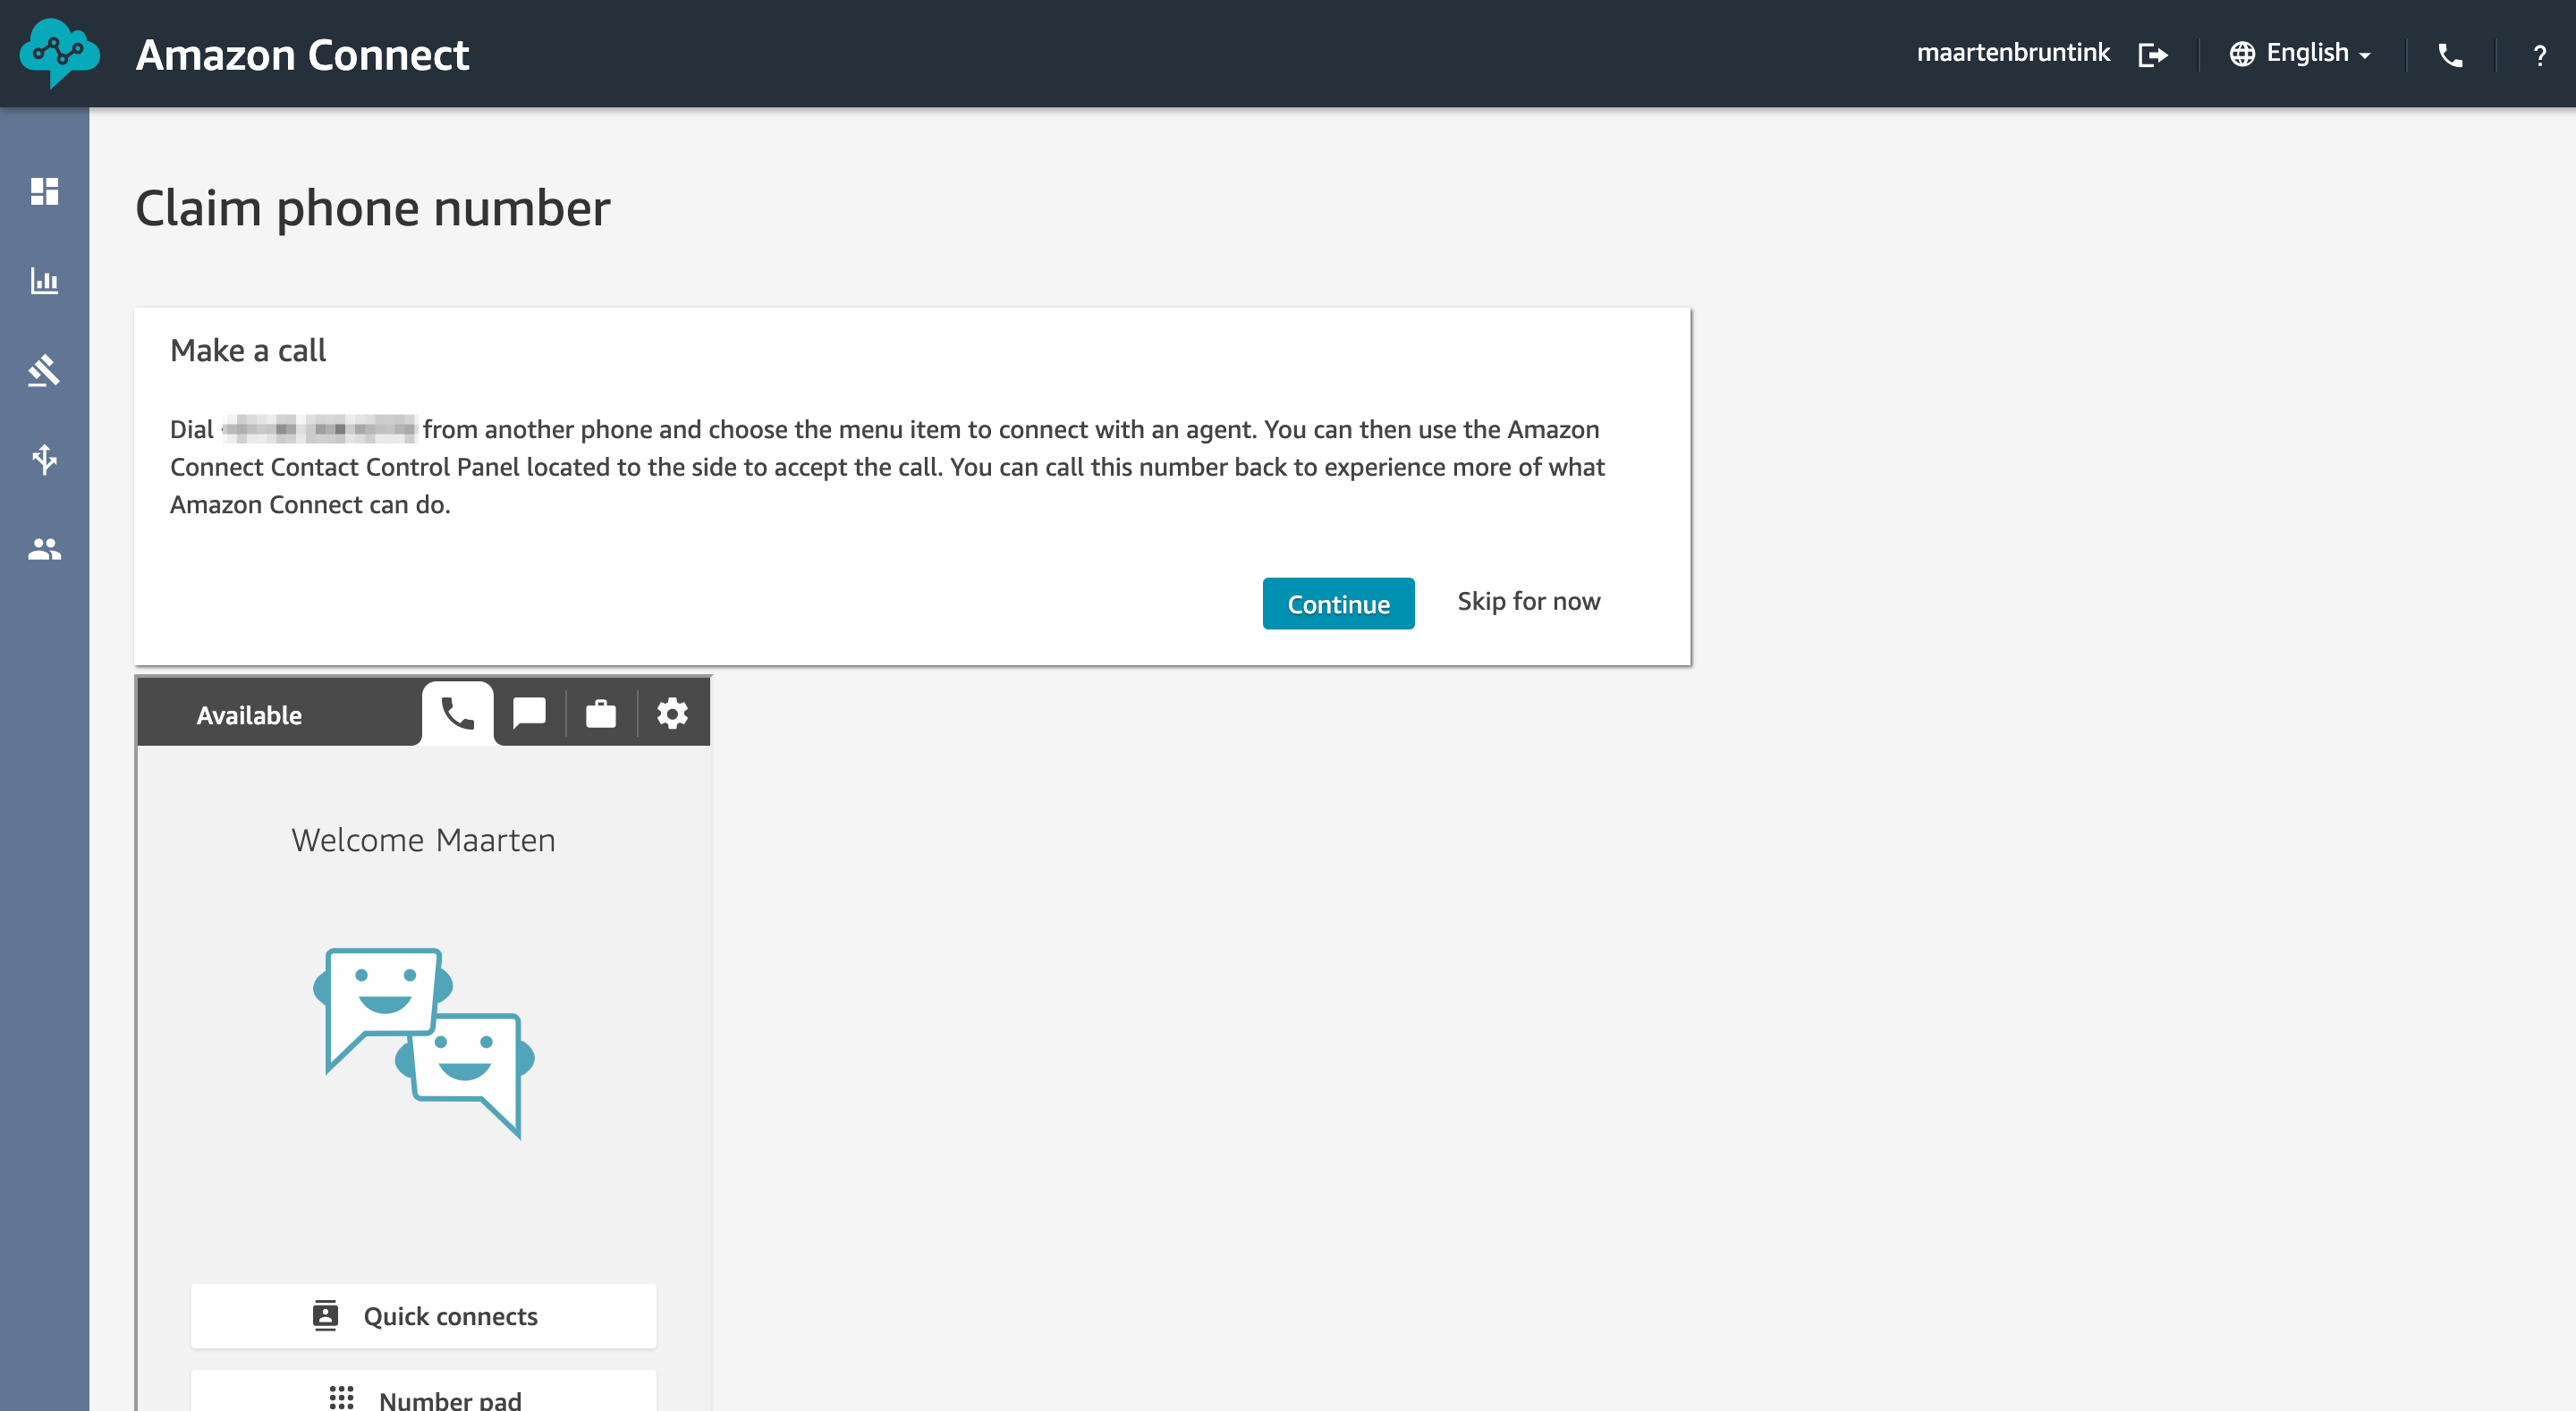
Once connected, you will be presented with a number of example flows. Press 1, to be placed in the queue of an agent. Next, press 1 to be moved to the front of the queue. You will be asked if you want to be placed in the queue or enter a call back number, press 1 again. You will now be able to answer the call in Amazon Connect by selecting Accept Call.
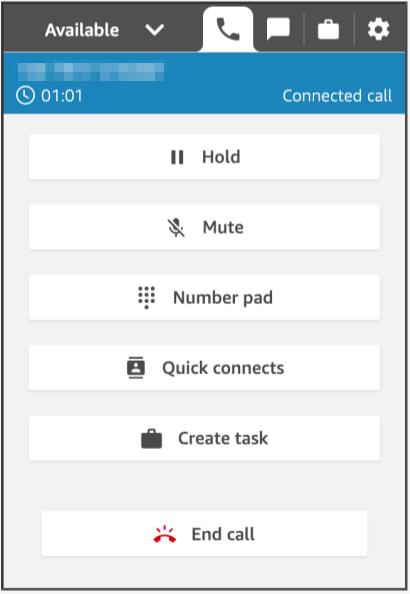
- End the call and click Continue to return to the Amazon Connect dashboard.
Defining Opening Hours
Our new pizza place will not be open 24/7 and you have decided to open up shop from Tuesday to Friday from 11:30AM to 11:00PM. To set these opening hours we have to define the Hours of operation in Amazon Connect. In the next section we will use these in our contact flows to determine how to handle an incoming call, for example by playing a message to customers contacting us outside our regular opening hours.
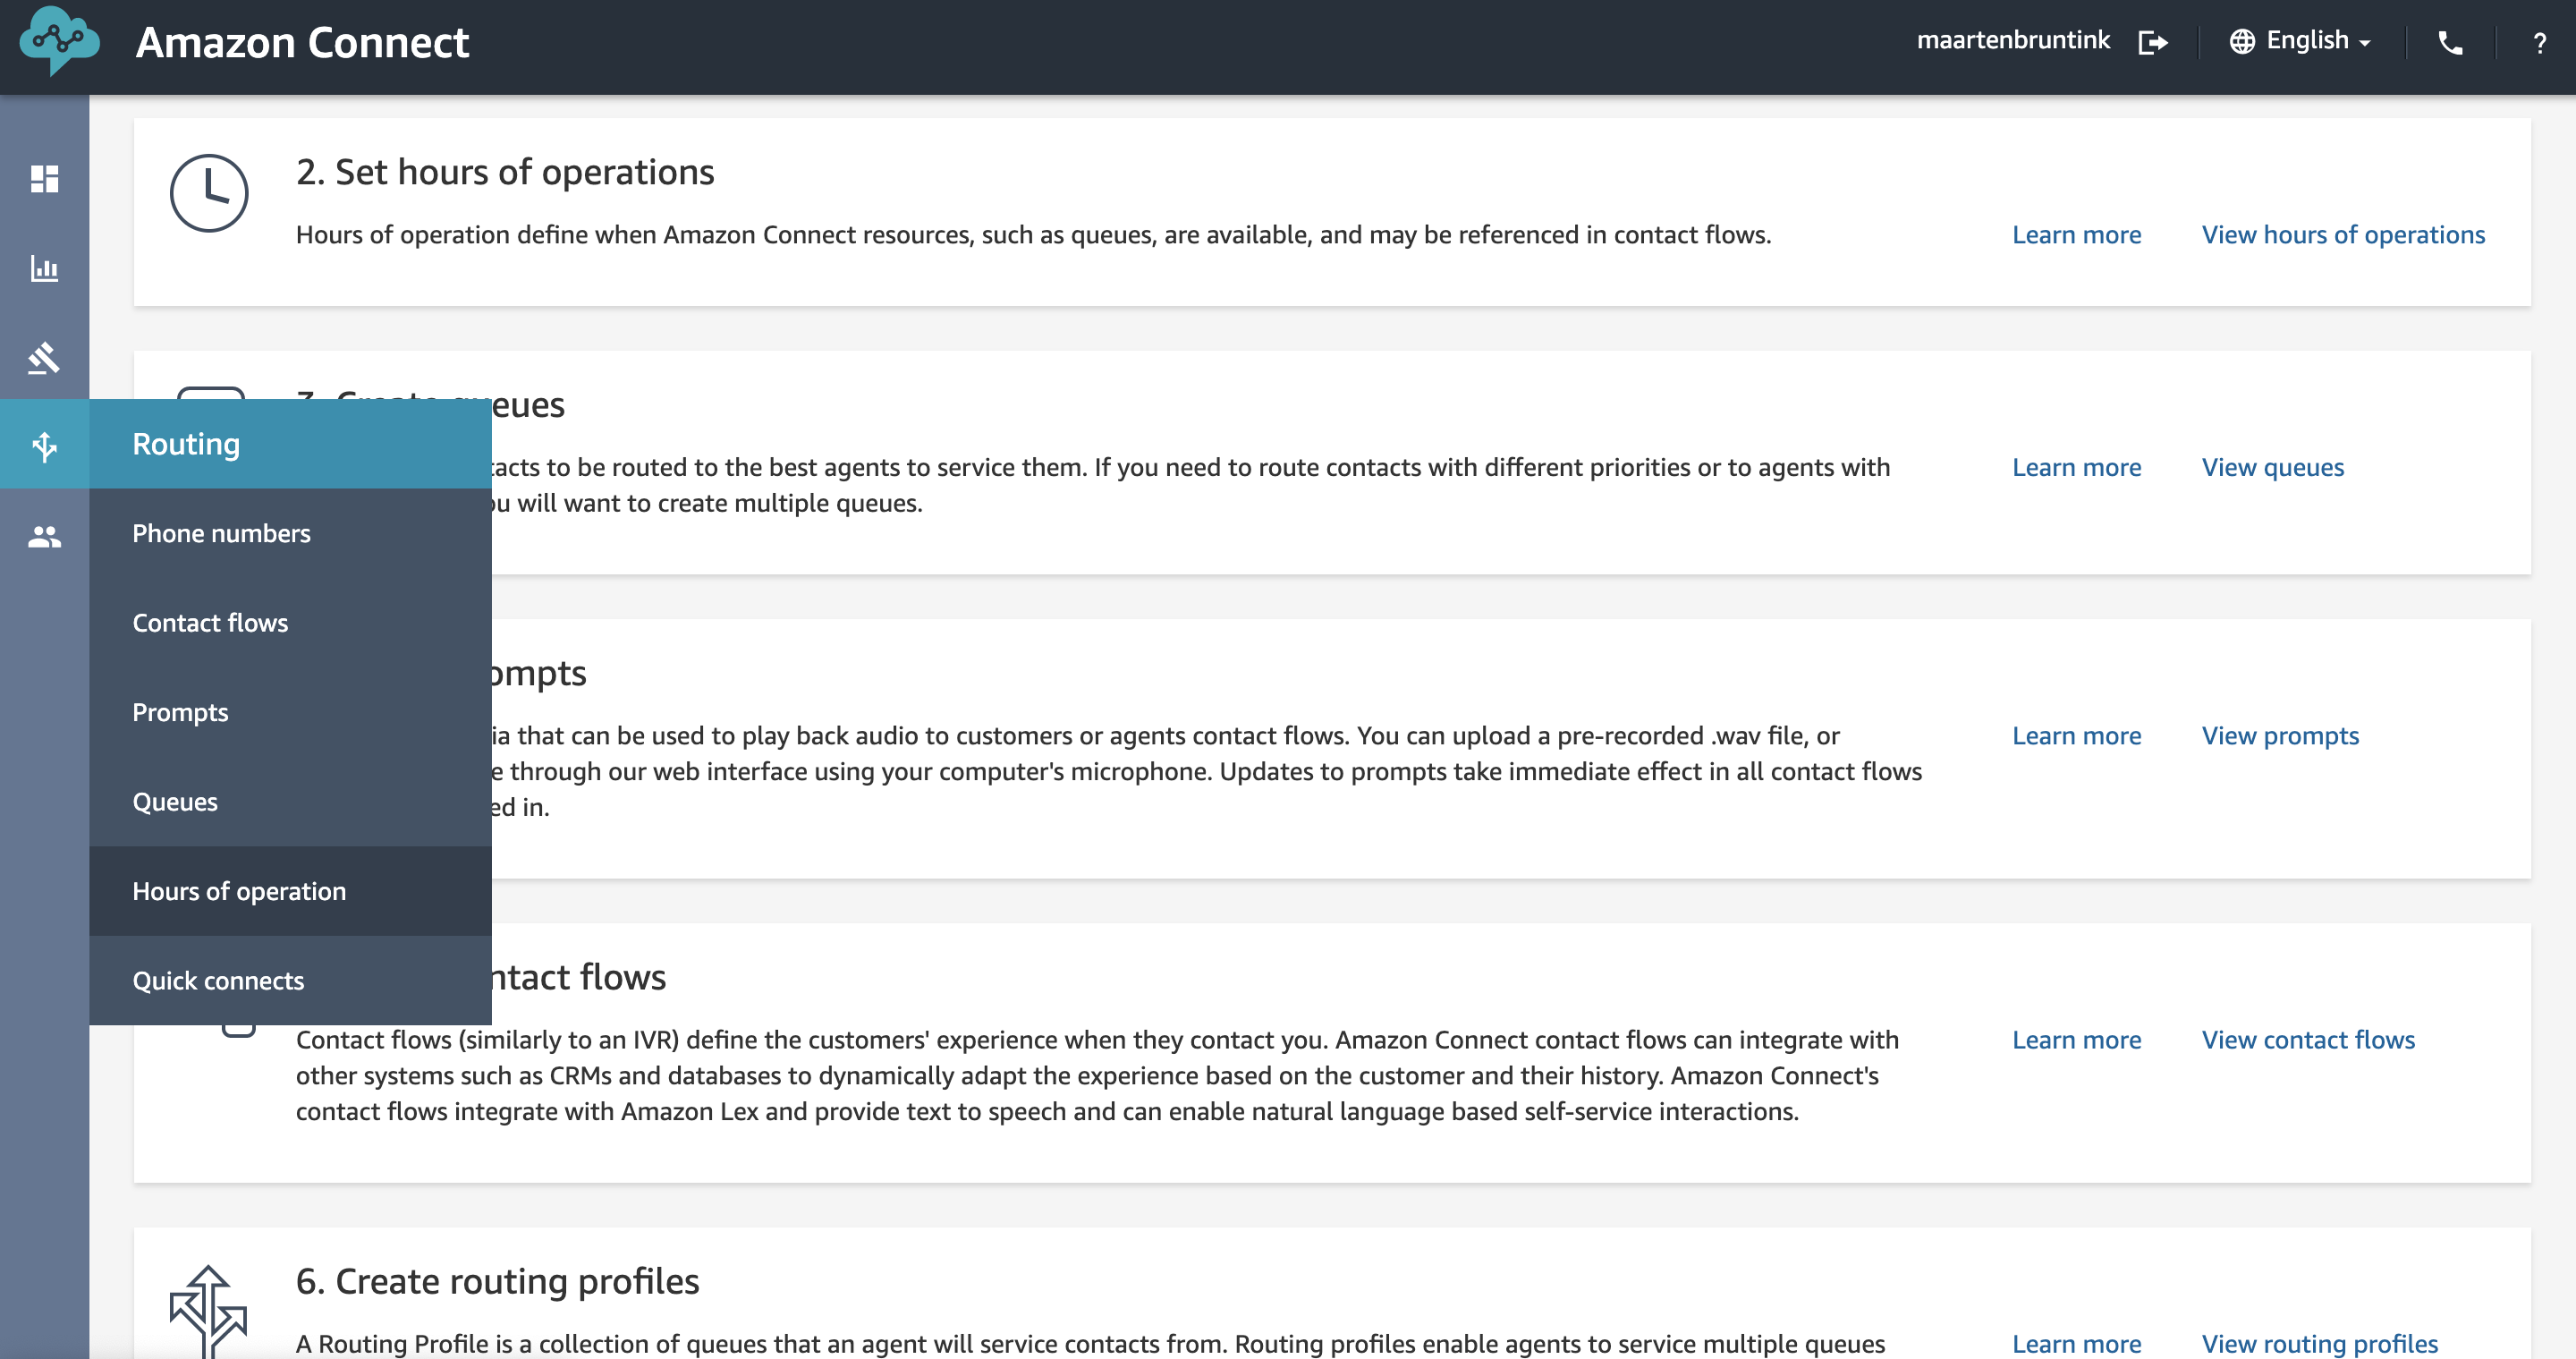
- On the Dashboard page click View hours of operation or select Hours of operation from the Routing menu on the left.
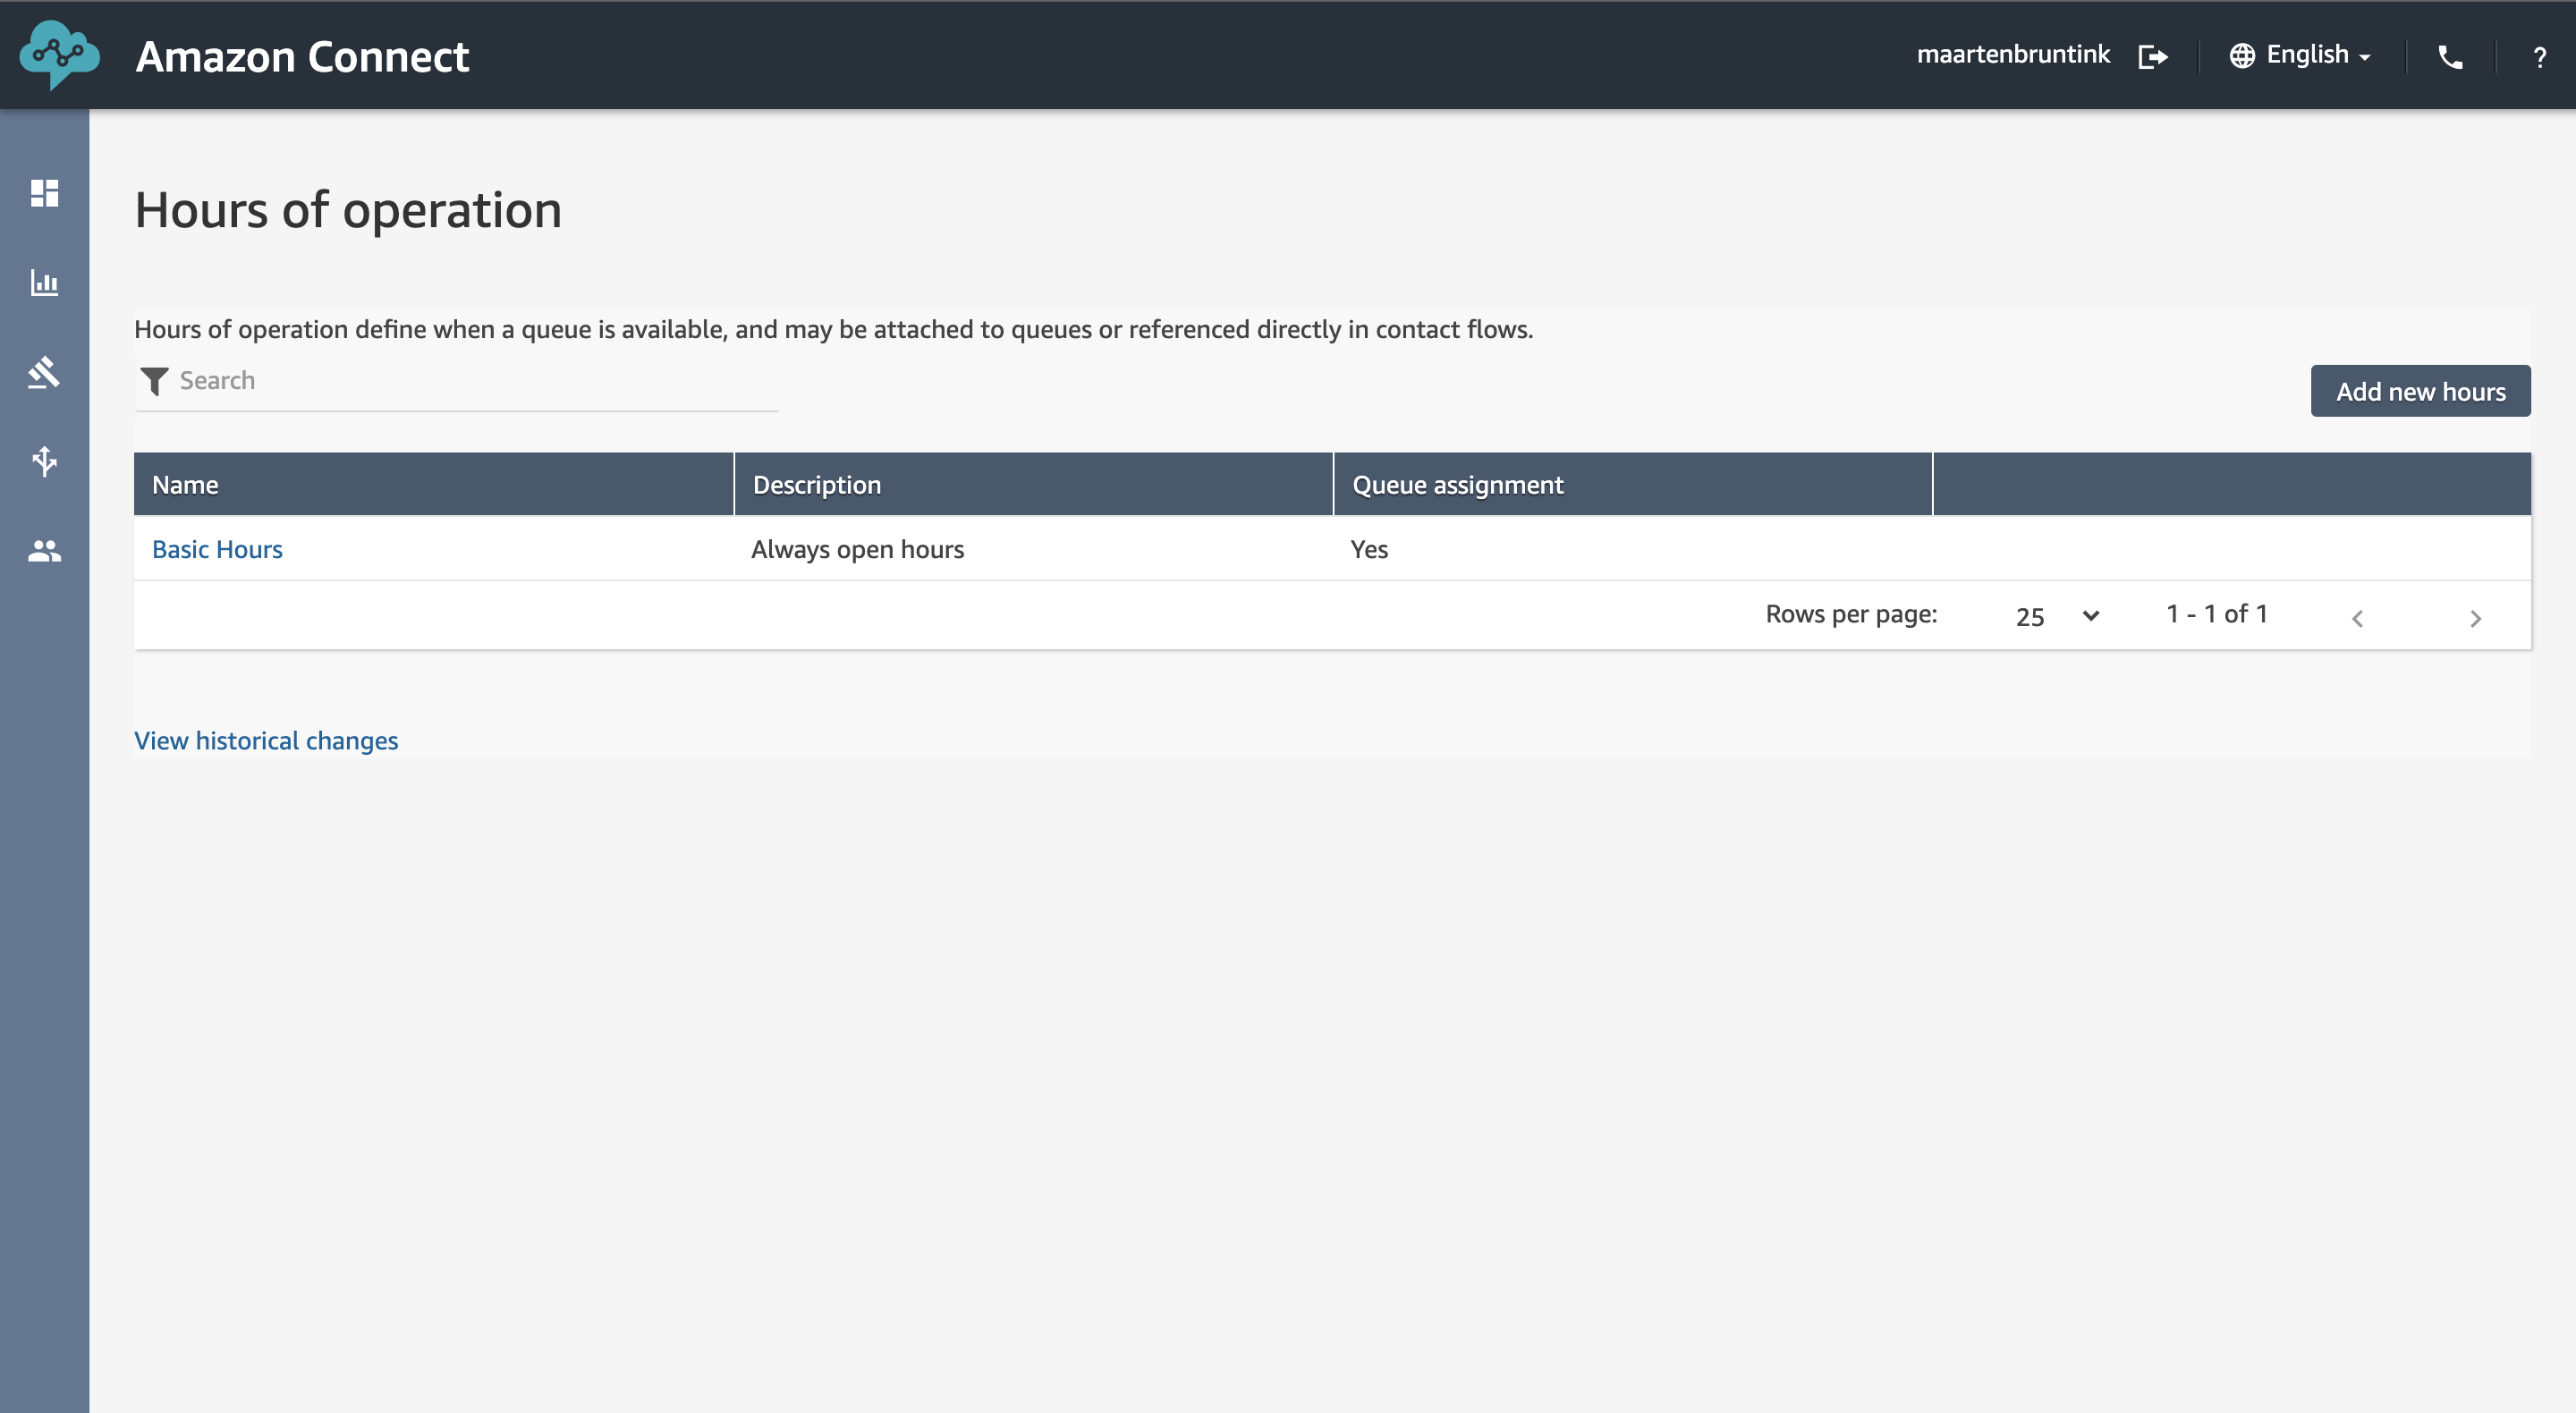
- Select Add new hours to define your opening hours.
- Set the name to Unicorn Pizza - Opening Hours and add a description.
- Set the timezone according to your local timezone, in my case Europe/Amsterdam.
- Remove Monday from the schedule and adjust the start and end times accordingly.
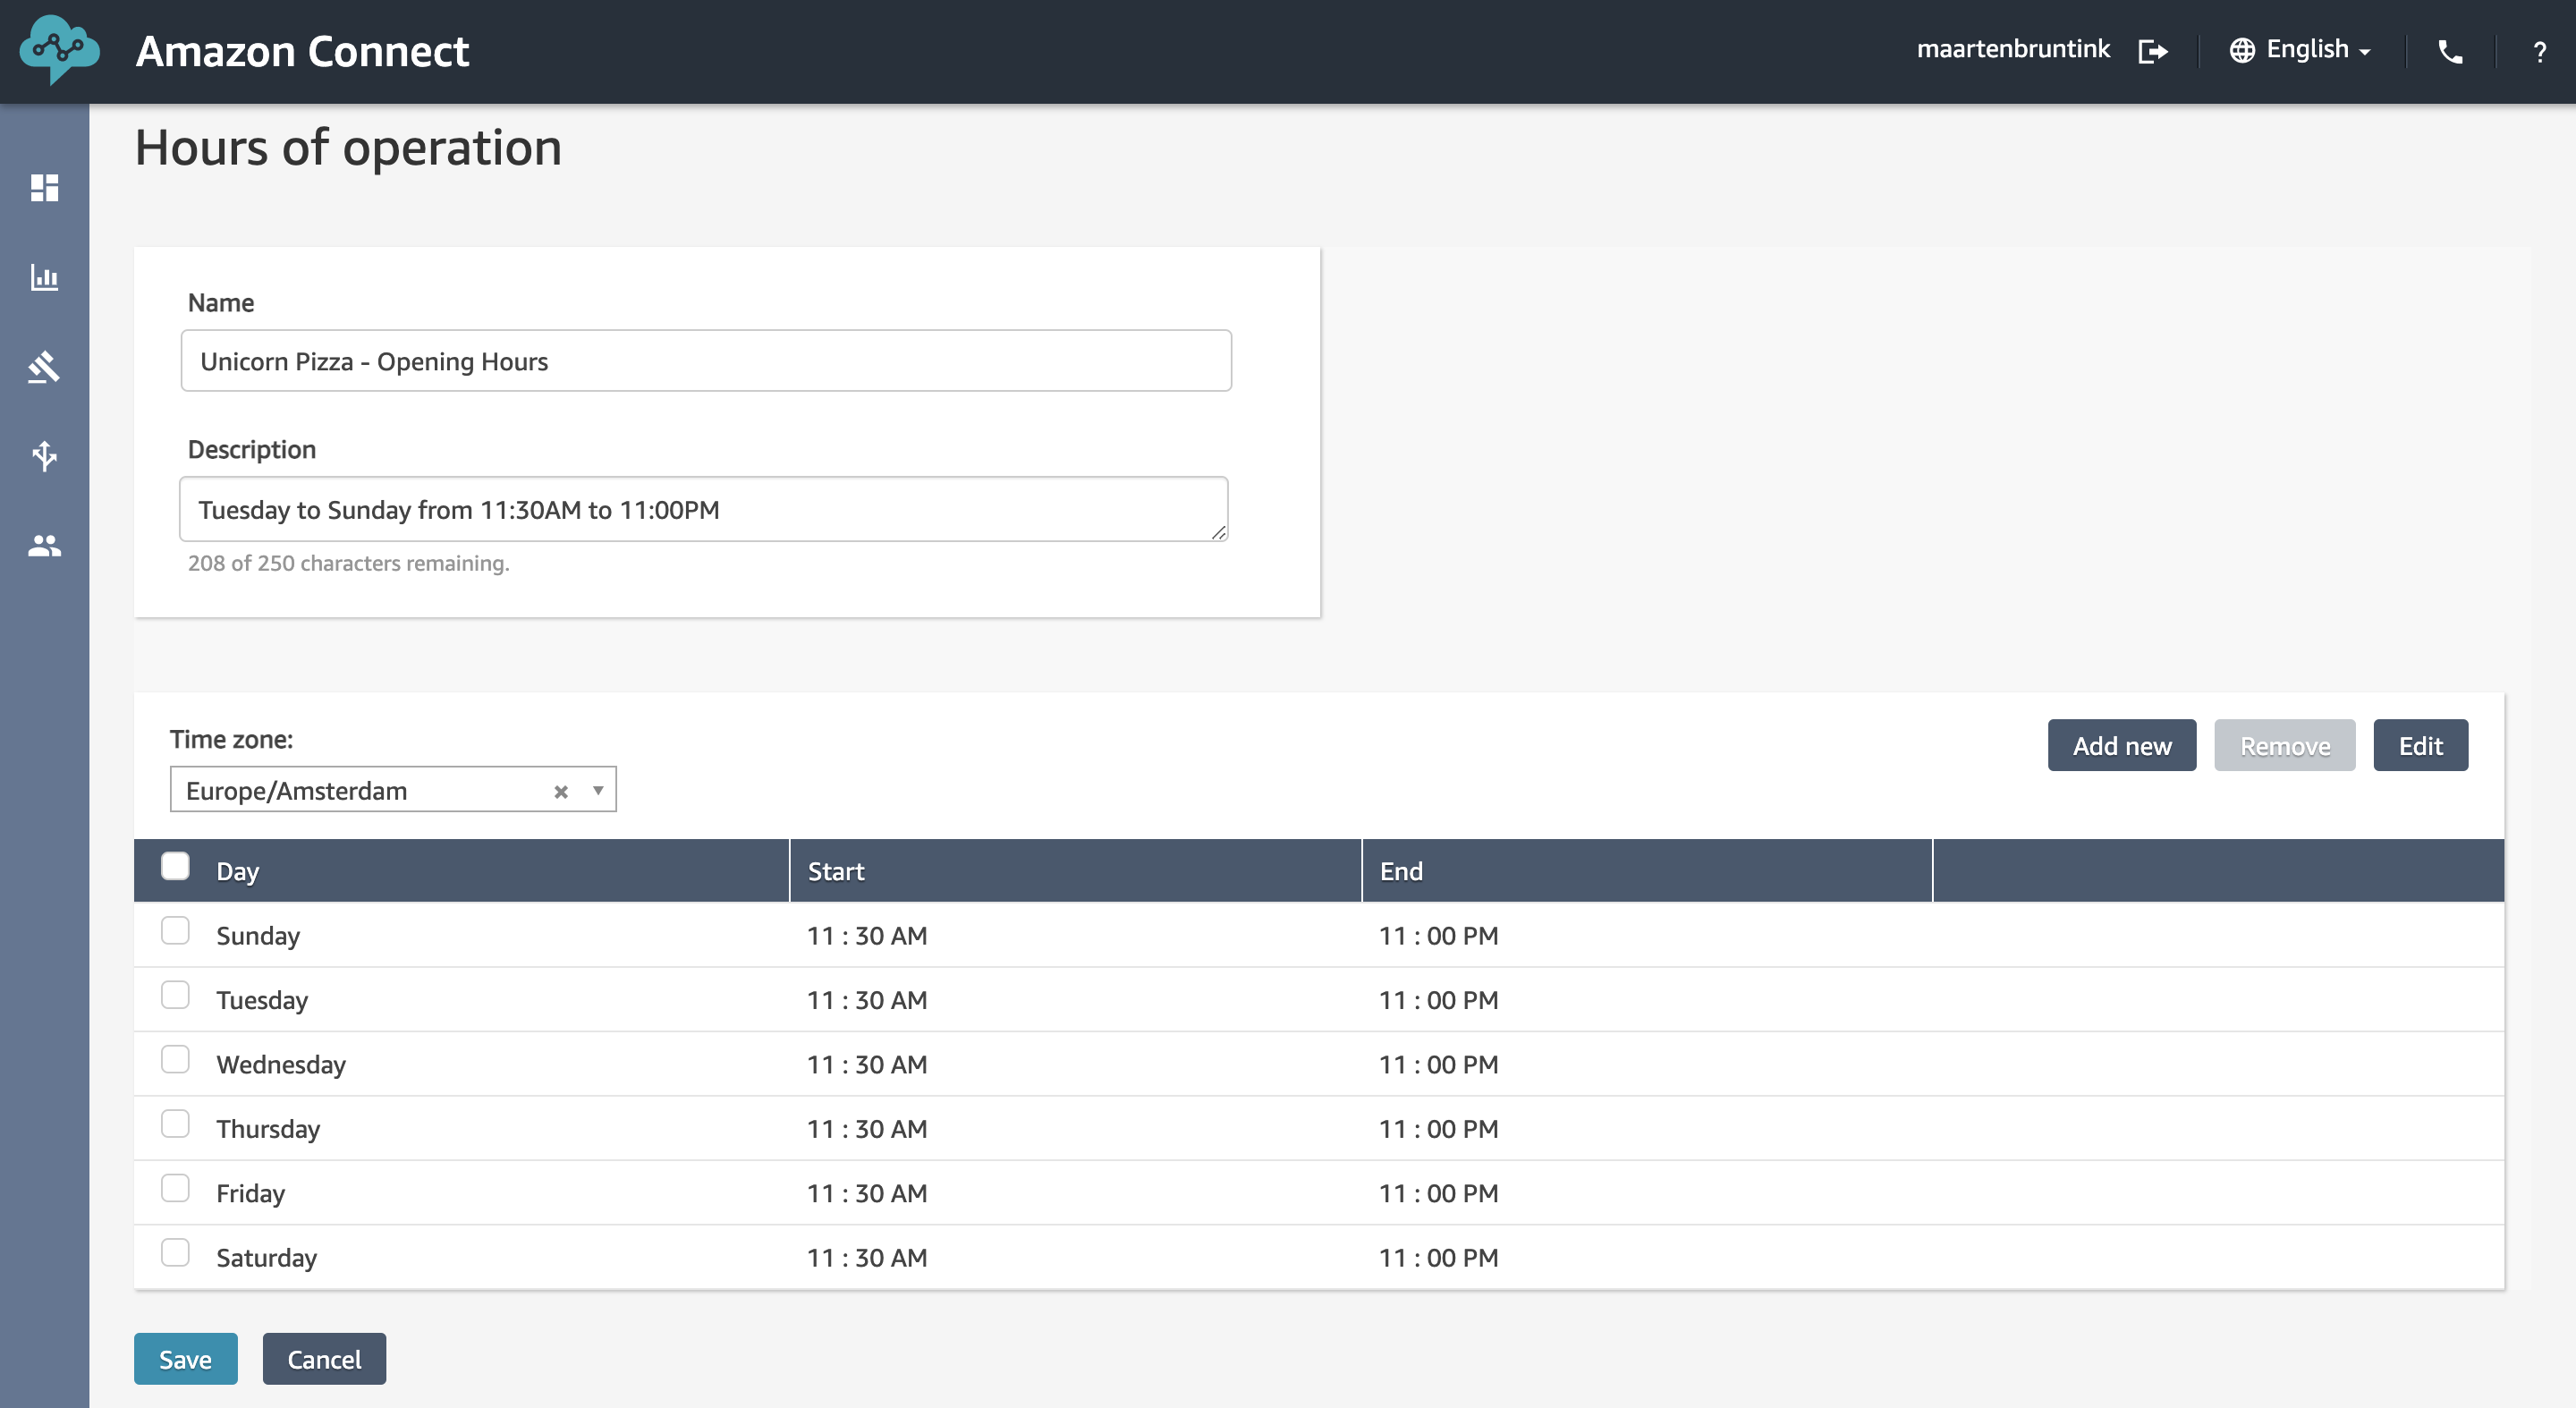
- Click Save and return to the Amazon Connect dashboard.
Queues and Routing Profiles
To provide the most optimal user experience for returning customers we want to prioritize their calls and play them a personalized welcome message. To achieve this, the first thing we need to do is create Queues and Routing profiles.
We will create a queue for returning customers and one for new/unknown customers. In addition we will create a routing profile, which will link to our call center agents the queues in our call center.
Agents can only be linked to a single routing profile. Currently, you are the only employee to answer the phone, but in larger call centers you could define queues for multiple departments or groups of agents answering questions on specific subjects. Press 1 for Sales…
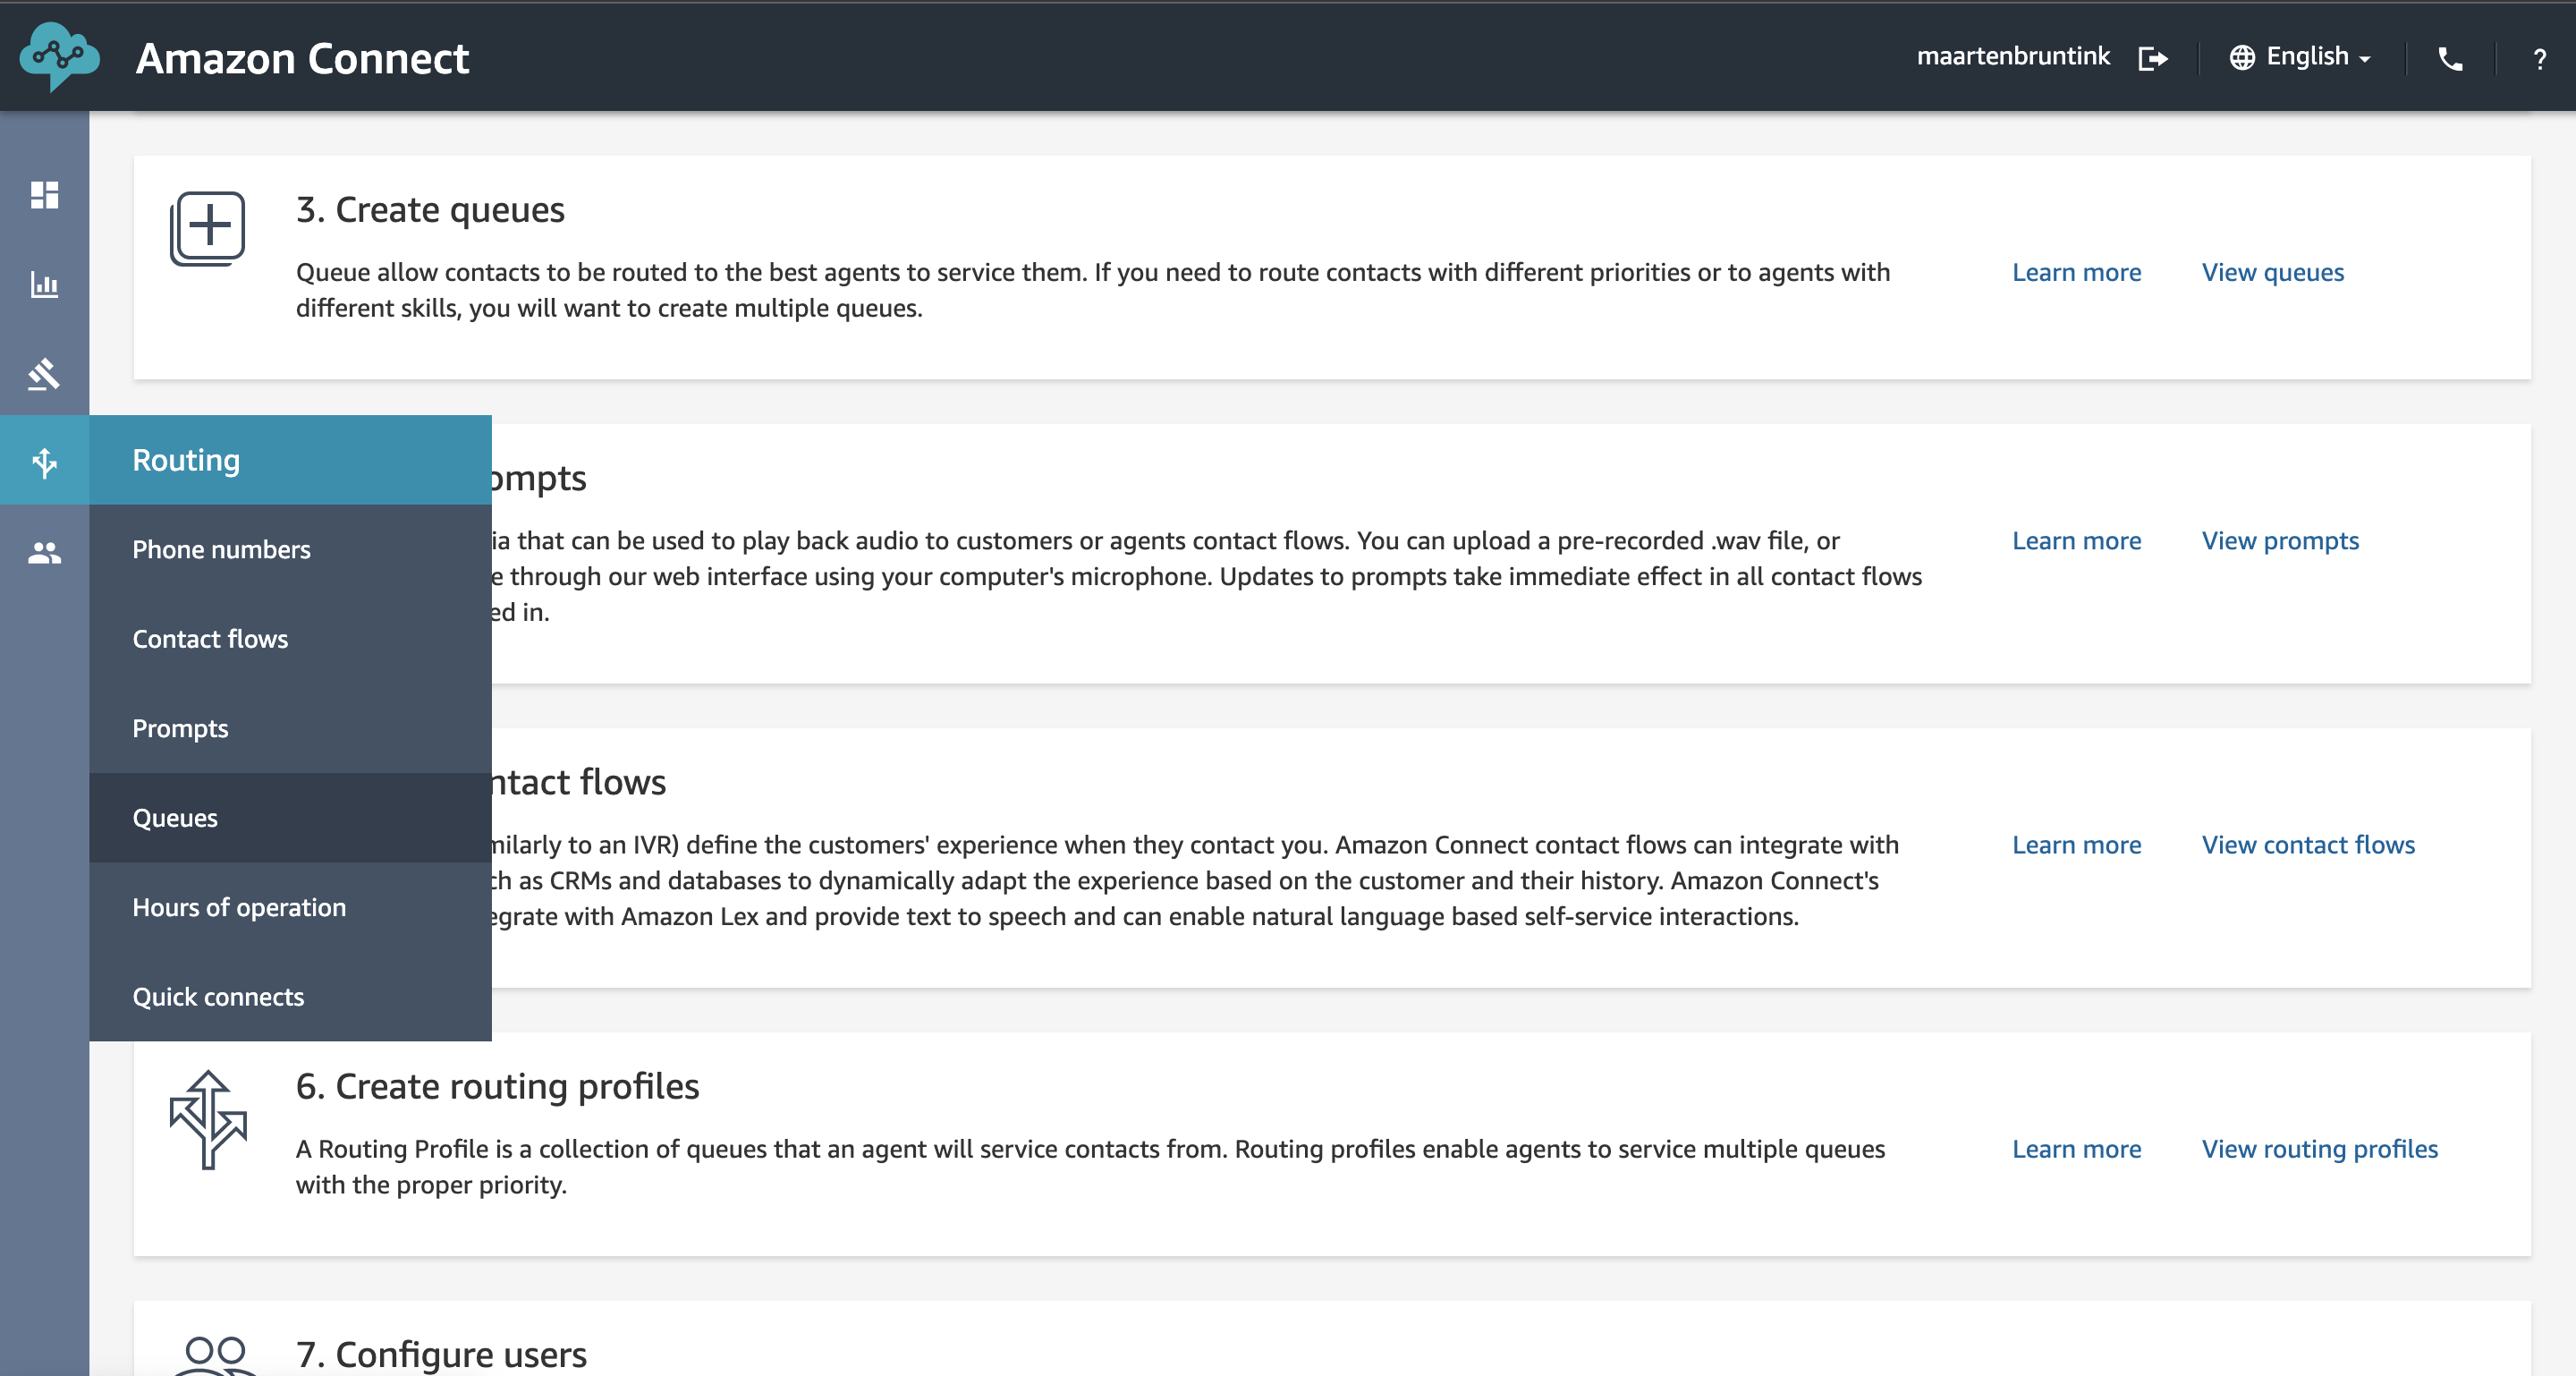
- On the Dashboard page click View queues or select Queues from the Routing menu on the left.
- Click Add new queue to create a new queue.
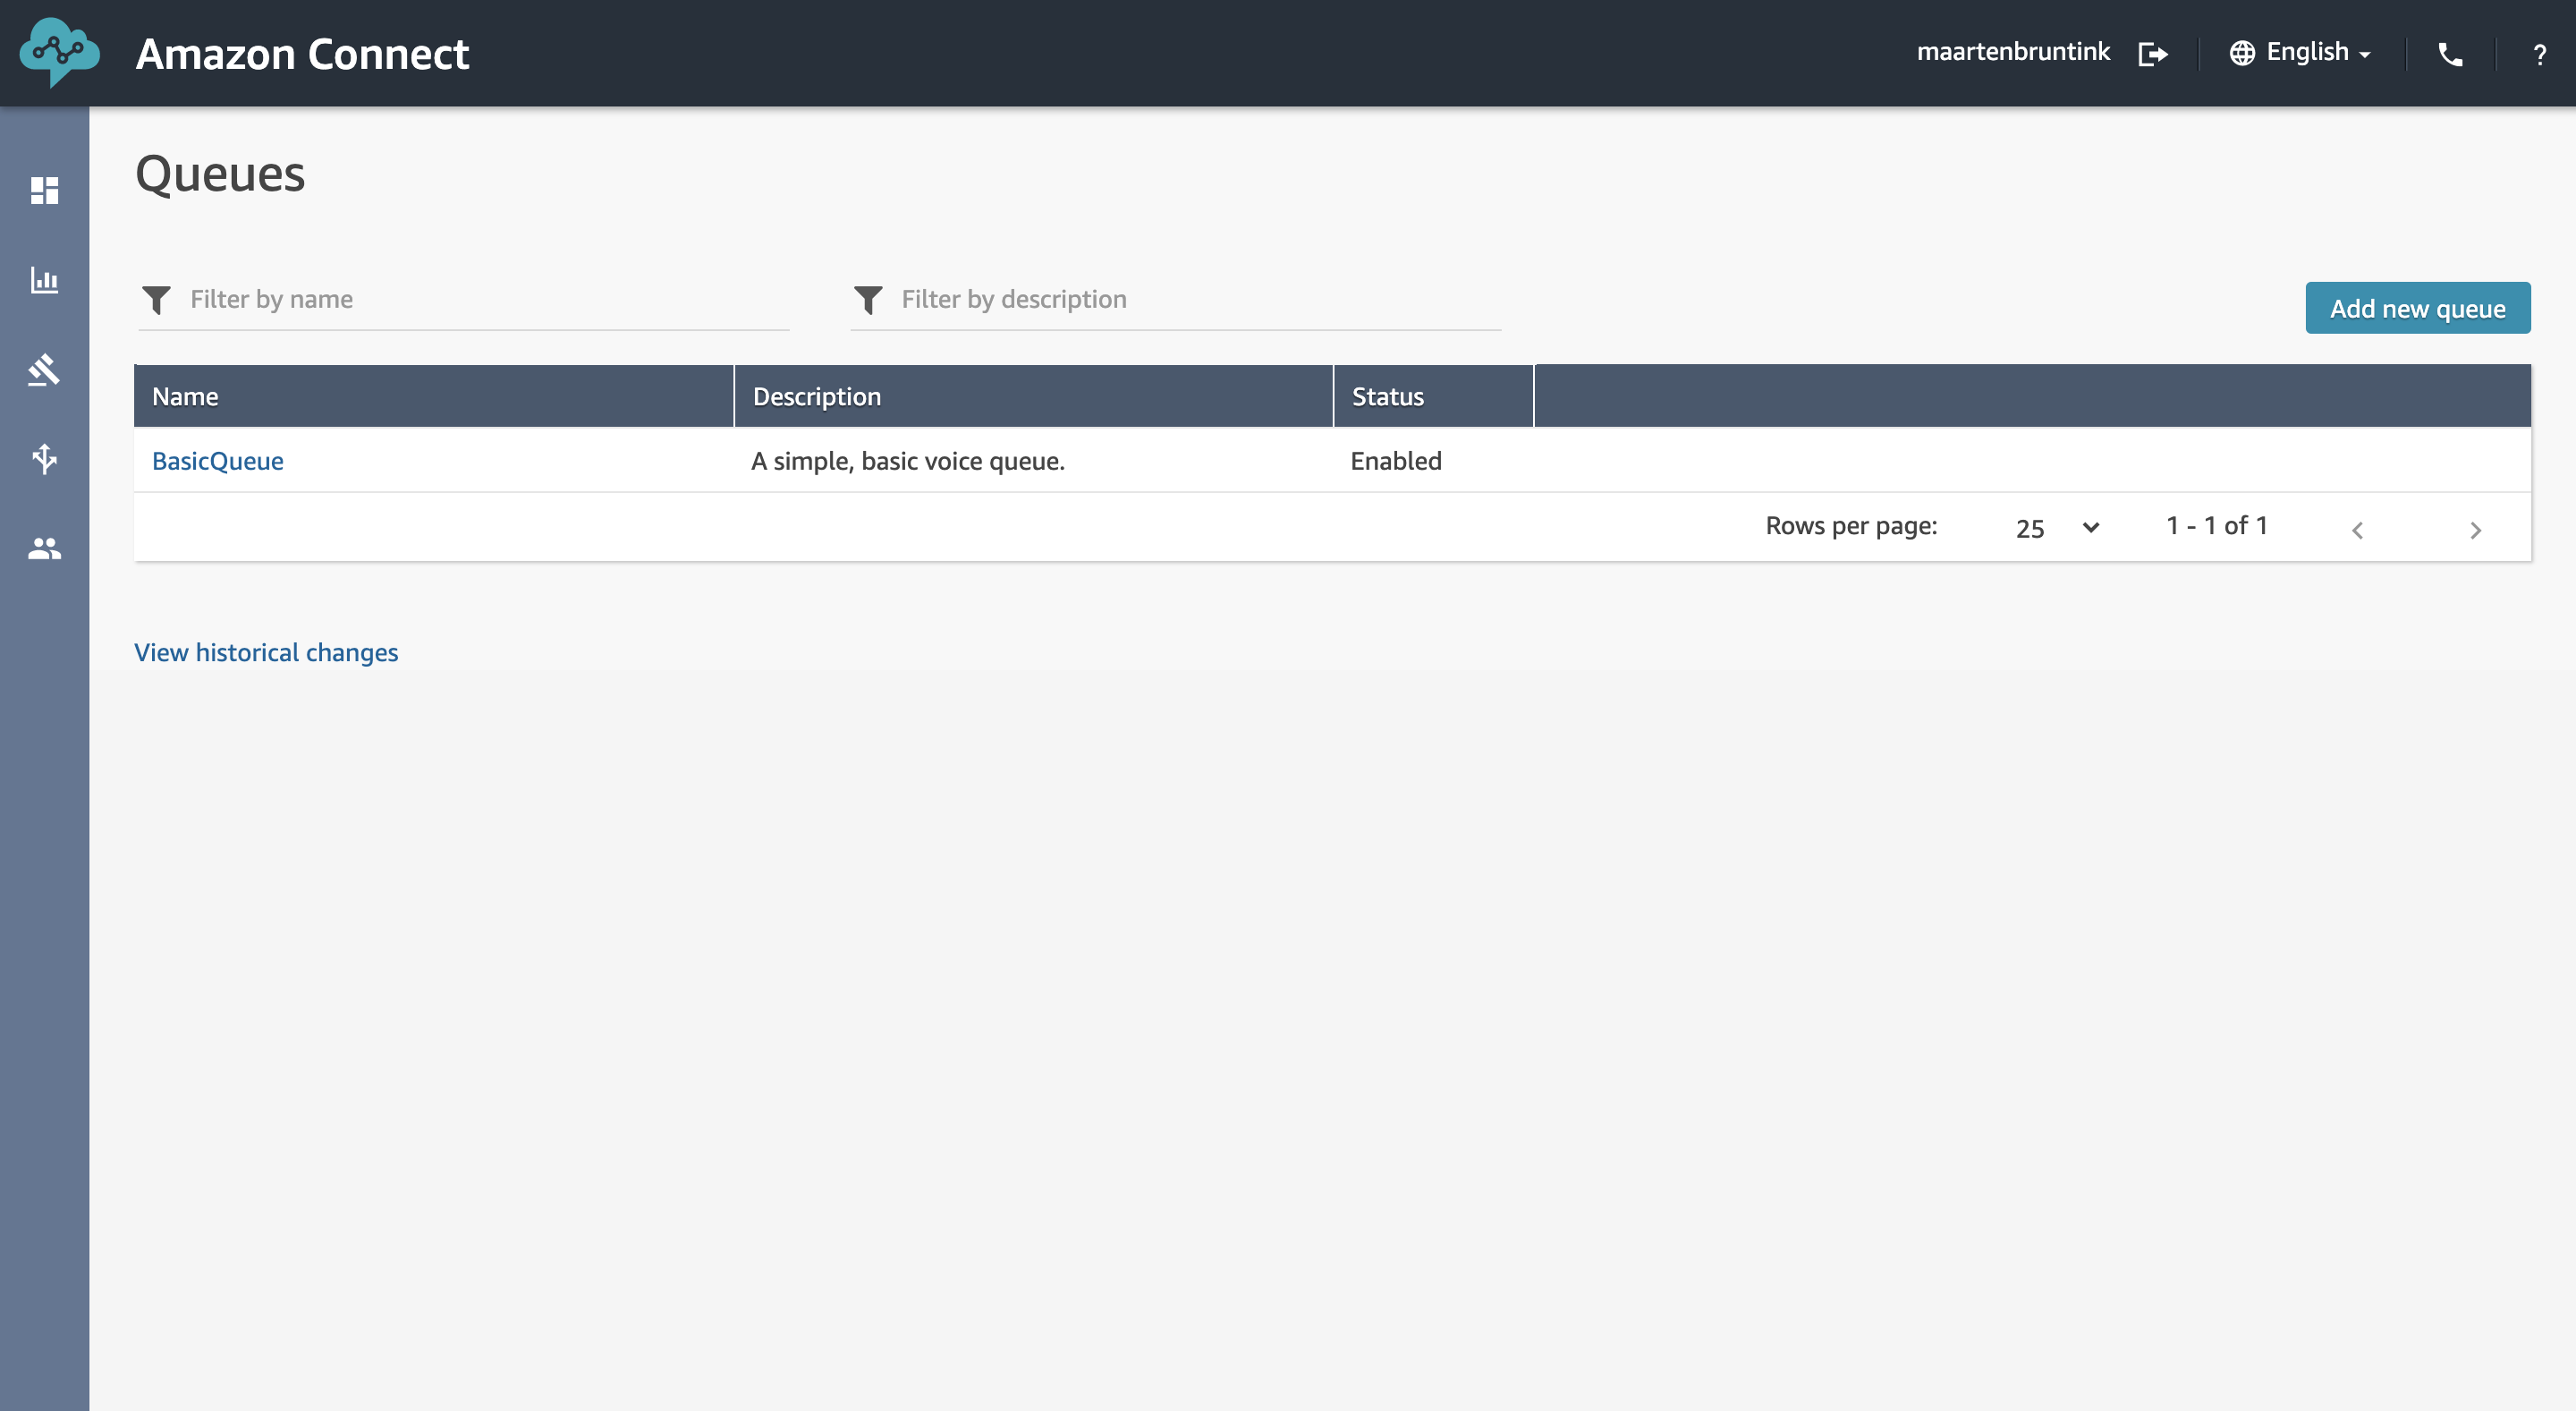
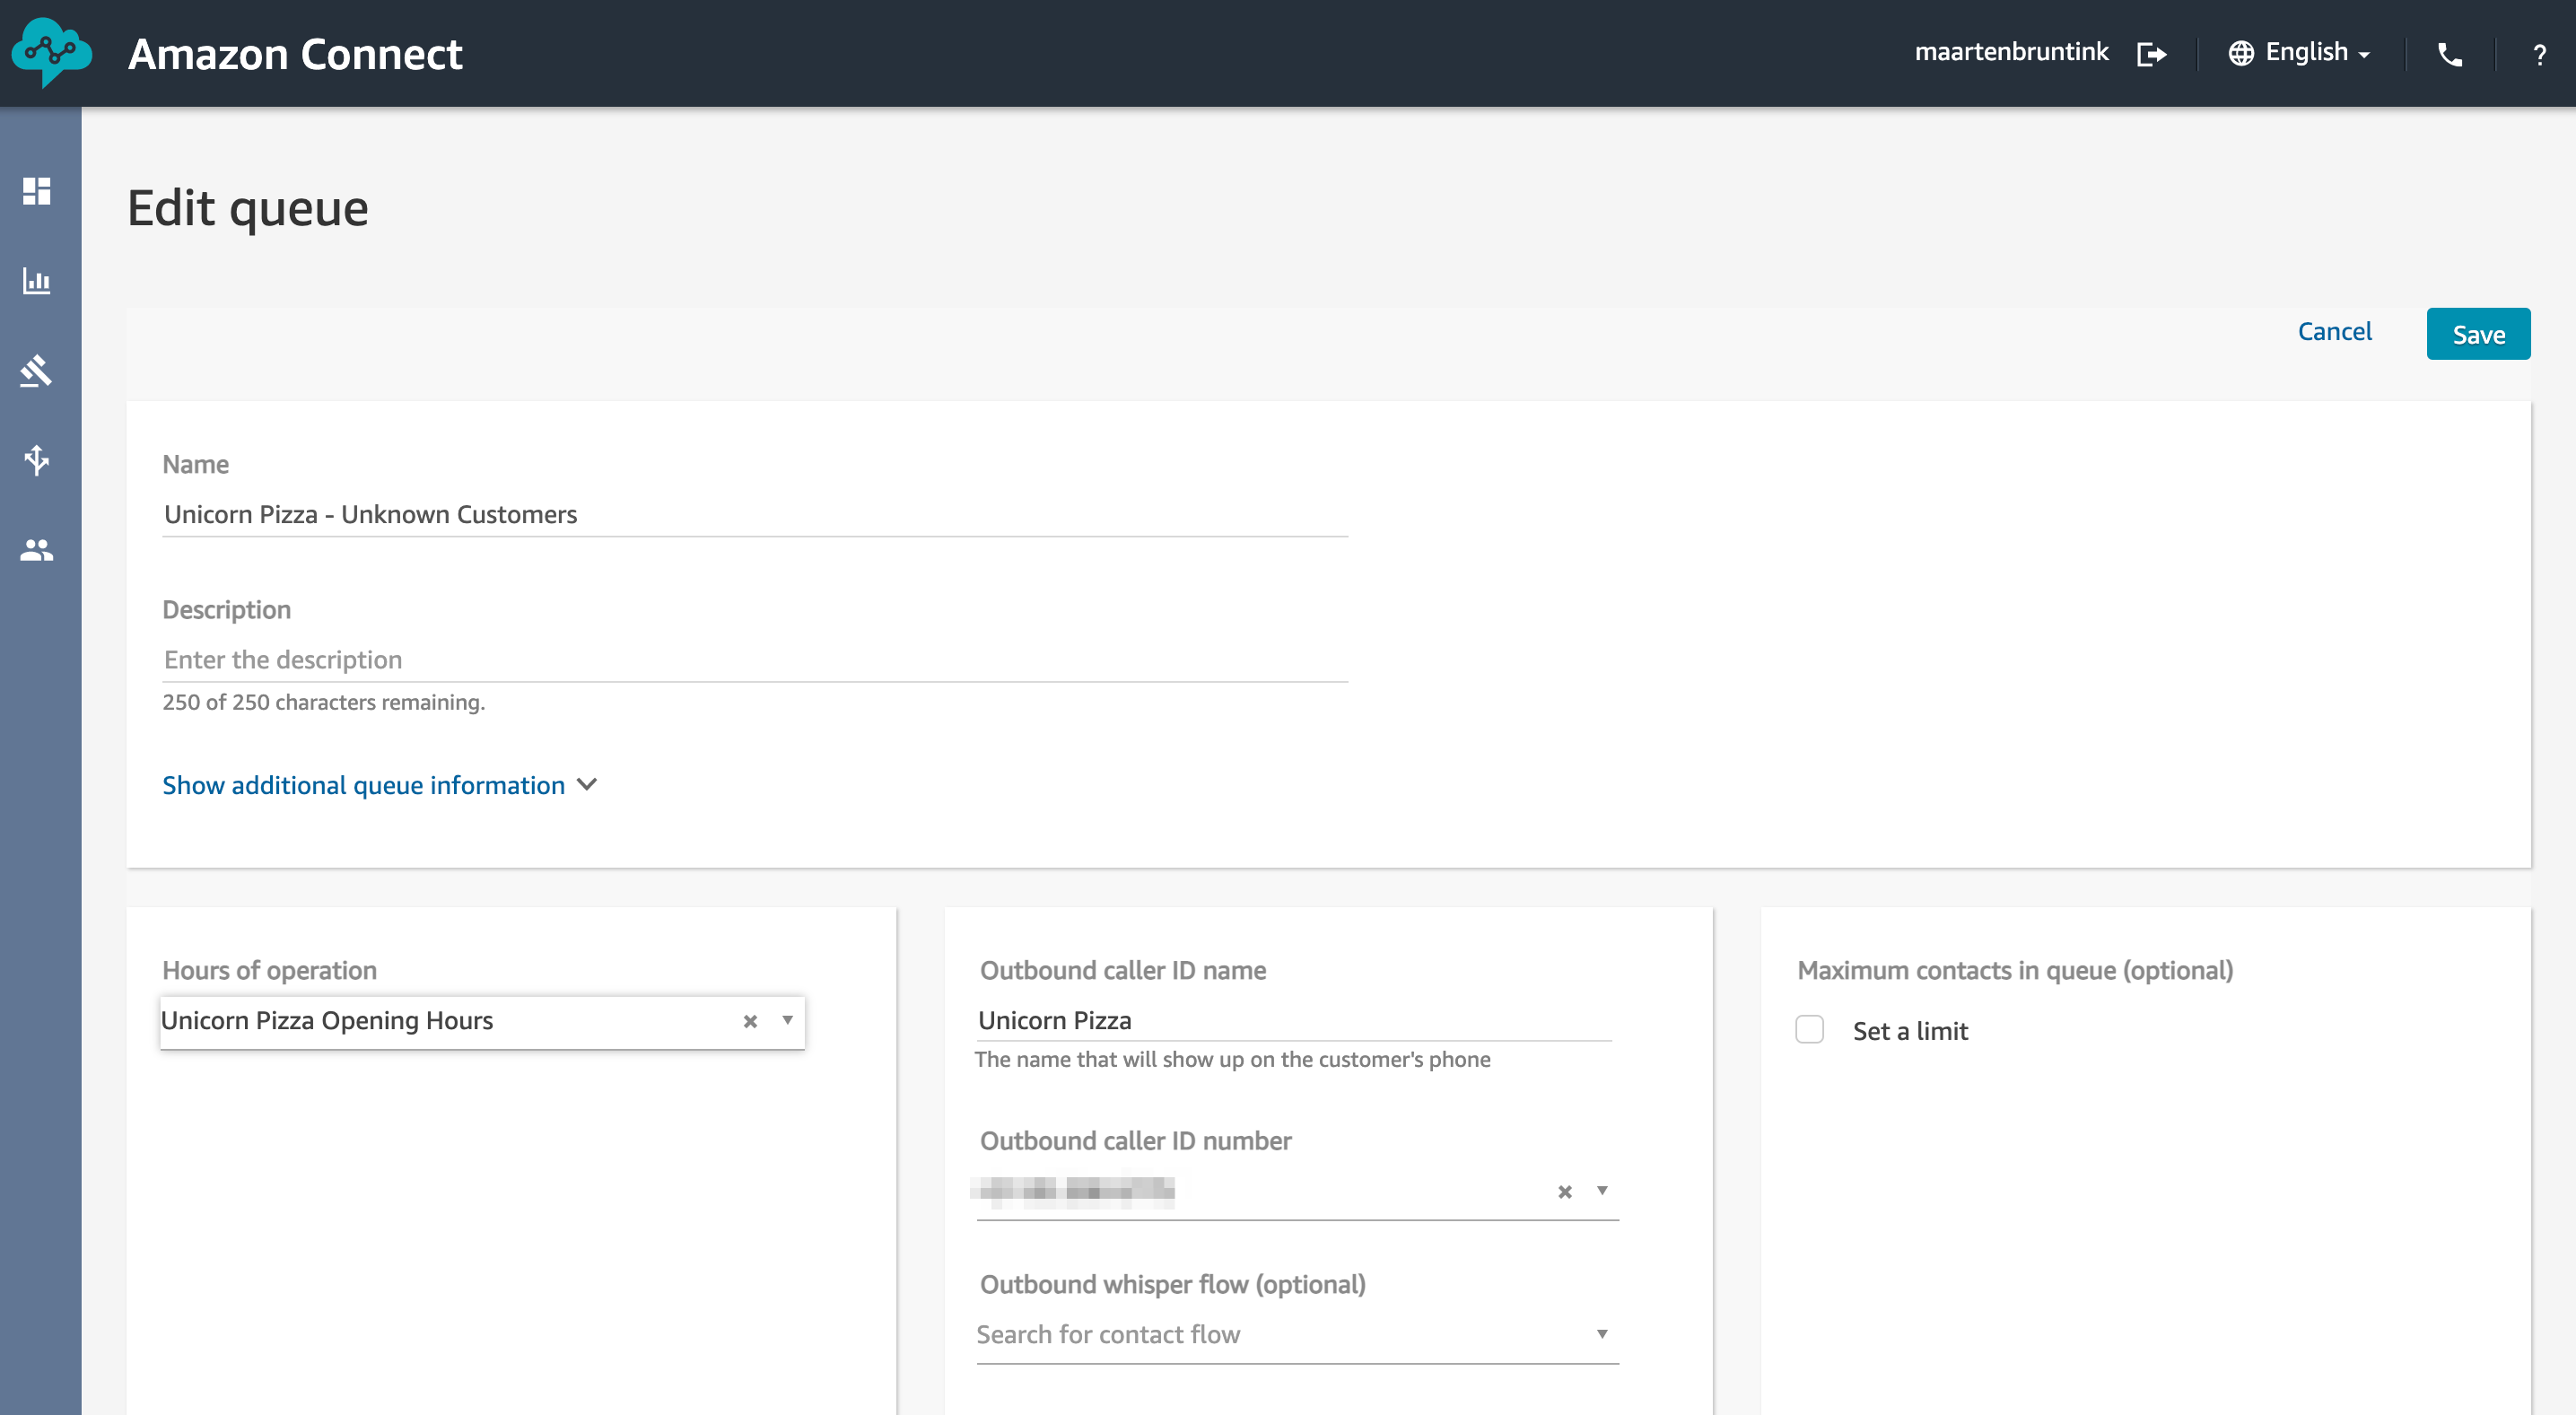
- Name the new queue Unicorn Pizza - Unknown Customers.
- Select the opening hours you’ve created earlier.
- Set an outbound caller ID name and number.
-
Once saved, create another queue called Unicorn Pizza - Returning Customers by repeating the above steps.
-
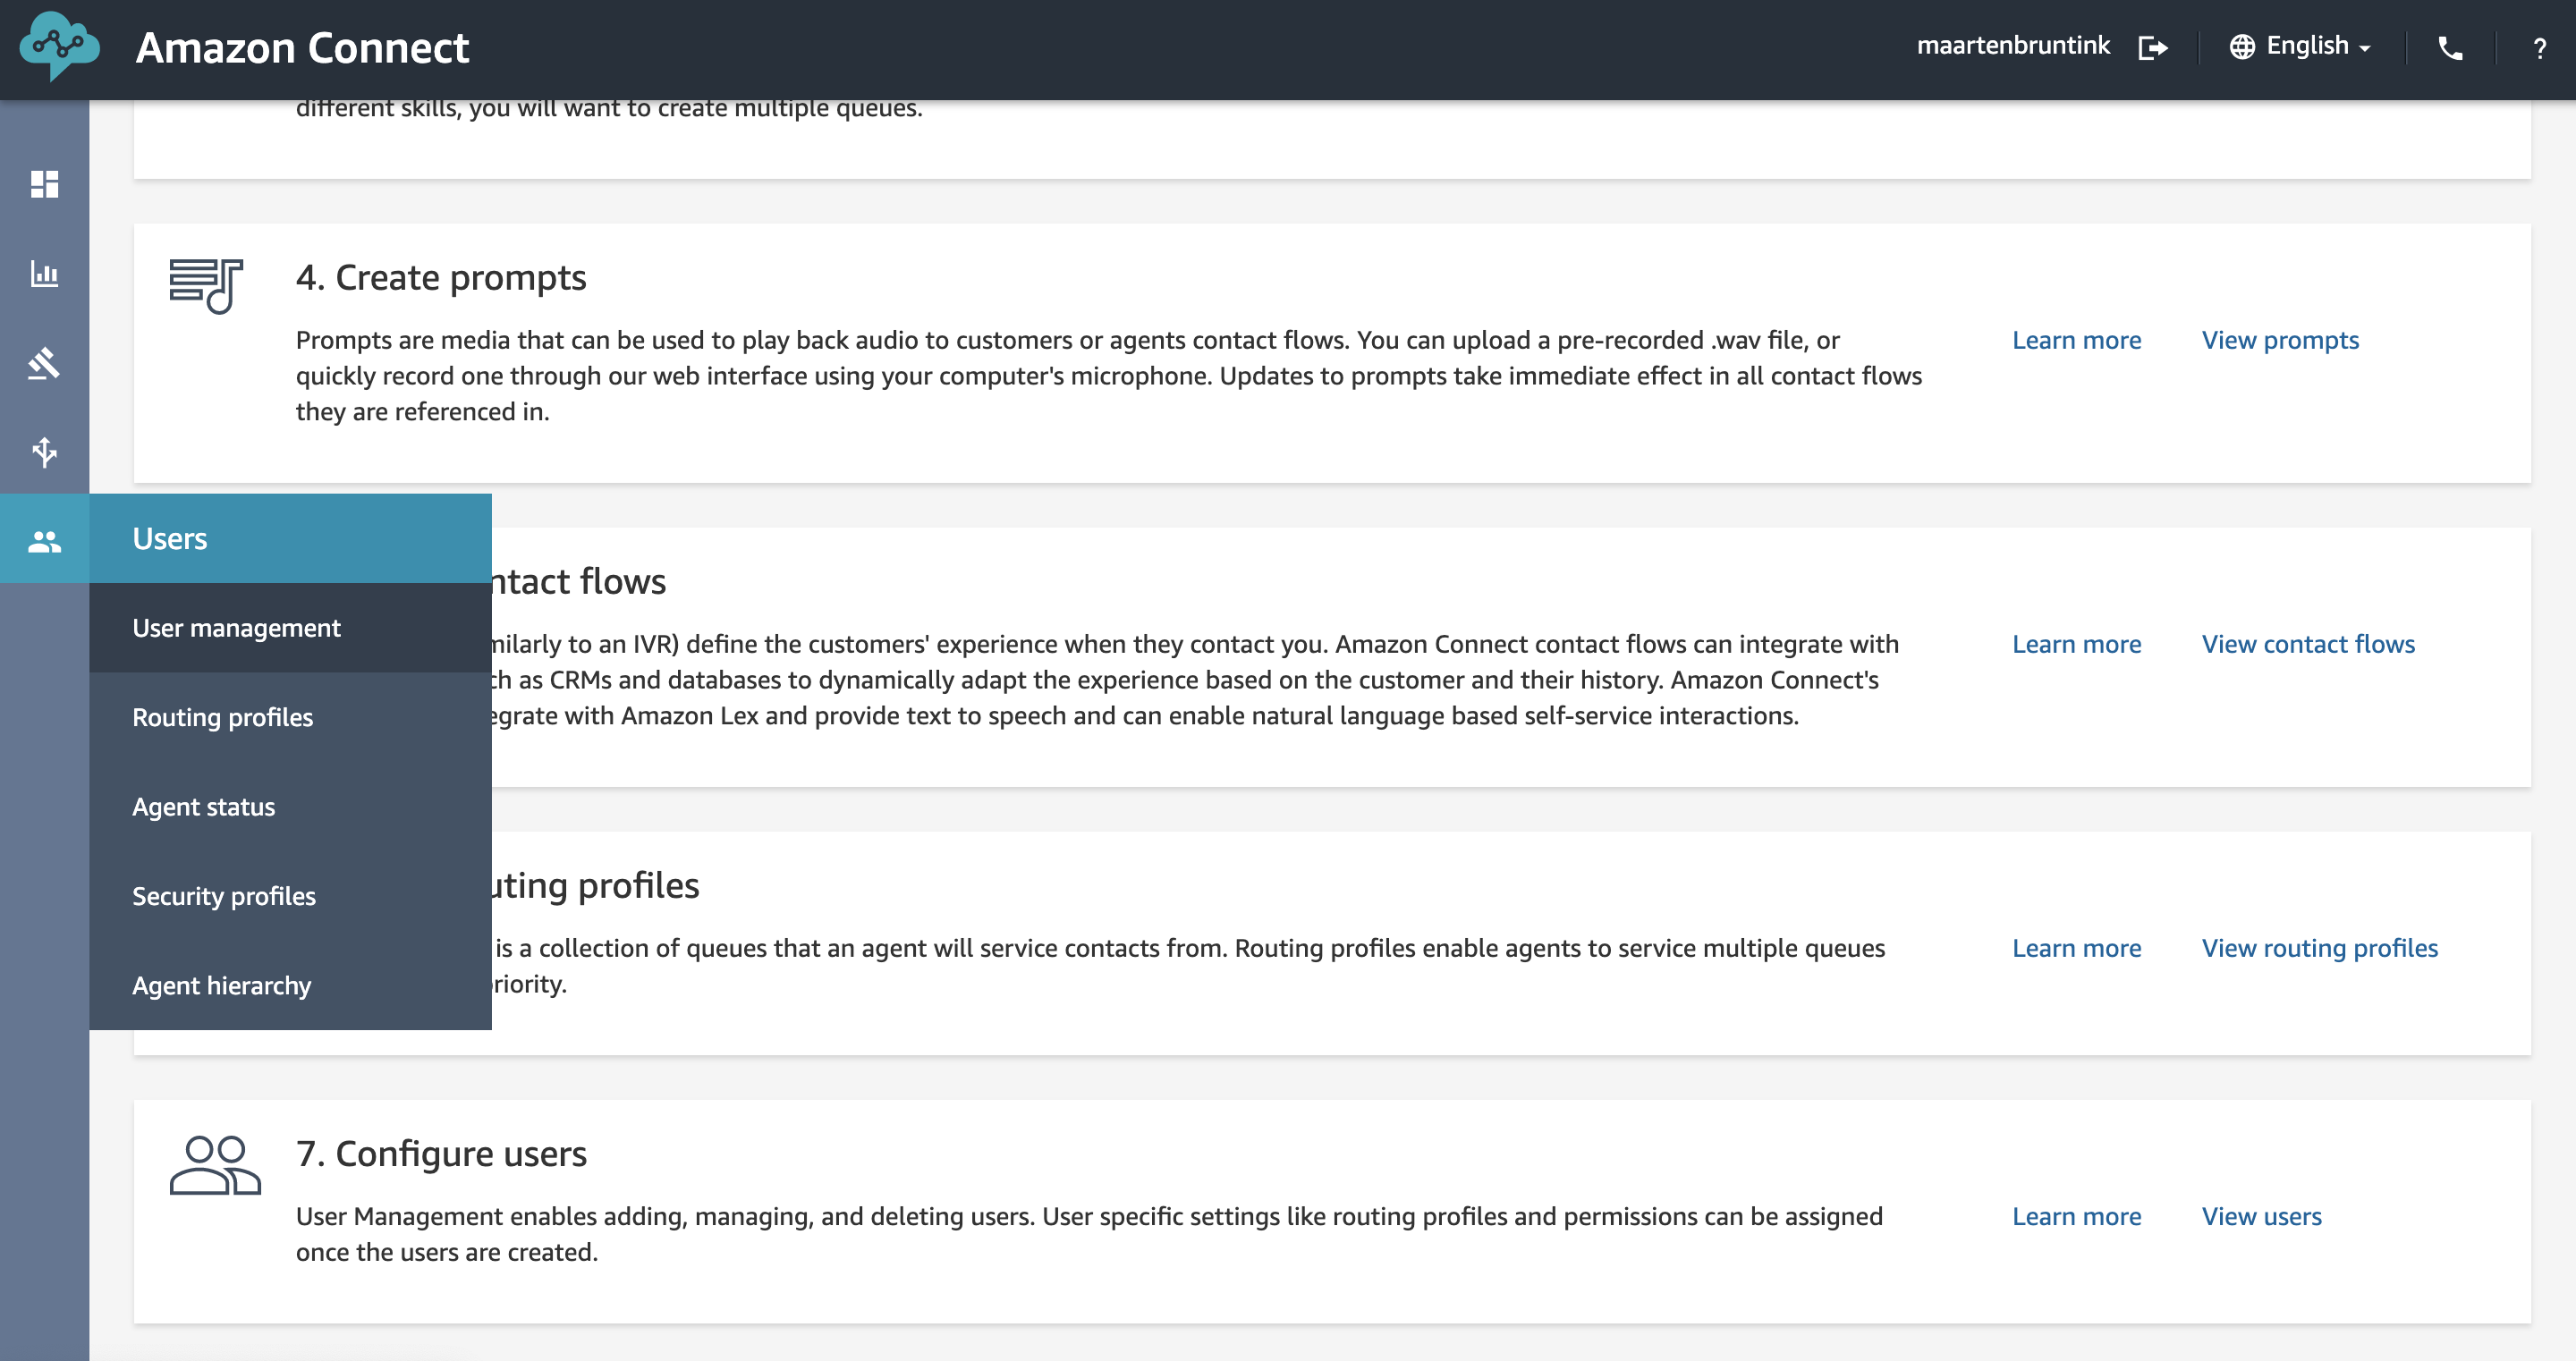
Next we are going to create a Routing Profile. Back on the dashboard select View routing profiles or navigate to Routing profiles in the Users menu on the left.
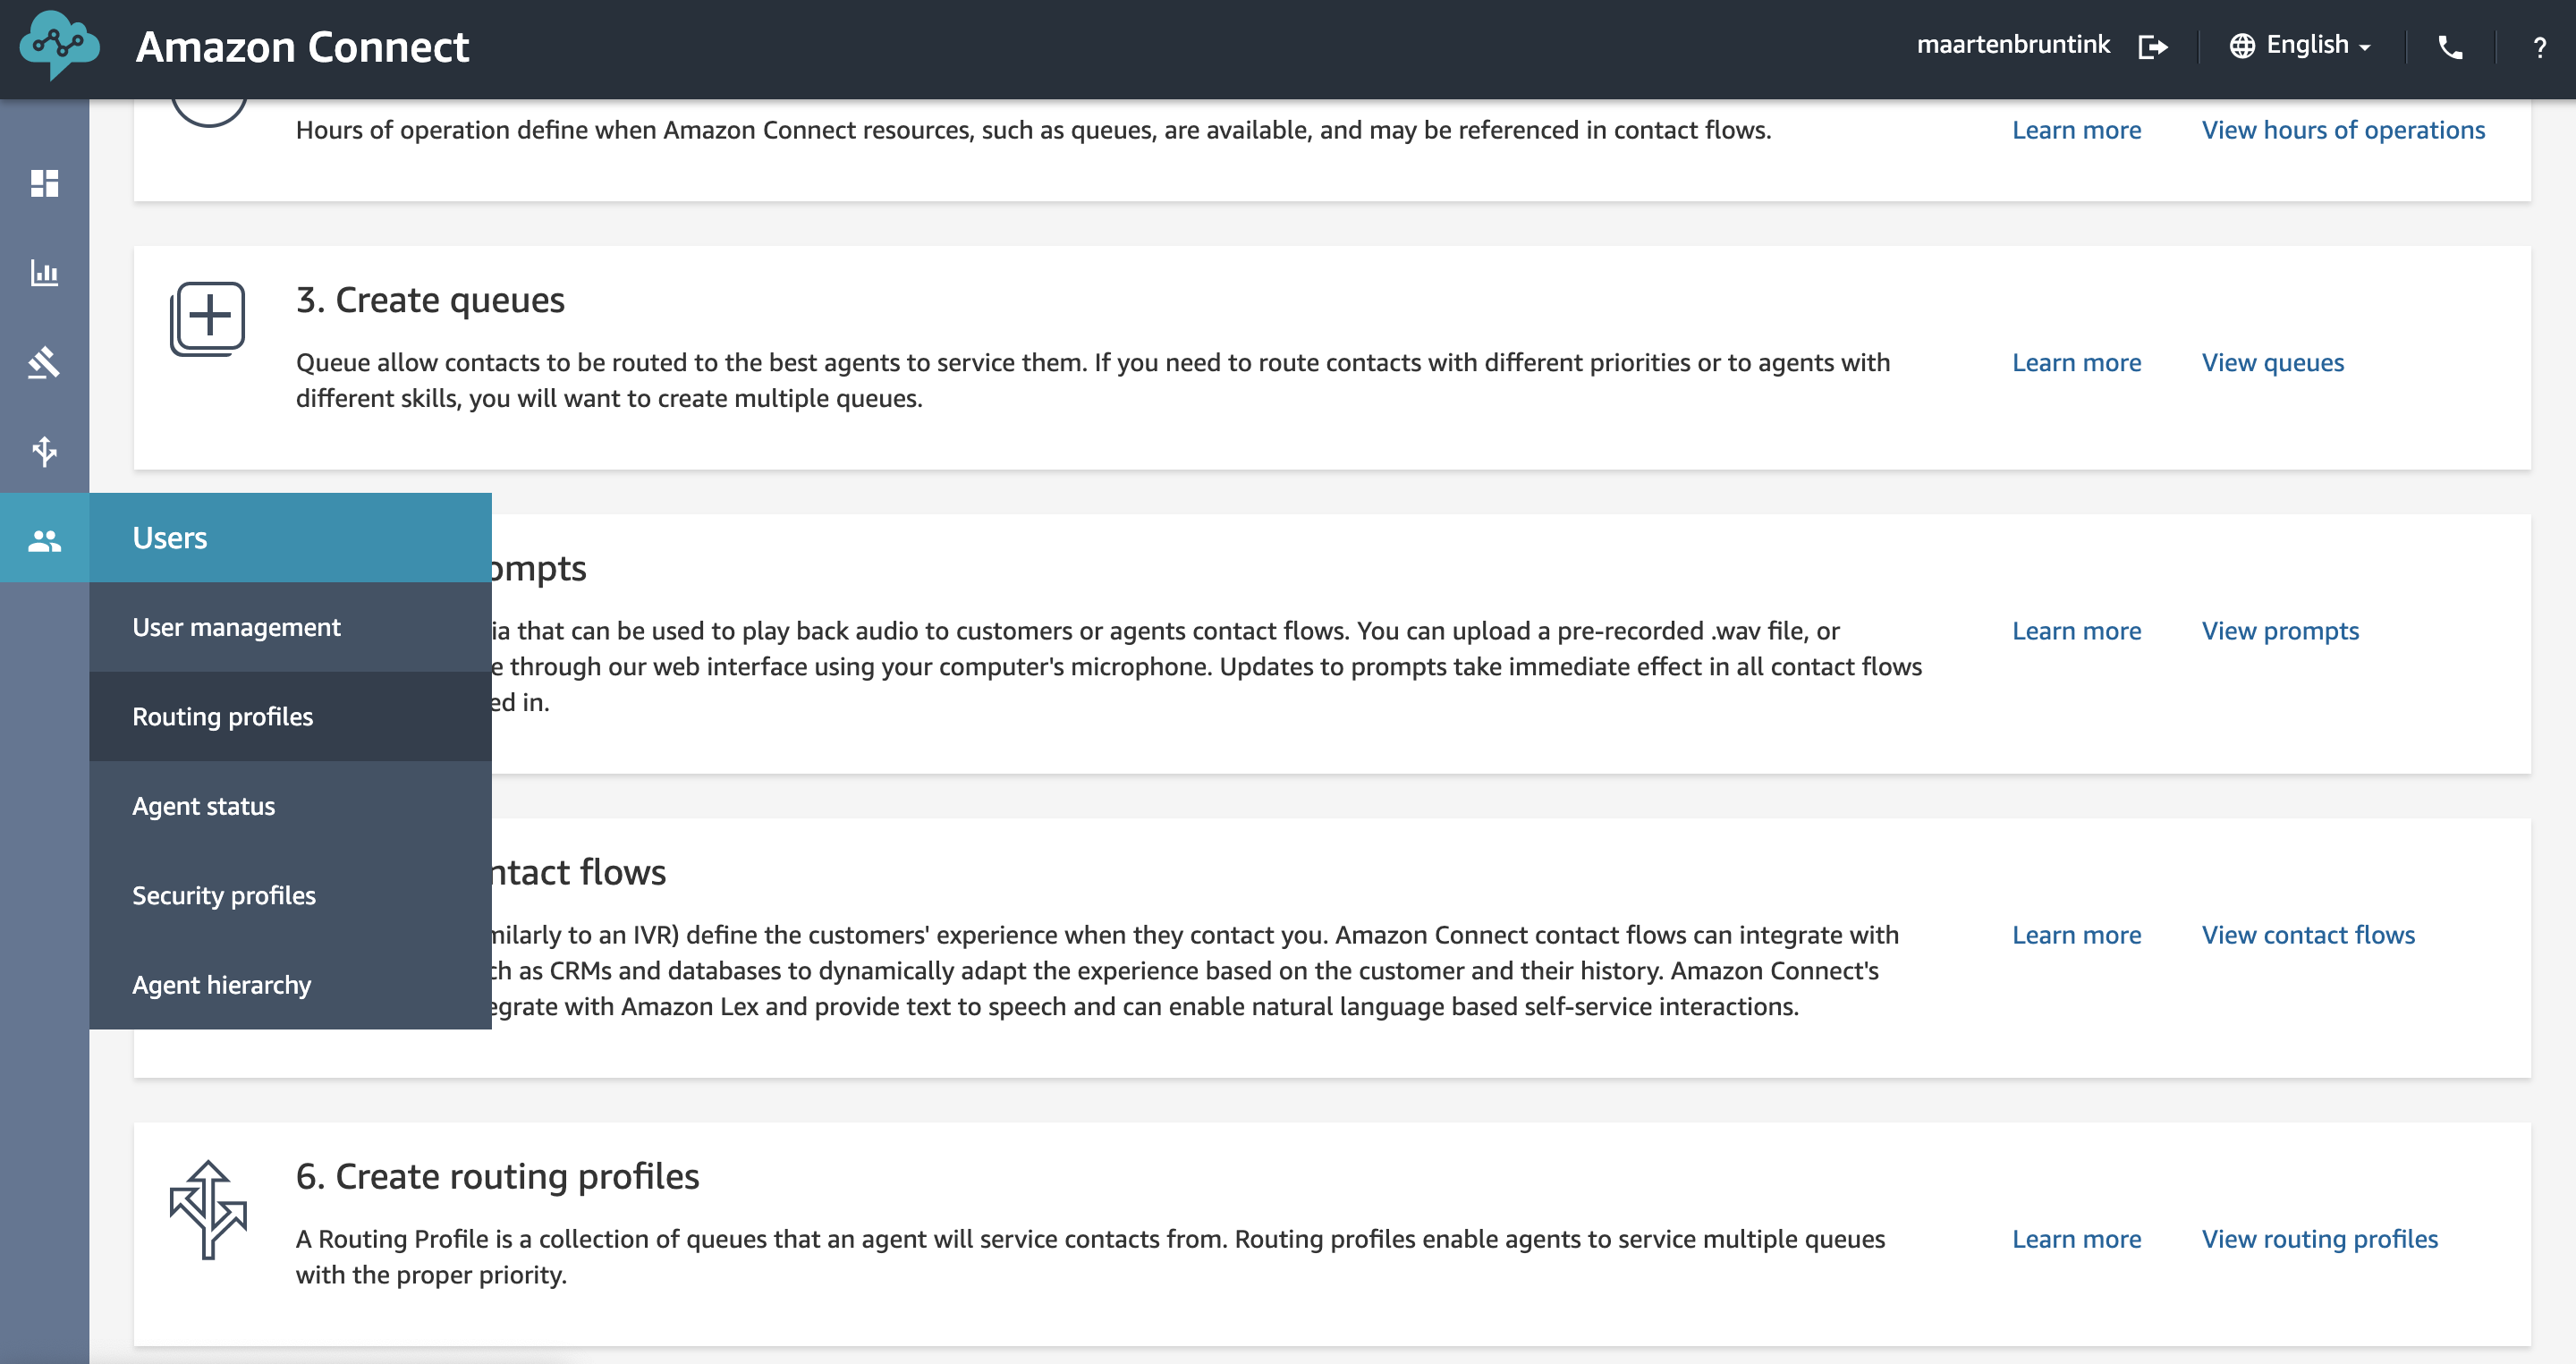
- Click Add new profile.
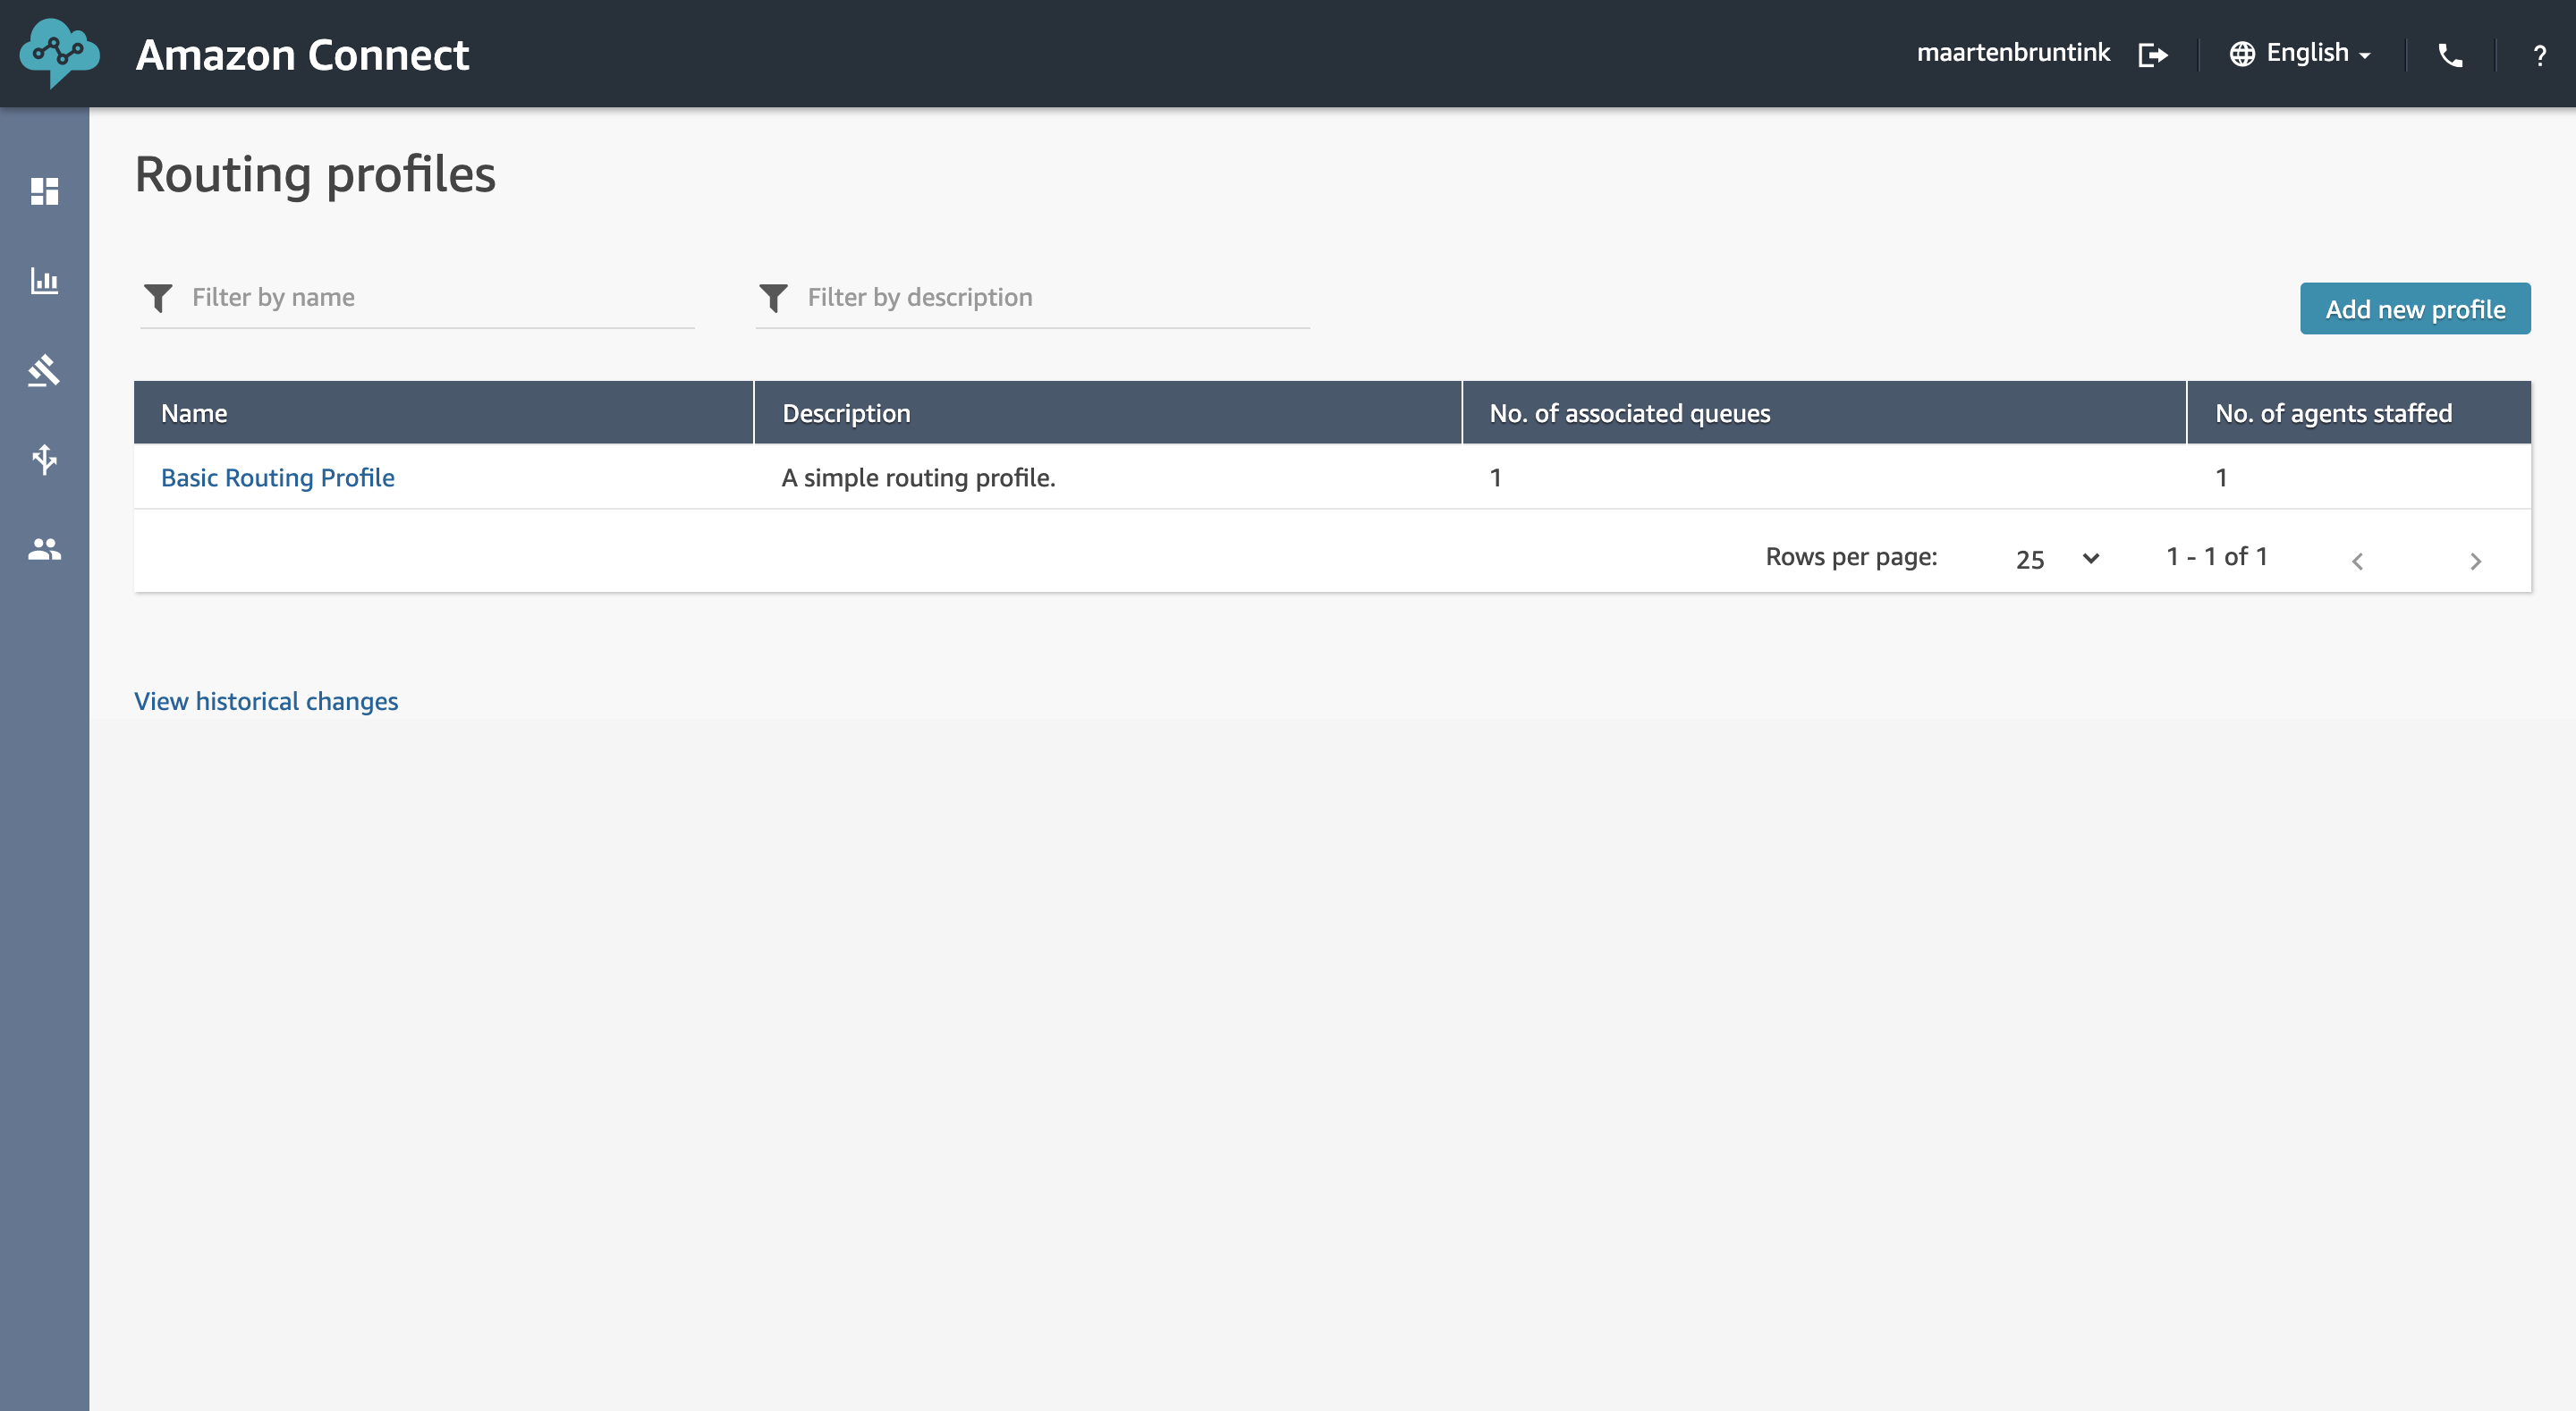
- Name the new profile Unicorn Pizza - Default and set a description.
- Enable Voice as possible channel.
- Add the Unicorn Pizza - Returning Customers and Unicorn Pizza - Unknown Customers queues, select voice for both and make sure to set a higher priority for returning customers. A lower value results in a higher priority.
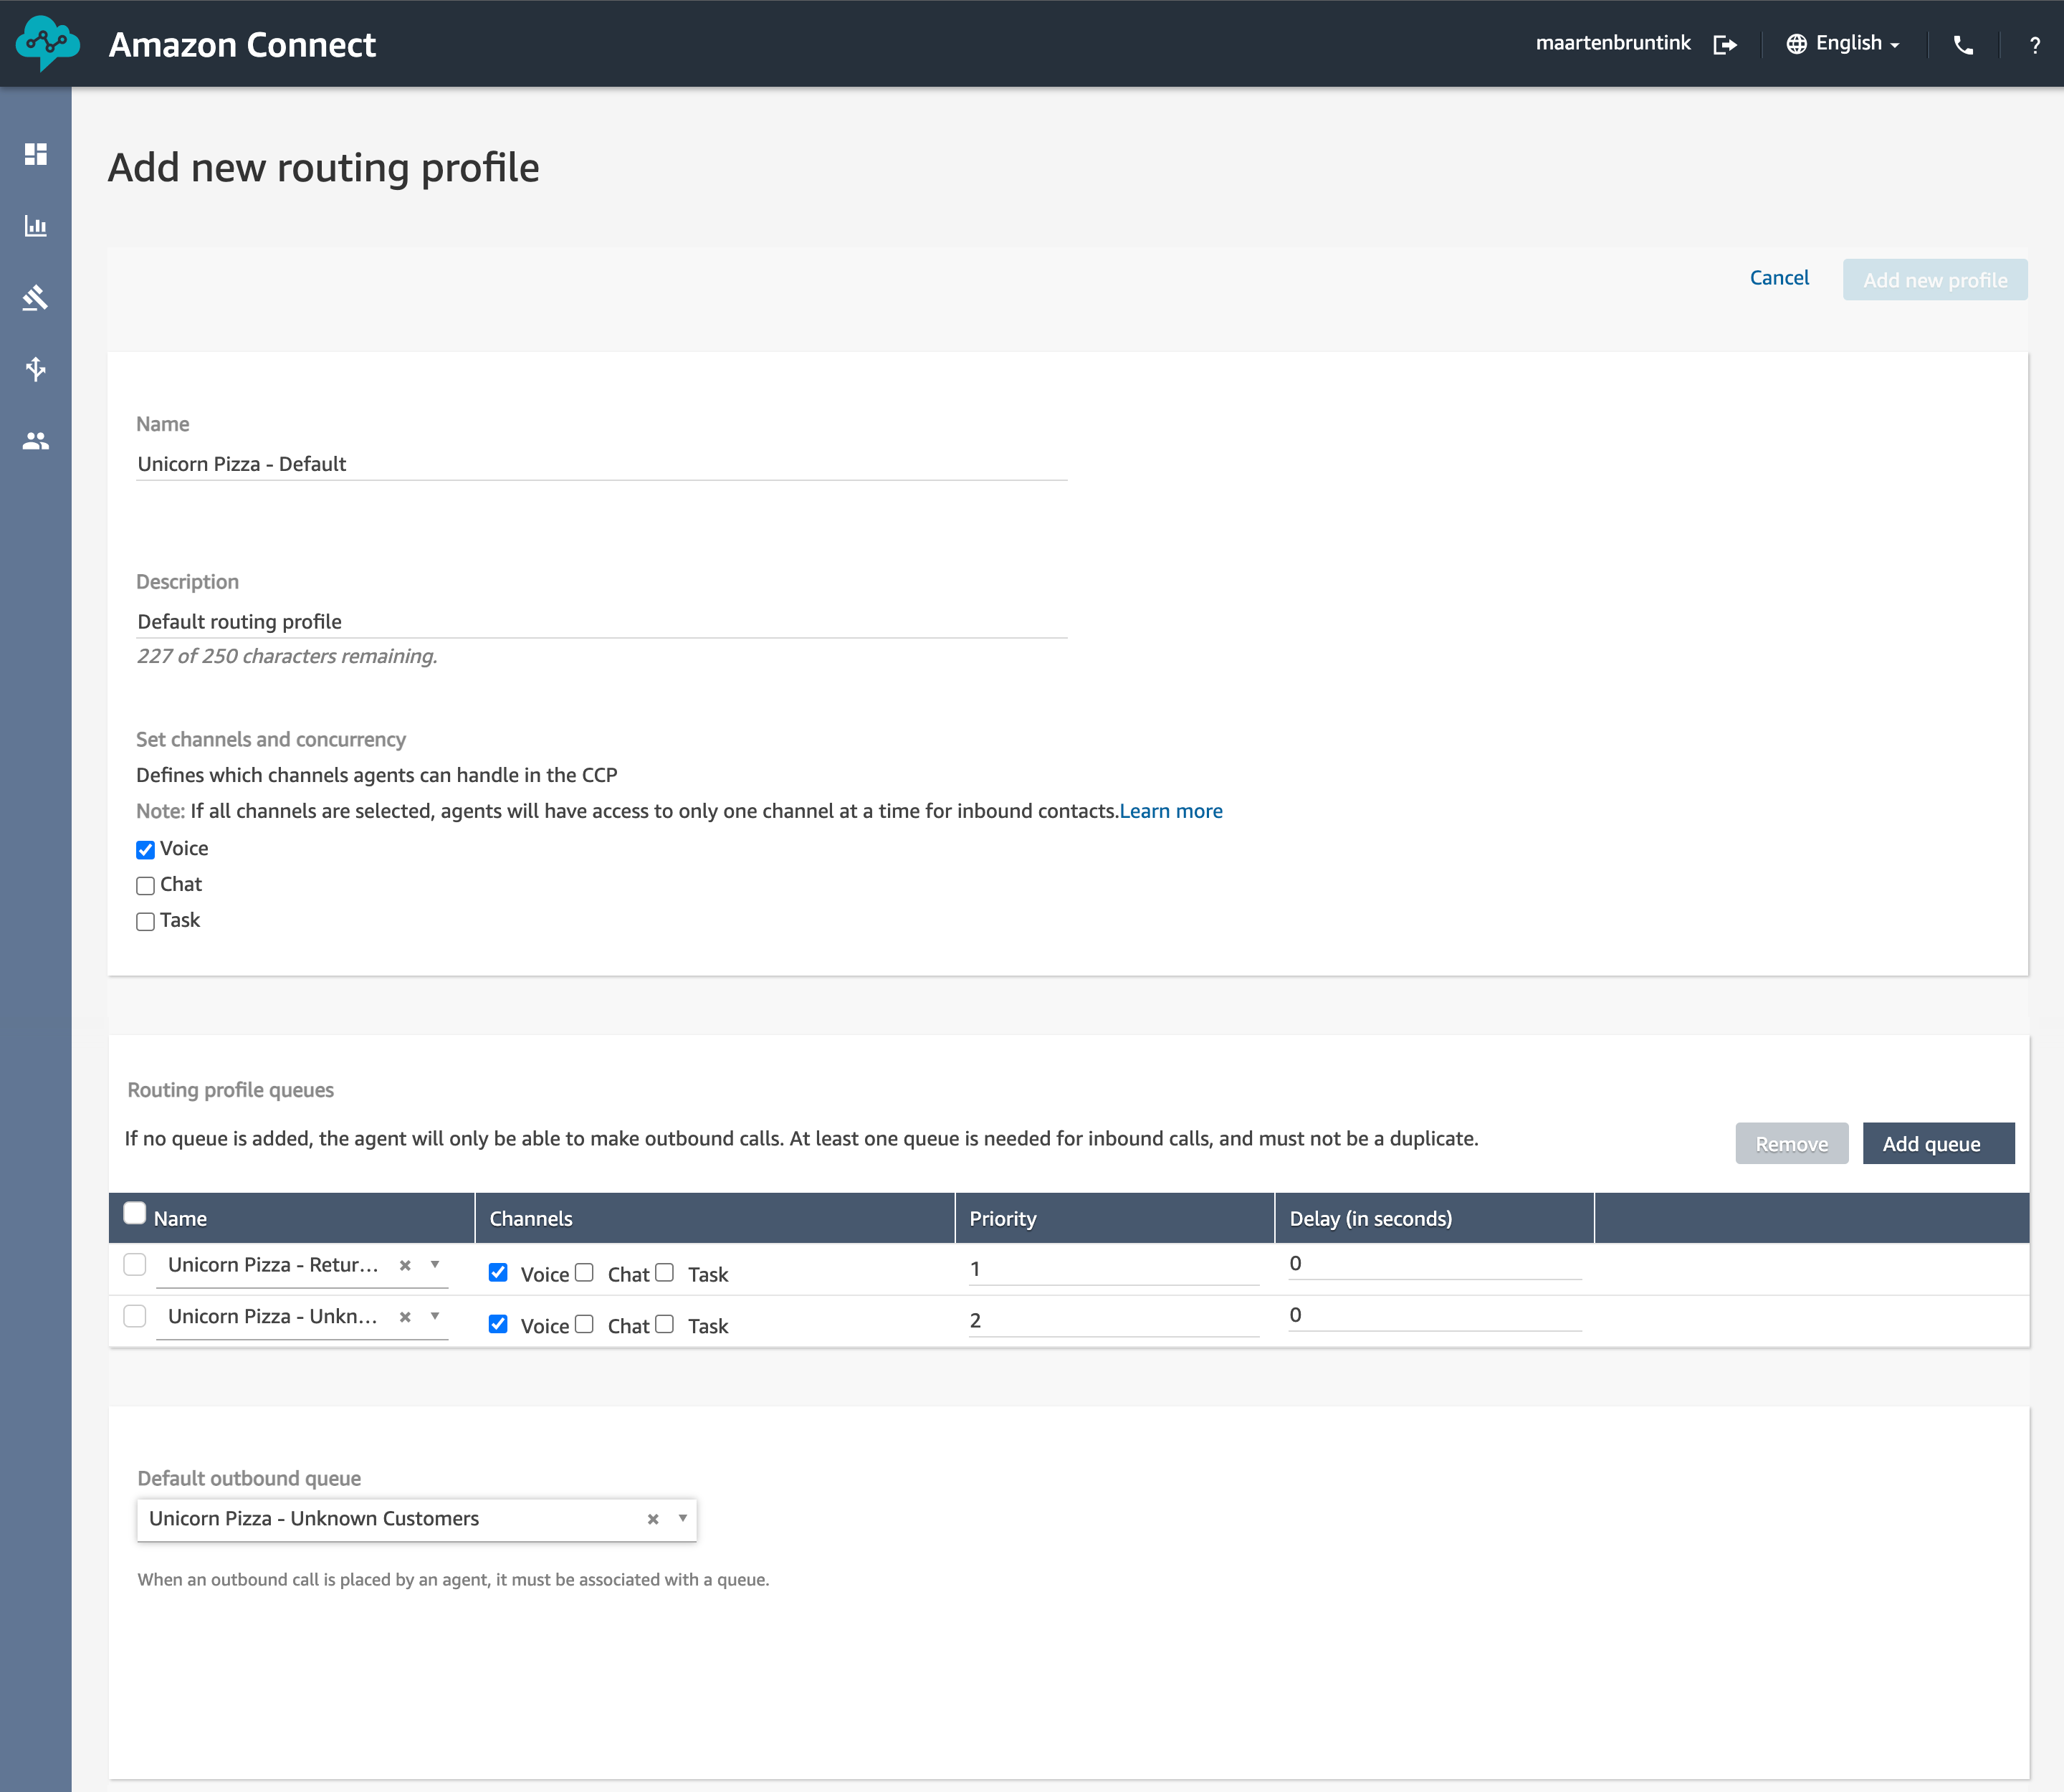
- Select Unicorn Pizza - Unknown Customers as the Default outbound queue
- Save the profile and return to the main dashboard.
Call Center Agents
The last thing we will create is a contact center user that will have the role of a call center agent. We will link the user to the routing profile created in the previous step so that once logged in the user is able to respond to incoming calls. In the next blog we set up the initial contact flow for this.
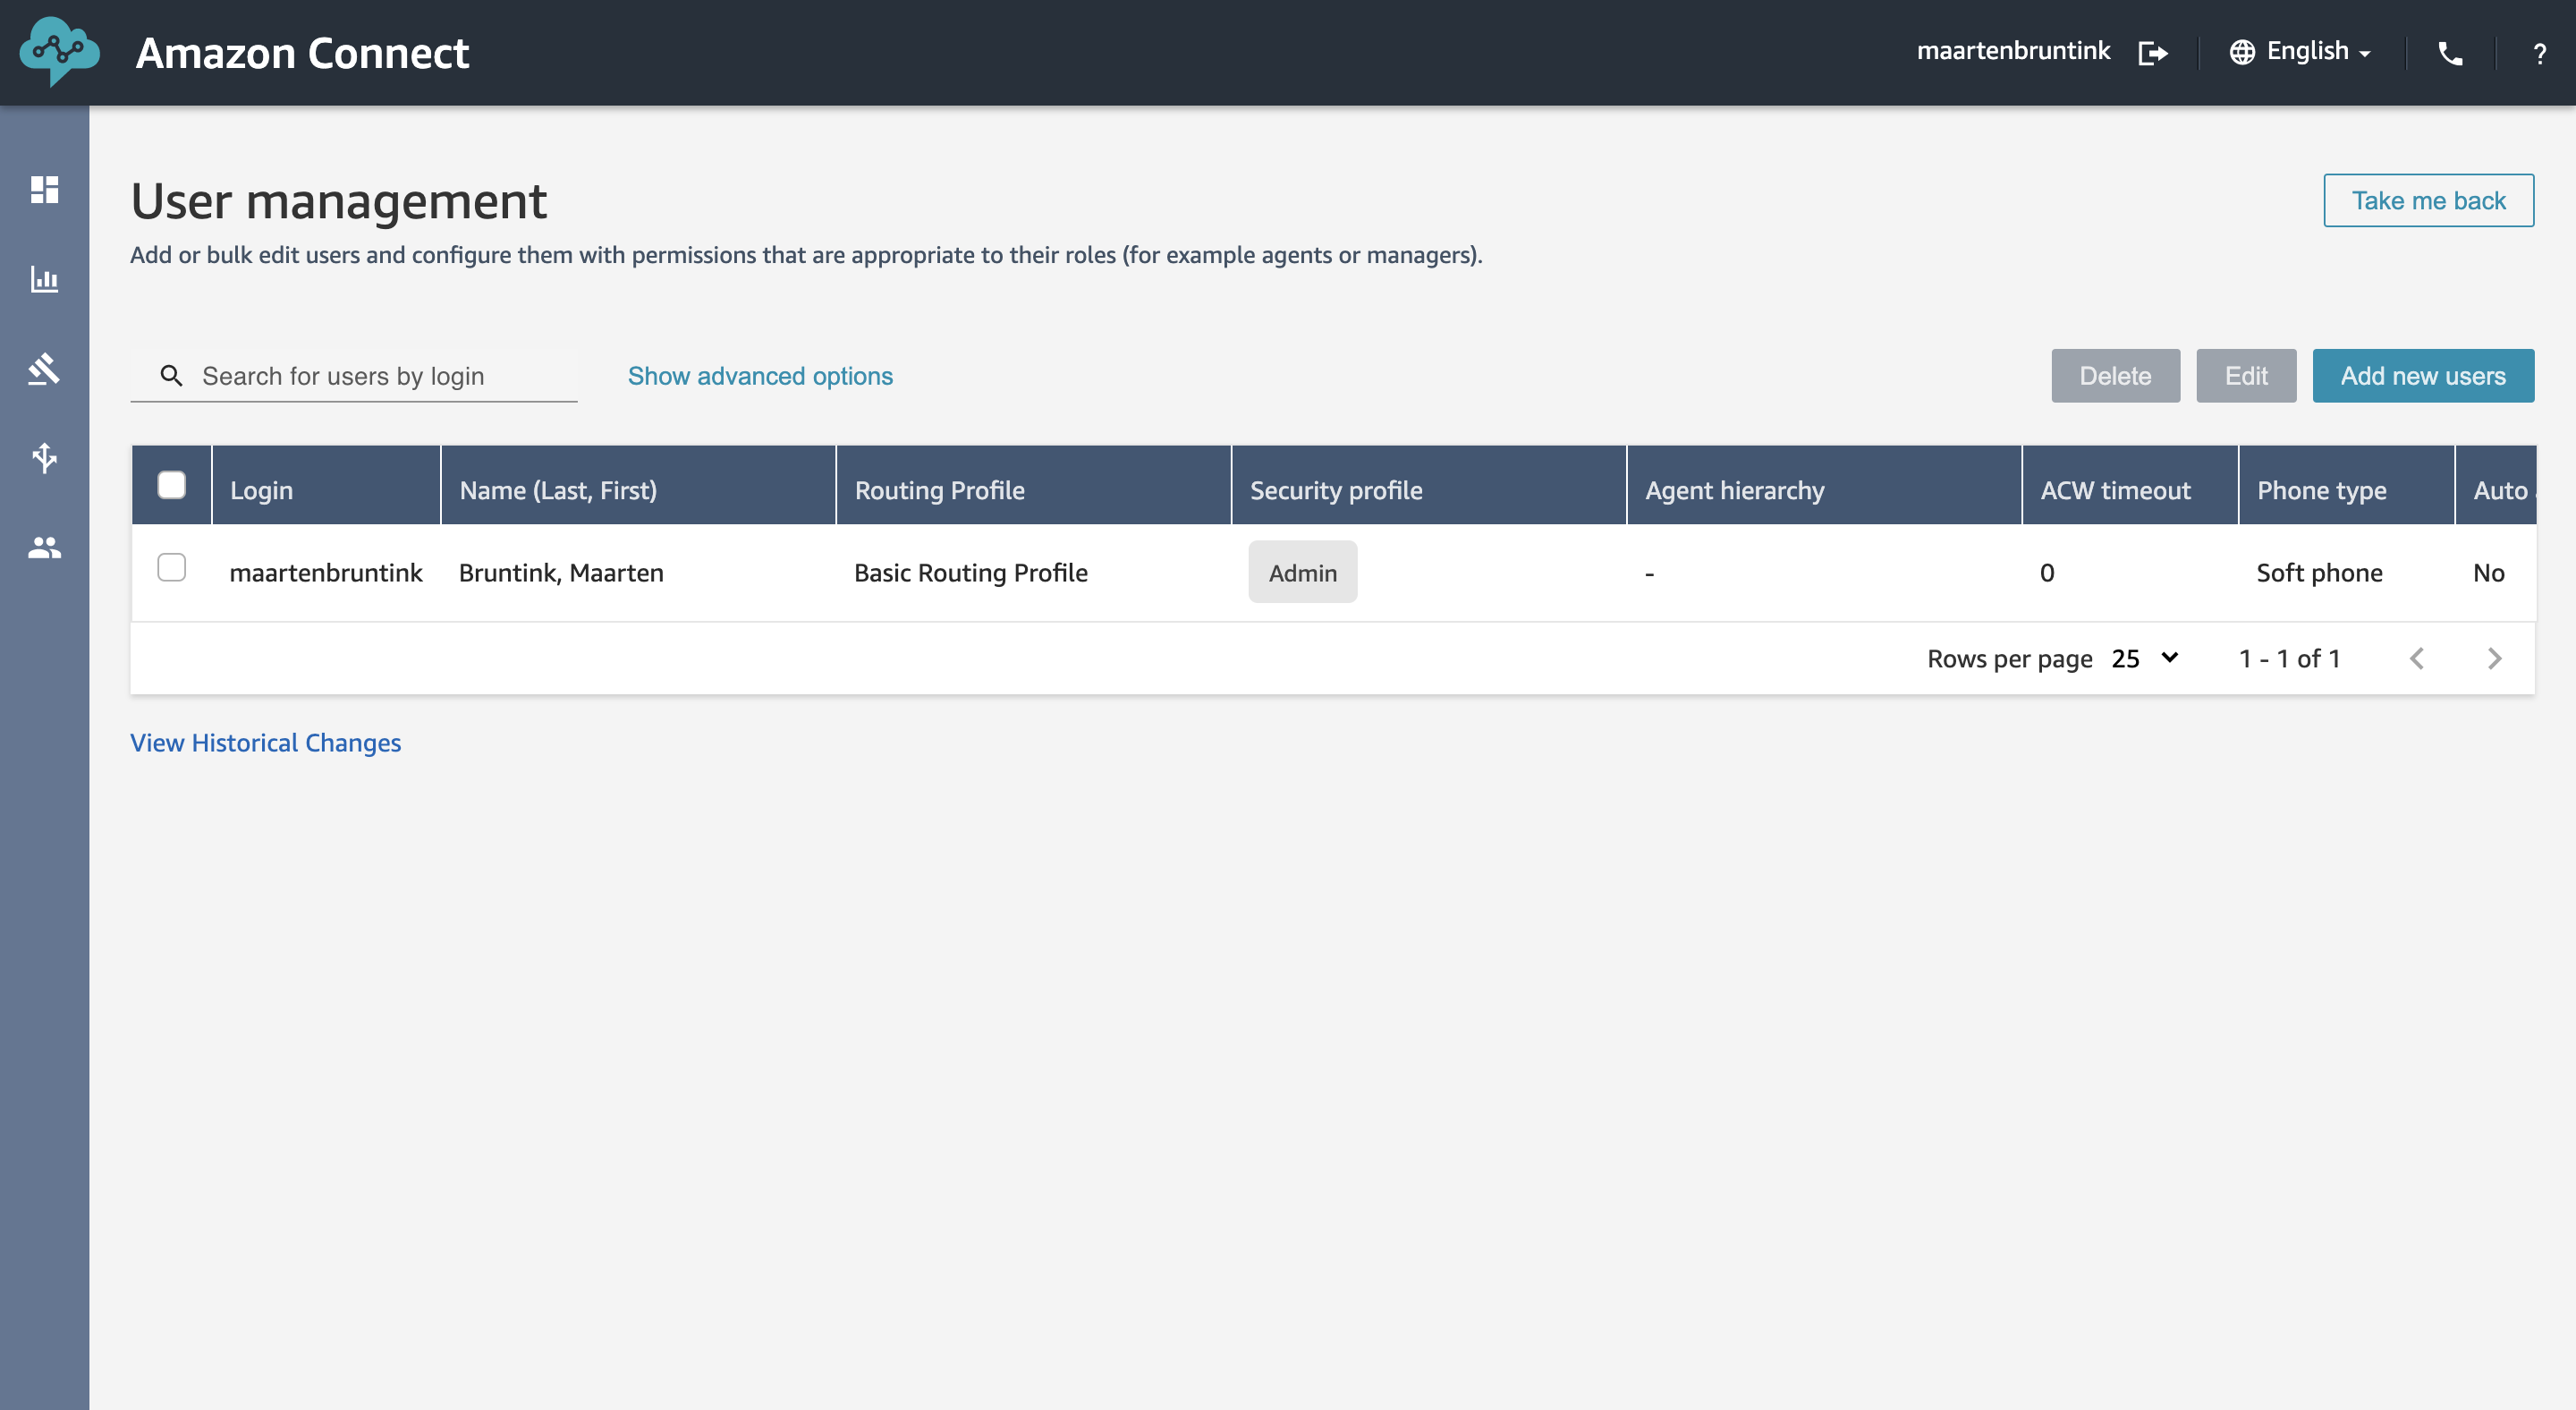
- On the Dashboard page click View users or select User management from the Users menu on the left.
- Click Add new users
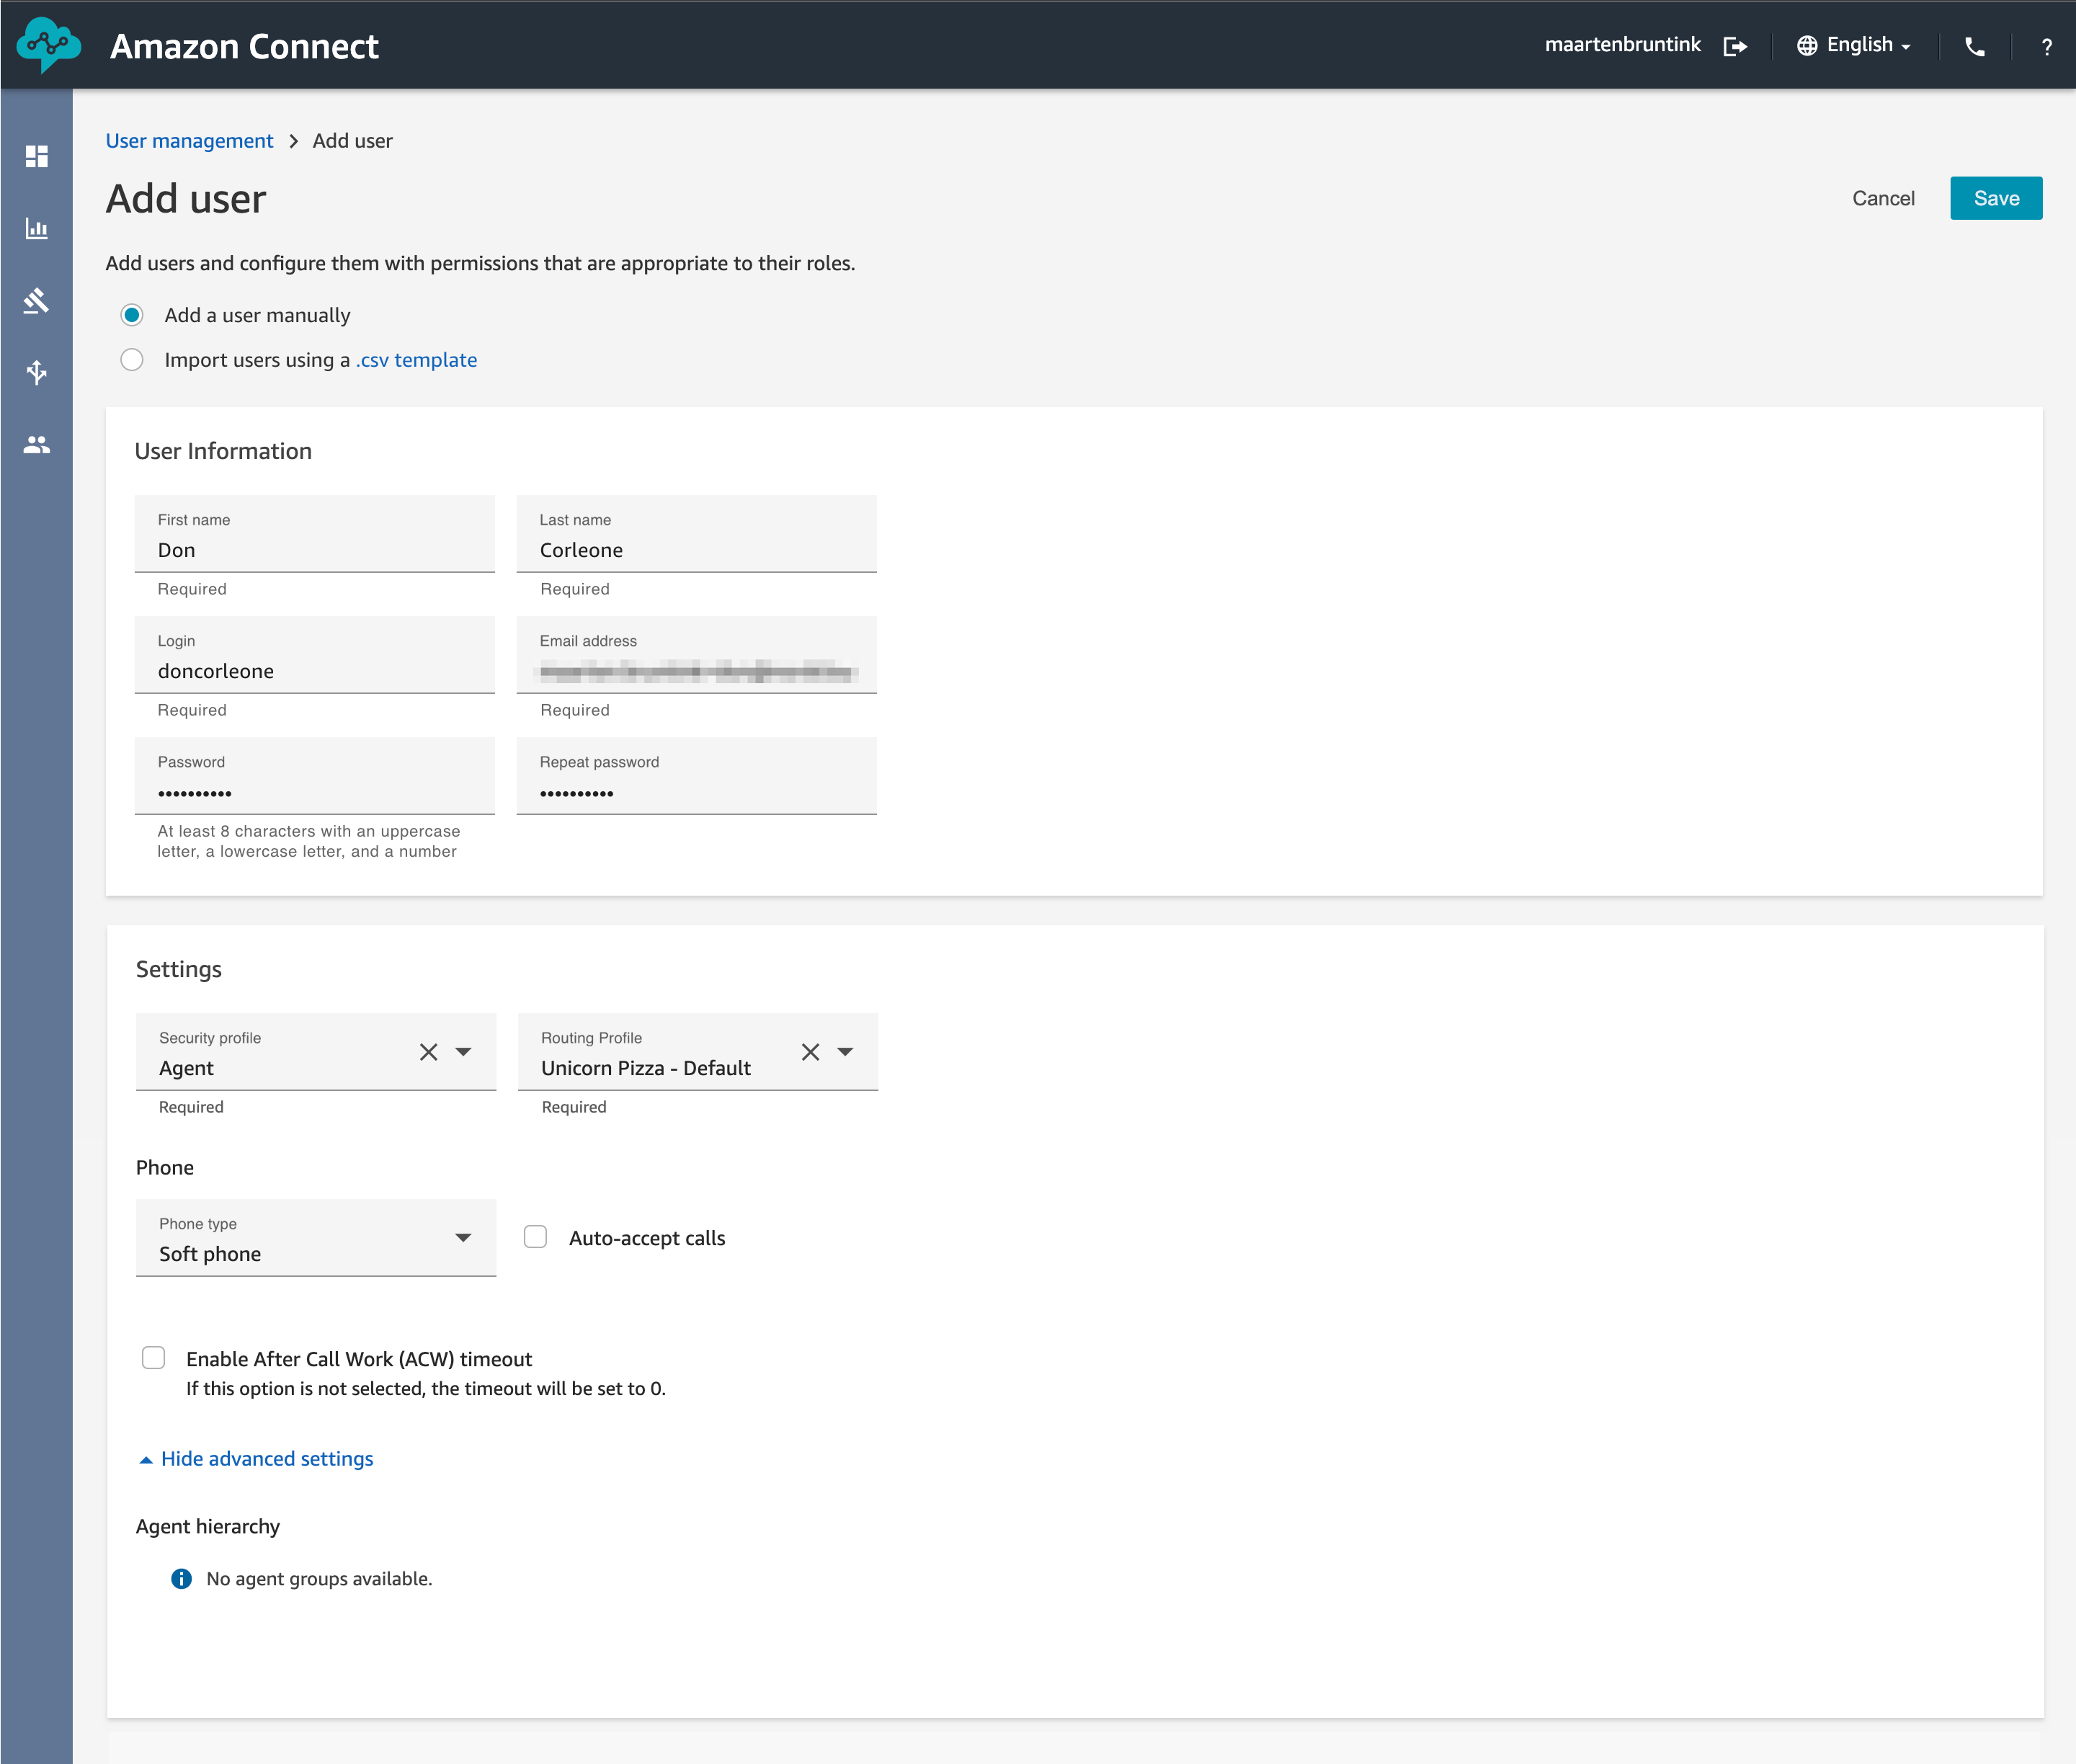
- Create a new user by filling all the required details such as Login, Password and Email address.
- Select the Agent security profile.
- Select the Unicorn Pizza - Default routing profile, created in the previous section.
- Select the Soft Phone option as Phone Type.
- Optionally, enable Auto-accept calls, this will automatically connect the contact to the agent when the agent is available.
- Optionally, Enable and set a After call work (ACW) timeout. This will give the agent some breathing room after a call before answering the next, for example wrap up some administrative tasks around the call.
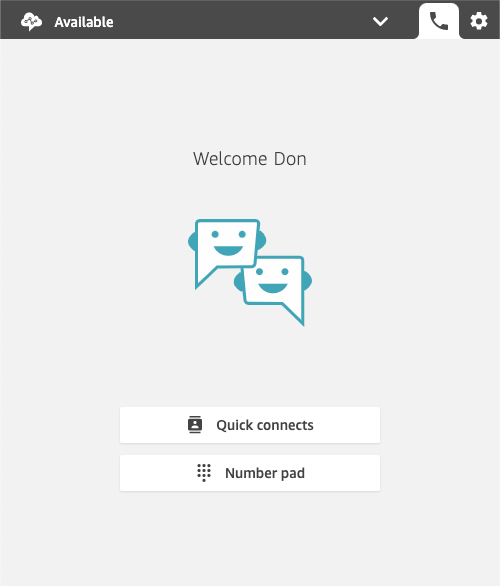
- Save your new user, open up a new browser, preferably in private or incognito mode, and navigate to https://your-instance-name.my.connect.aws/ccp-v2/. This will log you in to the Contact Control Panel which can be used communicate with contacts. Your browser will likely ask for permissions to access your microphone.
- On the top left you can set the agent status to Available.
Wrap Up
That was it for this first post. We now have everything in place to start building our contact center flows, which we start doing in the upcoming posts. I hope you enjoyed following along and learned some new things.
Photo by Chad Montano on Unsplash
comments powered by Disqus
